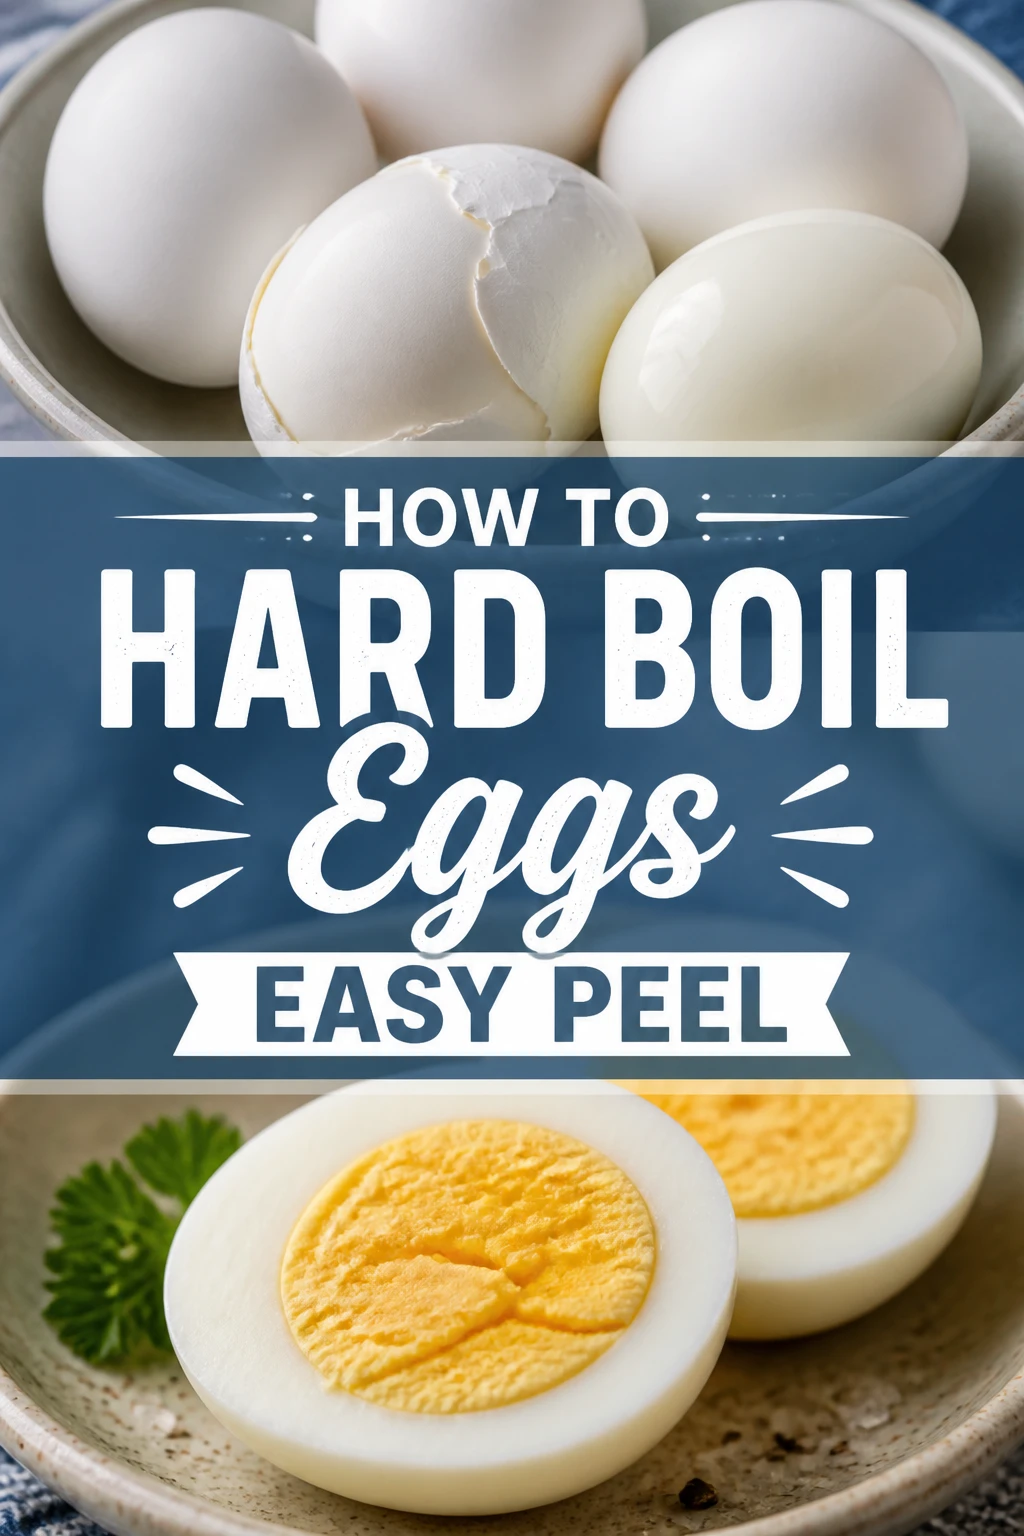
🔥 How To Hard Boil Eggs Easy Peel
We’ve all been there. You plan a lovely meal, perfectly boil your eggs, and then the peeling begins.
It turns into a frustrating battle, with half the egg white sticking stubbornly to the shell.
I’ve spent years perfecting the art of the easy-peel hard-boiled egg, and I’m ready to share every trick I’ve learned.
This guide will change your egg-peeling experience forever.
Quick Overview
This guide will walk you through a foolproof method to hard boil eggs that peel effortlessly every time. You’ll master the timing and cooling techniques crucial for perfect results.
- Time needed: 15-20 minutes (including prep and cooling)
- Difficulty: Beginner
- What you’ll need: Eggs, a pot with a lid, water, a slotted spoon, a large bowl, and ice.
Step-by-Step Instructions
Step 1: Choose Your Eggs Wisely
The age of your eggs makes a significant difference. Older eggs, typically 7-10 days past their carton date, peel much easier than very fresh ones.
This is because the pH level in older eggs changes, making the membrane less adhesive to the albumen.
If you only have fresh eggs, don’t worry, the other steps will still help.
Pro Tip: Plan ahead if you can. Buy eggs a week before you intend to hard boil them. Store them in the back of your fridge where the temperature is most consistent.
Step 2: Prepare Your Pot
Select a pot large enough to hold your desired number of eggs in a single layer. Overcrowding the pot can lead to uneven cooking and cracked shells.
Ensure there’s enough room for the eggs to be fully submerged in water.
A 2-quart saucepan is usually good for 6-8 eggs.
Step 3: Gently Place Eggs in the Pot
Carefully place your eggs into the empty pot. Use a slotted spoon to lower each egg gently.
This prevents cracking the shells against the bottom of the pot.
Avoid dropping them in, as even small cracks can lead to whites leaking out during cooking.
Step 4: Cover Eggs with Water
Fill the pot with cold tap water. The water should cover the eggs by about 1 inch.
Starting with cold water helps prevent the eggs from cracking as they heat up.
It also ensures a more even cooking process from the outside in.
Step 5: Bring to a Rolling Boil
Place the pot on the stove over high heat. Bring the water to a full, rolling boil.
You’ll see large, active bubbles breaking the surface of the water.
Stay near the stove during this step to avoid over-boiling once it reaches temperature.
Step 6: Remove from Heat and Cover
As soon as the water reaches a rolling boil, immediately remove the pot from the heat. Do not let it continue to boil aggressively.
Place the lid tightly on the pot. This traps the heat inside and allows the eggs to cook gently and evenly.
The residual heat will continue to cook the eggs without the harshness of direct boiling.
Step 7: Let Eggs Sit (Timing is Key)
This is where you control the doneness of your eggs. Set a timer based on your preferred yolk consistency:
- 6 minutes: Soft-boiled (runny yolk, firm white)
- 8 minutes: Medium-boiled (creamy yolk, fully set white)
- 10-12 minutes: Hard-boiled (firm, pale yellow yolk, fully set white)
For easy peeling, aiming for a fully hard-boiled egg (10-12 minutes) is often best as the whites are firmer.
Step 8: Prepare an Ice Bath
While your eggs are sitting, prepare a large bowl filled with ice and cold water. This ice bath is critical for easy peeling.
The rapid cooling causes the egg white to contract, separating it from the shell membrane.
Make sure there’s plenty of ice to keep the water very cold.
Step 9: Transfer Eggs to Ice Bath
Once the timer goes off, use your slotted spoon to carefully transfer the eggs from the hot water directly into the ice bath.
Work quickly but gently to avoid cracking the hot shells.
Leave the eggs in the ice bath for at least 10-15 minutes, or until they are completely chilled.
Pro Tip: Don’t rush the ice bath. Fully chilling the eggs is arguably the most important step for achieving easy-peel results. The longer they chill, the easier they’ll peel.
Step 10: Peel Under Running Water (Optional but Helpful)
Once thoroughly chilled, you can peel your eggs. Gently tap the wider end of the egg on a hard surface to crack the shell.
Then, gently roll the egg between your palms to create more small cracks all over the surface.
Start peeling from the wider end, where there’s usually an air pocket. Peeling under a gentle stream of cold water can help wash away small shell fragments and assist in separating the membrane.
Common Mistakes to Avoid
Using Very Fresh Eggs
Many people grab the freshest eggs from the store for boiling. While great for frying, very fresh eggs have a lower pH, which makes the inner membrane stick tightly to the egg white. This results in frustrating, messy peeling. Always opt for eggs that are at least a week old for easier peeling.
Not Using an Ice Bath
Skipping the ice bath is a common error that leads to difficult-to-peel eggs and sometimes a green ring around the yolk. The sudden temperature change from hot to icy cold is what causes the egg white to contract rapidly, detaching it from the shell membrane. Without this shock, the membrane remains stubbornly attached.
Overcrowding the Pot
Trying to boil too many eggs in a small pot can lead to several problems. Eggs might crack as they bump into each other during boiling. It also makes it harder for the water to maintain a consistent temperature, leading to unevenly cooked eggs. Always ensure eggs are in a single layer with ample space.
Peeling Warm Eggs
The temptation to peel an egg as soon as it’s out of the hot water is strong. However, warm eggs are notoriously difficult to peel cleanly. The egg white is still soft and prone to tearing. Always ensure eggs are fully chilled in an ice bath before attempting to peel them for the best results.
Troubleshooting
Eggs Cracking During Boiling
If your eggs are cracking, it’s often due to a sudden temperature change or eggs bumping together. Start with cold water and gently lower eggs into the pot. If using eggs straight from the fridge, let them sit at room temperature for 10-15 minutes before boiling to temper them. Also, ensure your pot isn’t overcrowded.
Green Ring Around the Yolk
A greenish-gray ring around the yolk indicates that the egg has been overcooked. This happens when the sulfur in the egg white reacts with iron in the yolk, forming ferrous sulfide. While harmless, it’s not ideal. To prevent this, stick to the recommended cooking times and ensure you transfer eggs to an ice bath immediately after cooking to stop the process.
Still Hard to Peel
If you followed all the steps and still find your eggs difficult to peel, consider the age of your eggs. Very fresh eggs are the primary culprit. Even with the ice bath, a super fresh egg can be stubborn. Try using eggs that are closer to their expiration date next time. Also, ensure the ice bath was truly cold and the eggs were chilled for at least 10-15 minutes. Sometimes a very slight undercooking can also make peeling harder, as the whites are too soft.
Key Takeaways
- Always use eggs that are at least a week old for the easiest peeling.
- Start eggs in cold water and bring to a rolling boil, then remove from heat and cover.
- Cook eggs for 10-12 minutes off the heat for a firm, easy-to-peel hard boil.
- Immediately transfer eggs to a generous ice bath for at least 10-15 minutes.
- Thorough chilling is the most critical step for easy peeling.
- Peel eggs gently, ideally under cold running water, starting from the wider end.
Frequently Asked Questions
Why do some eggs peel easier than others?
The primary reason is the age of the egg. As eggs age, their pH level increases, making the inner membrane less adherent to the egg white. Very fresh eggs have a lower pH and are notoriously difficult to peel cleanly. Proper cooking and immediate chilling in an ice bath also significantly contribute to easy peeling.
Can I hard boil a large batch of eggs at once?
Yes, you can hard boil a large batch, but it’s important to use a pot large enough to accommodate all eggs in a single layer without overcrowding. If you need to cook a very large quantity, it’s better to do it in multiple batches to ensure even cooking and prevent cracking. Always make sure the water covers all eggs by at least an inch.
How long do hard-boiled eggs last?
Hard-boiled eggs, when stored properly in their shells in the refrigerator, can last for up to one week. Once peeled, they should be eaten within 2-3 days for best quality and safety. Always store them in an airtight container to prevent them from absorbing odors from other foods.
What’s the best way to store hard-boiled eggs?
The best way to store hard-boiled eggs is unpeeled in an airtight container in the refrigerator. Keeping the shell on helps protect the egg from bacteria and drying out. If you’ve peeled them, store them in a bowl of cold water in the fridge, changing the water daily, or in a sealed container for a few days.
Our Top Recommended Finds
- Electric Egg Cooker: Takes the guesswork out of boiling and often has an automatic shut-off.
- Large Slotted Spoon: Essential for gently lowering and removing eggs from hot water and ice baths.
- Egg Slicer: Perfect for creating uniform slices for salads or sandwiches once your eggs are peeled.
Mastering Your Hard-Boiled Eggs Today
You now have all the tools and knowledge to conquer the notoriously tricky hard-boiled egg peel. No more frustration, no more wasted egg whites.
Practice these steps, and you’ll soon be a pro at preparing perfect, easy-peel hard-boiled eggs every time.
Now that you’ve mastered the basics, why not try incorporating them into delicious recipes like deviled eggs, egg salad, or a classic Niçoise salad? Your culinary journey awaits!