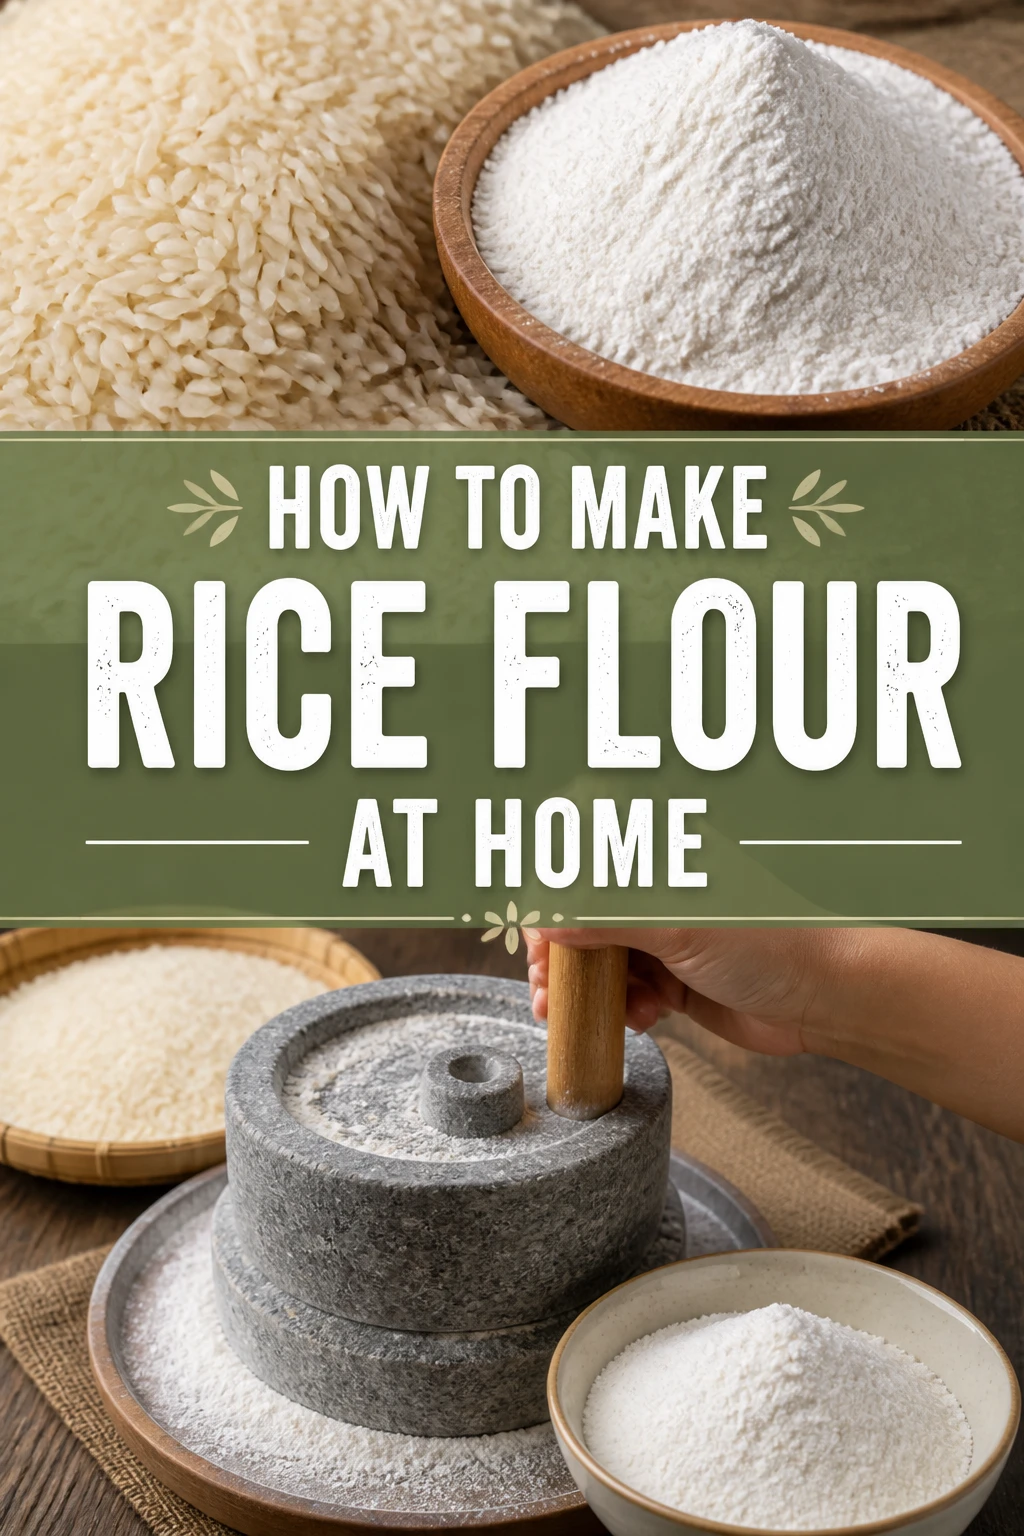
🍚 How To Make Rice Flour At Home
Making rice flour at home might seem like a specialized task, but it’s surprisingly straightforward and incredibly rewarding.
I first started doing this when a specific recipe called for fresh rice flour, and I couldn’t find it locally. This guide shares the practical method I’ve honed over time, ensuring you get perfect results.
You’ll gain control over the texture and freshness, opening up a world of gluten-free baking and cooking possibilities.
Quick Overview
You’re about to transform simple rice grains into versatile, homemade rice flour. This process is perfect for anyone looking to experiment with gluten-free recipes or simply ensure the freshest ingredients in their kitchen.
- Time needed: 4-6 hours (mostly passive soaking and drying time)
- Difficulty: Beginner
- What you’ll need: Rice, water, a high-speed blender or grain mill, baking sheets, and a fine-mesh sieve.
Step-by-Step Instructions
Step 1: Choose Your Rice Wisely
The type of rice you select directly impacts your flour’s texture and cooking properties. For general-purpose rice flour, regular long-grain or medium-grain white rice works beautifully.
If you’re aiming for glutinous rice flour (often called sweet rice flour), you’ll need sticky rice varieties like Mochigome or Thai sweet rice. Brown rice can also be used, but it yields a denser, nuttier flour.
Opt for good quality, unbroken grains. This ensures a consistent grind and prevents issues later in the process.
Pro Tip: For the most common recipes, like those for mochi or some Asian desserts, stick with white long-grain rice initially. It’s forgiving and produces a neutral-tasting flour.
Step 2: Rinse the Rice Thoroughly
Place your chosen rice in a large bowl. Cover it with cool water, swirling the grains gently with your hand.
You’ll notice the water becoming cloudy. This cloudiness is excess starch and impurities that you want to remove.
Drain the water and repeat this rinsing process several times. Continue until the water runs mostly clear, indicating the rice is clean.
Step 3: Soak the Rice
After rinsing, return the clean rice to the bowl. Cover it generously with fresh, cool water, ensuring the rice is fully submerged by at least an inch or two.
Let the rice soak for a minimum of 4 hours, or ideally, overnight. Soaking softens the rice grains, making them much easier to grind into a fine flour.
This step is crucial for achieving a smooth, consistent texture in your finished flour, especially if you’re using a home blender rather than a professional grain mill.
Step 4: Drain and Dry the Rice (Partially)
Once the soaking time is complete, drain the rice thoroughly using a fine-mesh sieve. Shake the sieve gently to remove as much excess water as possible.
Spread the drained rice in a single layer on a clean kitchen towel or paper towels. You want the rice to be damp, but not dripping wet.
Allow it to air dry for about 30-60 minutes. The goal is to remove surface moisture, leaving the grains still slightly hydrated internally. This dampness helps with grinding.
Pro Tip: Don’t over-dry the rice at this stage. If the rice is completely dry, it becomes harder to grind finely and can even damage some blenders. A slight dampness is key for a smooth grind.
Step 5: Grind the Rice
Transfer the partially dried rice to a high-speed blender, food processor, or a dedicated grain mill. If using a blender or food processor, work in small batches.
Start grinding on a low setting, then gradually increase the speed. Continue grinding until the rice transforms into a fine, powdery consistency.
This may take several minutes per batch, with pauses to scrape down the sides of the container. You’re aiming for a texture similar to store-bought flour.
Step 6: Sift the Flour
Once you have a batch of ground rice, transfer it to a fine-mesh sieve placed over a clean bowl. Gently shake and tap the sieve to push the fine flour through.
Any coarser bits or unground grains will remain in the sieve. Collect these larger particles.
Return the coarser bits to the blender or mill and grind them again. Repeat the sifting process until virtually all the rice has been processed into fine flour.
Step 7: Dry the Flour Completely
Even after grinding and sifting, your homemade rice flour will likely retain some moisture from the soaking process. This needs to be removed for proper storage and to prevent spoilage.
Spread the sifted rice flour in a thin, even layer on a clean baking sheet or a large, flat tray.
Allow the flour to air dry completely for several hours, or even overnight, in a well-ventilated area. You can also place it in a very low oven (around 150°F / 65°C) for 1-2 hours, stirring occasionally, but be careful not to toast it.
Pro Tip: Ensuring the flour is completely dry is perhaps the most critical step for shelf stability. If there’s any residual moisture, your flour could clump, mold, or spoil quickly. Test by feeling for any coolness or dampness. It should feel completely dry and powdery.
Step 8: Store Your Homemade Rice Flour
Once your rice flour is thoroughly dry, transfer it to an airtight container. A glass jar with a tight-fitting lid or a heavy-duty food storage container works best.
Store the container in a cool, dry, dark place, such as your pantry. Properly stored, homemade rice flour can last for several months.
For even longer shelf life, especially if you made a large batch, consider storing it in the refrigerator or freezer. This helps preserve its freshness and prevents rancidity, particularly for brown rice flour.
Common Mistakes to Avoid
Not Soaking Long Enough
Skipping or shortening the soaking step is a common pitfall. If the rice grains aren’t adequately softened, they will be much harder to grind finely.
This results in a coarse, gritty flour that won’t perform well in recipes. Always allow the full soaking time to ensure easy grinding and a smooth final product.
Over-Drying Before Grinding
While complete drying of the finished flour is essential, drying the soaked rice completely before grinding is a mistake. Grains that are too dry are brittle and harder for home blenders to process into a fine powder.
A slight dampness helps the grains break down more effectively. Aim for surface dry but internally moist grains before grinding.
Not Sifting Properly
Ignoring the sifting step means you’ll end up with an inconsistent flour texture. Some parts will be fine, while others remain gritty.
Proper sifting ensures uniformity, which is vital for baking and cooking. Always sift and re-grind any coarse particles to achieve a consistently smooth flour.
Improper Final Drying
This is perhaps the biggest mistake leading to spoiled flour. If the final flour isn’t completely dry before storage, any residual moisture will encourage mold growth and spoilage.
Take your time with the final drying step. Spread the flour thinly and allow ample time for all moisture to evaporate, ensuring it feels perfectly dry to the touch.
Troubleshooting
Flour Feels Gritty
If your rice flour feels gritty after grinding, it likely means the grains weren’t soaked long enough or your grinding equipment isn’t powerful enough.
Try re-grinding the flour in smaller batches, allowing more time for the blender to work. If necessary, soak a new batch of rice for a longer period before attempting to grind it again.
Flour is Clumping in Storage
Clumping is a clear sign of residual moisture. Your flour wasn’t completely dry before being stored, or it absorbed moisture from the environment.
Spread the flour out on a baking sheet again and allow it to air dry for several more hours, or even overnight. Ensure your storage container is truly airtight and kept in a dry environment.
Flour Has an Off Smell or Taste
An unpleasant smell or taste indicates that your flour has likely gone rancid, usually due to moisture or improper storage, especially if using brown rice.
Unfortunately, once flour is rancid, it’s best to discard it. To prevent this, always ensure complete drying before storage and consider refrigerating or freezing for longer shelf life.
Key Takeaways
- Choosing the right rice type is the first step to successful rice flour.
- Soaking the rice is crucial for softening the grains and achieving a fine grind.
- Partially drying the soaked rice before grinding helps prevent damage to your equipment and aids in achieving a smooth texture.
- Sifting the flour ensures uniformity, removing any coarse particles.
- Thoroughly drying the finished flour is essential for preventing spoilage and ensuring a long shelf life.
- Proper storage in an airtight container in a cool, dry place preserves freshness.
Frequently Asked Questions
Can I make rice flour without soaking the rice?
While technically possible, it’s not recommended for most home blenders or food processors. Unsoaked rice is much harder and can strain or damage your appliance. Soaking ensures a finer, smoother flour and prolongs the life of your equipment.
How long does homemade rice flour last?
When dried completely and stored in an airtight container in a cool, dark pantry, homemade white rice flour can last for up to 6 months. Brown rice flour, due to its higher oil content, has a shorter shelf life, typically 2-3 months in the pantry, but can last longer in the refrigerator or freezer.
What’s the difference between rice flour and glutinous rice flour?
Rice flour, often called regular rice flour, is made from long-grain or medium-grain white rice and contains no gluten. Glutinous rice flour (also known as sweet rice flour) is made from short-grain glutinous rice. Despite the name, it’s also gluten-free, but it has a much higher starch content that gives it a sticky, chewy texture when cooked, making it ideal for mochi and certain desserts.
Can I use a coffee grinder for this?
A coffee grinder can work for very small batches, but it might struggle to achieve a consistently fine flour. It’s generally less efficient and powerful than a high-speed blender or a dedicated grain mill. If you only need a tiny amount, it’s an option, but for larger quantities, a blender is better.
Our Top Recommended Finds
- High-Speed Blender: Essential for efficiently grinding soaked rice into a fine powder without overheating. Look for models with powerful motors.
- Fine-Mesh Sieve Set: Crucial for sifting out any larger particles and ensuring a consistent, smooth flour texture. A set with various sizes is very versatile.
- Airtight Glass Jars: Perfect for storing your freshly made rice flour, keeping it dry and protected from moisture and pests.
Embrace Your Inner Miller
Making rice flour at home is a simple yet empowering culinary skill. You gain control over your ingredients and open up new possibilities in your kitchen.
Imagine the fresh, pure taste in your next gluten-free bake or your favorite Asian dish. Why not gather your rice and start your first batch today?
The satisfaction of using flour you’ve made yourself is truly unmatched.