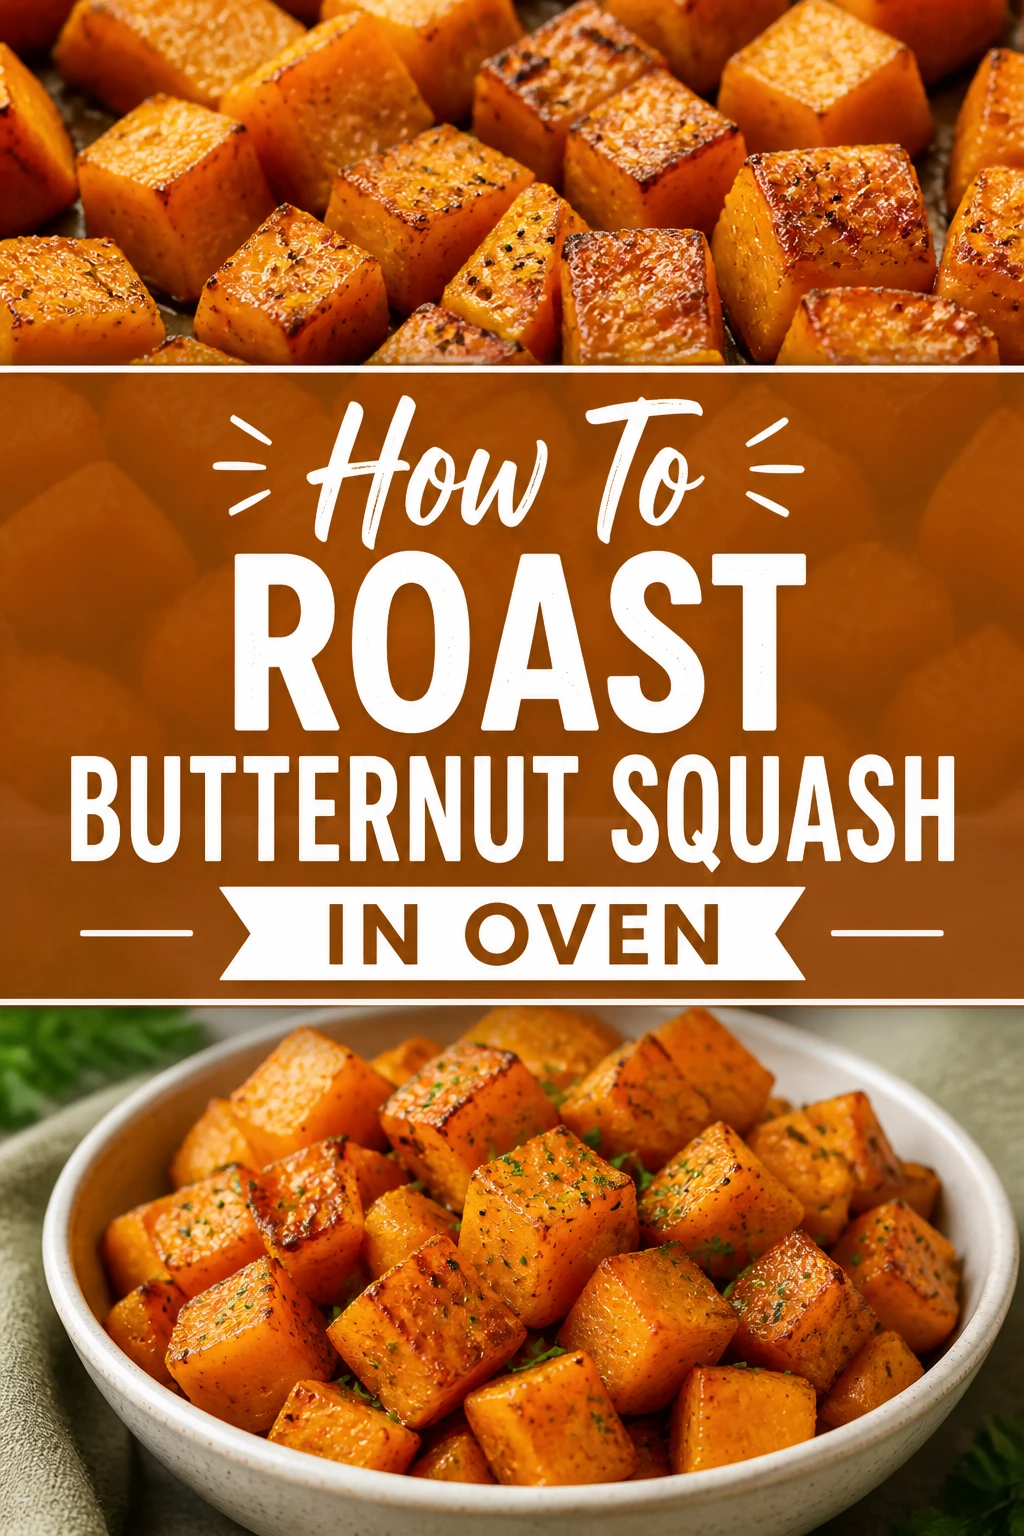
🎃 How To Roast Butternut Squash In Oven
I spent years struggling with soggy, pale squash before I realized that temperature and spacing are the most important factors.
After roasting hundreds of pounds of this vegetable in professional kitchens and my home oven, I found the secret to that perfect golden-brown crust.
This guide shares my tested method to help you get consistent, delicious results every single time you cook.
Quick Overview
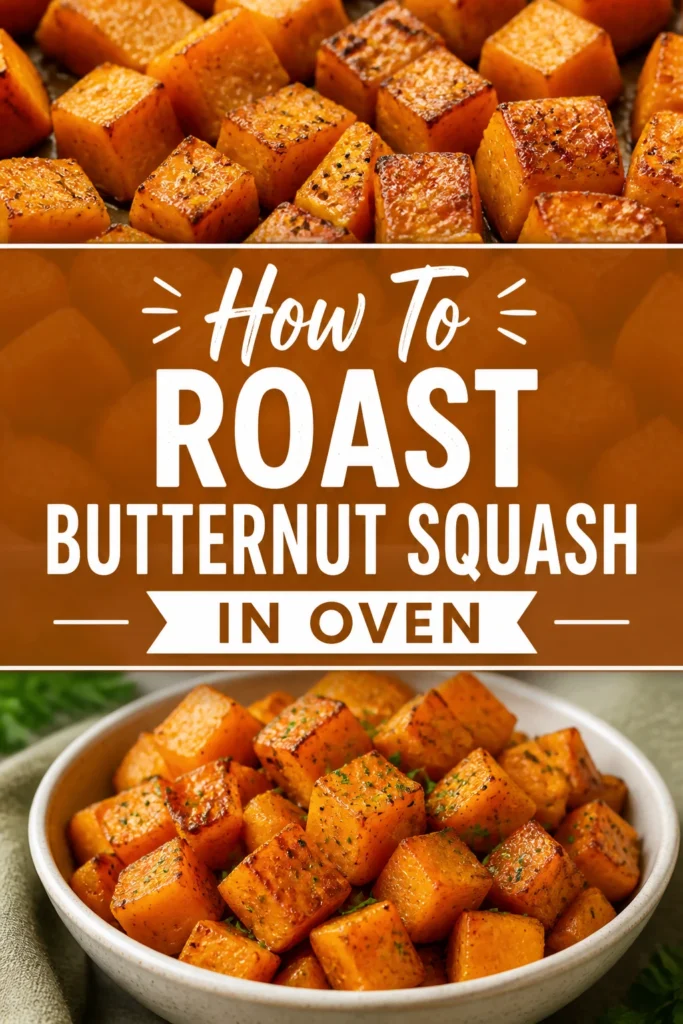
You are going to learn how to turn a tough, intimidating gourd into a sweet and savory side dish with caramelized edges.
- Time needed: 50-60 minutes (15 mins prep, 35-45 mins roasting)
- Difficulty: Beginner
- What you’ll need: Large chef’s knife, Y-peeler, heavy-duty baking sheet, parchment paper, and a sturdy cutting board.
Step 1: Prepare Your Workspace
Clear a large area on your counter to accommodate the size of the squash and a large cutting board.
Preheat your oven to 400°F (200°C) and ensure the oven rack is in the center position for even heat distribution.
Line a large, rimmed baking sheet with parchment paper or a silicone mat to prevent sticking and make cleanup much easier.
Pro Tip: Using a damp paper towel under your cutting board will prevent it from sliding while you handle the heavy squash.
Step 2: Stabilize the Squash
Wash the exterior of the butternut squash under cold water to remove any dirt or debris from the field.
Dry the skin thoroughly with a clean kitchen towel because a slippery squash is dangerous to cut.
Slice off about half an inch from the stem end and the bottom base to create two flat, stable surfaces.
Stand the squash upright on its wide, flat base so it does not wobble while you begin to peel.
Step 3: Remove the Tough Skin
Grip a sharp Y-peeler or a high-quality swivel peeler and pull it downward along the length of the squash.
Press firmly to get through the thick skin and the thin layer of white fibers just beneath it.
Continue peeling until you see the deep, vibrant orange flesh exposed all the way around the vegetable.
Check the bottom bulb area carefully, as the skin tends to be thicker and more stubborn in the curves.
Pro Tip: If your peeler is struggling, you can use a chef’s knife to slice the skin off in vertical strips, though this wastes more of the flesh.
Step 4: Separate and Seed
Lay the peeled squash horizontally on the board and cut it in half where the narrow neck meets the wide bulb.
Slice the bulb portion in half vertically to reveal the seed cavity in the center.
Scrape out the seeds and the stringy pulp using a sturdy metal spoon or a specialized melon baller.
Save the seeds if you want to roast them later, as they make a crunchy snack similar to pumpkin seeds.
Step 5: Cube the Flesh
Cut the neck into thick planks, then into long batons, and finally into uniform 1-inch cubes.
Repeat this process with the bulb sections, trying your best to keep the sizes consistent for even cooking.
Aim for cubes that are roughly the same size so they all finish roasting at the exact same moment.
Discard any irregular, tiny scraps that might burn before the larger pieces are tender.
Step 6: Season Thoroughly
Place the cubes into a large mixing bowl rather than seasoning them directly on the pan.
Drizzle two tablespoons of high-heat oil, like avocado or grapeseed oil, over the squash.
Sprinkle a generous pinch of kosher salt and freshly cracked black pepper over the oil-coated pieces.
Toss the mixture with your hands or a large spoon until every single side of every cube is glistening.
Pro Tip: Avoid using extra virgin olive oil for high-heat roasting, as it can smoke and create a bitter flavor at 400°F.
Step 7: Arrange on the Pan
Spread the seasoned squash cubes onto your prepared baking sheet in a single, even layer.
Leave at least half an inch of space between the pieces to allow the hot air to circulate properly.
Use a second baking sheet if the first one feels too crowded or if the pieces are touching.
Ensure the flat sides of the cubes are in direct contact with the pan to maximize browning and caramelization.
Step 8: Roast and Flip
Slide the pan into the oven and roast for the first 20 minutes without disturbing the squash.
Remove the pan briefly and use a thin metal spatula to flip the cubes over.
Rotate the baking sheet 180 degrees before putting it back in to account for any hot spots in your oven.
Cook for another 15 to 20 minutes until the edges are dark golden brown and the centers are soft.
Step 9: Test for Doneness
Pierce a few of the largest cubes with a fork or a paring knife to check the internal texture.
Verify that the knife slides in and out with zero resistance, indicating the squash is fully tender.
Look for a slight shriveling of the skin and deep browning on the sides touching the pan.
Serve the squash immediately while it is hot and the exterior is still slightly crisp.
Common Mistakes to Avoid
Crowding the Baking Sheet
When you pile the squash cubes on top of each other, they release moisture that gets trapped between the pieces.
This creates steam, which results in mushy, boiled squash rather than the crispy roasted texture you want.
Always use two pans if you are cooking a large squash to give each piece enough breathing room.
Using Too Much Oil
While oil is necessary for browning, using an excessive amount will make the squash heavy and greasy.
The squash is porous and will soak up the oil, which prevents the exterior from crisping up properly.
Stick to about one to two tablespoons per medium squash to get the best balance of flavor and texture.
Cutting Inconsistent Sizes
Small pieces cook much faster than large ones, leading to a tray of burnt bits and raw chunks.
Take the extra minute during the prep phase to ensure your cubes are as uniform as possible.
If you have very small pieces, keep them on a separate section of the pan so you can remove them early.
Troubleshooting
The Squash is Burnt but Still Hard
This usually happens when the oven temperature is too high or the rack is too close to the heating element.
Lower the temperature by 25 degrees and move the tray to a higher rack for the remainder of the time.
You can also cover the pan with foil to trap heat and finish softening the centers without further browning.
The Squash is Pale and Soggy
Pale squash is often the result of an oven that isn’t hot enough or a pan that was cold when the food went in.
Make sure you allow your oven to preheat for at least 20 minutes before starting the roast.
If it is already late in the process, turn the heat up to 425°F for the last five minutes to force some color.
Key Takeaways
- Stabilize the squash by cutting the ends off before you attempt to peel or slice it.
- Peel deeply enough to remove the white fibrous layer, exposing the bright orange flesh.
- Space the cubes out on the pan to ensure they roast and caramelize rather than steam.
- Season in a bowl first to ensure every surface is coated with oil and salt.
- Flip the pieces halfway through the cooking time to get even browning on multiple sides.
- High Heat is your friend; 400°F is the sweet spot for most home ovens.
Frequently Asked Questions
Do I have to peel the butternut squash?
The skin of a butternut squash is technically edible, but it is very tough and can be unpleasant to chew.
For the best culinary experience, peeling is highly recommended as it allows the seasoning to penetrate the flesh directly.
If you are roasting the squash whole to make a puree, you can leave the skin on and scoop the flesh out later.
Can I use frozen butternut squash for roasting?
You can roast frozen squash, but it will never get as crispy as fresh squash because of the ice crystals.
To get the best results from frozen, do not thaw it first; put it directly into a very hot oven on a preheated tray.
Expect the texture to be a bit softer and less caramelized than if you had used a fresh vegetable.
How long does roasted butternut squash stay fresh?
You can store leftovers in an airtight container in the refrigerator for up to four or five days.
To reheat, use a toaster oven or a skillet rather than a microwave to help restore some of the original texture.
The squash also freezes well for use in future soups or pasta fillings, though it will lose its crispness.
Our Top Recommended Finds
- Heavy-Duty Half Sheet Pan: A thick aluminum pan prevents warping at high temperatures and ensures even browning.
- Y-Shaped Vegetable Peeler: This design provides better leverage and comfort when tackling the thick skin of winter squashes.
- Pre-cut Parchment Paper: These sheets lie flat and prevent the squash from sticking without the need for extra grease.
Expanding Your Autumn Menu
Now that you have mastered the basic roast, you can start experimenting with different flavor profiles.
Try adding maple syrup and cinnamon for a sweeter side dish, or chili powder and lime for a taco filling.
Roasted squash cubes are also a perfect addition to a kale salad with goat cheese and toasted walnuts.
Grab a squash from the market today and put these techniques to the test in your own kitchen.