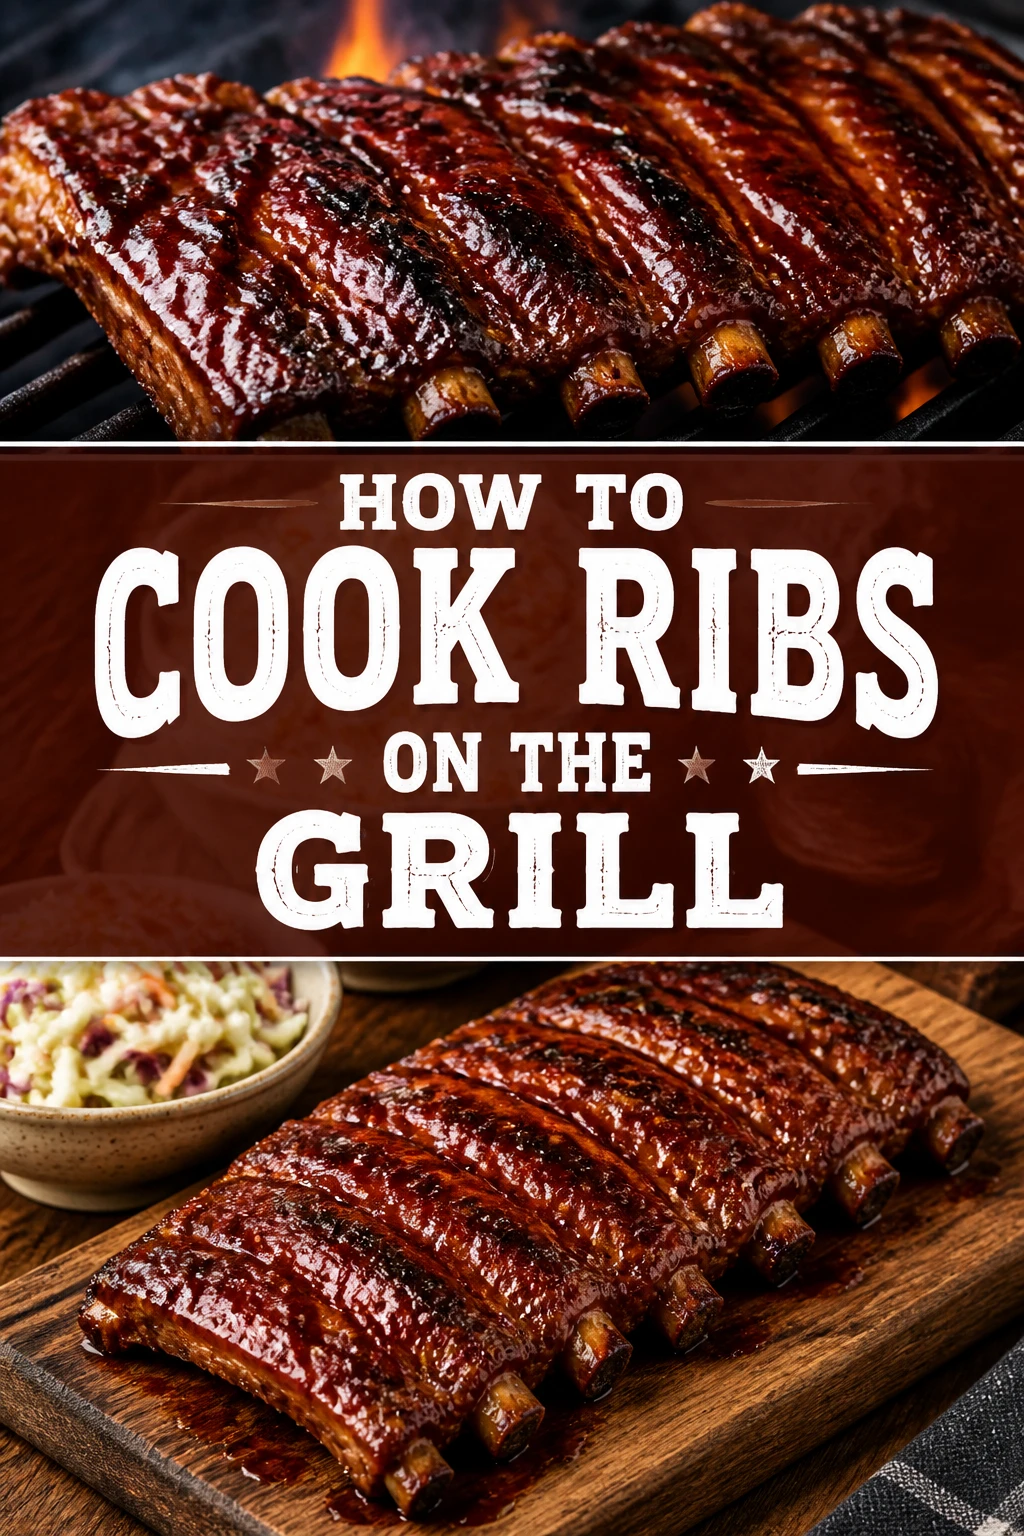
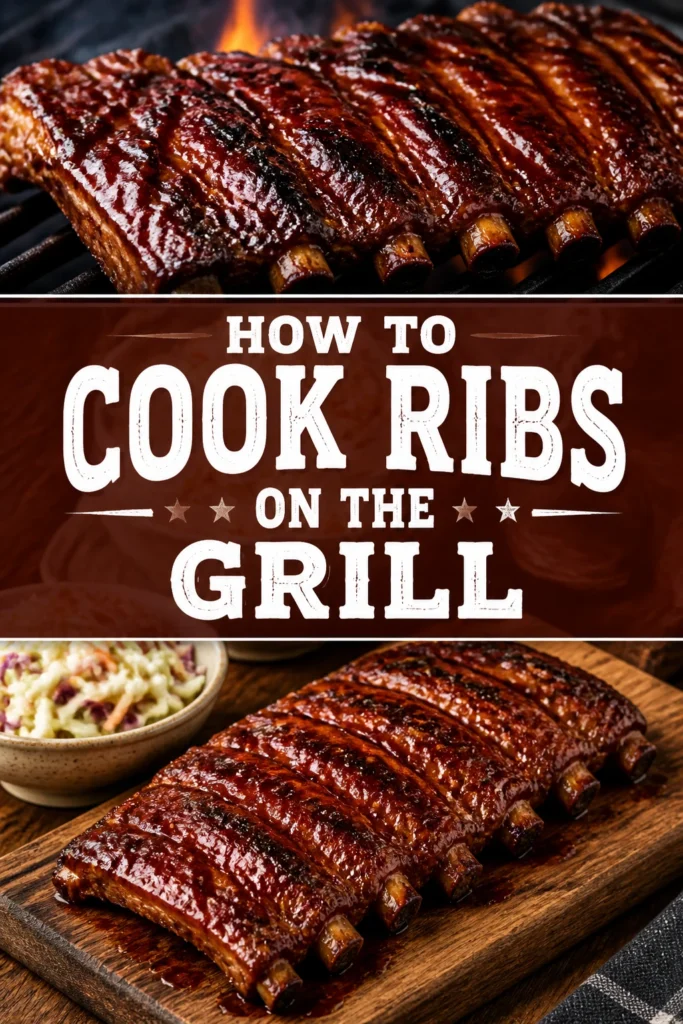
🍖 How To Cook Ribs On The Grill
There is nothing quite like the smell of pork ribs hitting a hot grate on a Saturday afternoon.
I have spent years perfecting my backyard technique, burning through dozens of racks to find the sweet spot between tough and mushy.
This guide will show you exactly how to achieve competition-quality results using a standard grill.
Quick Overview
Cooking ribs is a marathon, not a sprint. You are looking to transform a tough cut of meat into a tender, smoky masterpiece through the power of indirect heat.
- Time needed: 5 to 6 hours
- Difficulty: Intermediate
- What you’ll need: Pork ribs, dry rub, apple juice, BBQ sauce, heavy-duty foil, and wood chips.
Step-by-Step Instructions
Step 1: Choose Your Meat Wisely
Start by deciding between Baby Back ribs and St. Louis Style spare ribs. Baby Backs are leaner, smaller, and cook faster, usually coming from the top of the rib cage near the spine.
Look for St. Louis Style ribs if you prefer a meatier, fattier cut that stays juicy even if you overcook it slightly. These are trimmed spare ribs that offer a uniform rectangular shape for even cooking.
Inspect the meat for “shiners,” which are bones poking through the meat. Avoid these racks, as the bone will fall out during cooking and the meat around it will dry out.
Pro Tip: Look for a rack with plenty of intramuscular fat, also known as marbling, which will render down and keep the meat moist.
Step 2: Remove The Membrane
Flip the ribs bone-side up to locate the silver skin, or membrane. This is a tough, connective tissue that prevents seasoning and smoke from penetrating the meat.
Slide a dull butter knife under the membrane over one of the middle bones. Wiggle the knife to loosen the tissue until you can get a finger underneath it.
Grip the membrane with a paper towel for traction and pull it away firmly. It should peel off in one large piece, though sometimes it takes a few tries to get it all.
Step 3: Apply The Dry Rub
Pat the ribs dry with paper towels on both sides. Moisture on the surface will steam the meat rather than allowing a crust, or “bark,” to form.
Coat the ribs in a light binder like yellow mustard or olive oil. You won’t taste the mustard after the long cook, but it helps the spices stick to the meat.
Sprinkle your dry rub generously over both sides, starting with the bone side first. Use a mix of brown sugar, smoked paprika, garlic powder, onion powder, salt, and black pepper.
Pro Tip: Let the seasoned ribs sit at room temperature for about 30 minutes before they hit the grill to let the salt start working into the fibers.
Step 4: Set Up Indirect Heat
Prepare your grill for two-zone cooking. This means all your heat is on one side, and the meat sits on the other side with no fire directly beneath it.
Target a steady temperature between 225°F and 250°F. This low temperature is essential for breaking down the tough collagen in the ribs without burning the exterior.
Place a disposable aluminum water pan on the grate over the hot coals or burners. This adds moisture to the grill environment and helps regulate the temperature spikes.
Step 5: Add The Smoke
Toss a handful of soaked wood chips or a few wood chunks onto the coals. If using a gas grill, wrap the chips in a foil pouch with holes poked in the top and place it over the burner.
Choose fruitwoods like apple or cherry for a mild, sweet flavor. If you want a more traditional BBQ profile, go with hickory or oak.
Position the ribs on the cool side of the grill with the thickest end facing the heat source. Close the lid immediately to trap the smoke and heat.
Pro Tip: Avoid mesquite for long rib cooks, as it can become bitter and overpower the natural flavor of the pork.
Step 6: Maintain The Environment
Monitor the grill temperature closely during the first three hours. You want a thin blue smoke coming from the vents, not thick white clouds which can taste like soot.
Spritz the ribs every 45 to 60 minutes with a mixture of apple juice and apple cider vinegar. This keeps the surface from drying out and helps the smoke “stick” to the meat.
Resist the urge to open the lid every ten minutes. Every time you peek, you lose heat and extend the cooking time significantly.
Step 7: The Wrap Phase
Check the color of the ribs after about three hours. Once they have a deep mahogany color and the bark is set, it is time to wrap them in foil.
Lay out two large sheets of heavy-duty aluminum foil. Place a few pats of butter, a sprinkle of brown sugar, and a splash of apple juice on the foil before laying the ribs face down.
Seal the foil tightly so no steam escapes. This process, often called the “Texas Crutch,” braises the meat and makes it incredibly tender in a short amount of time.
Pro Tip: Do not leave the ribs in the foil for more than two hours, or the meat will become mushy and lose its texture.
Step 8: The Final Glaze
Remove the ribs from the foil carefully, as the steam inside will be very hot. Place them back on the indirect side of the grill, bone-side down.
Brush your favorite barbecue sauce over the top of the ribs. The heat will cause the sugars in the sauce to caramelize and create a sticky, delicious finish.
Cook for another 30 to 45 minutes. You are looking for the sauce to “set” and become tacky to the touch rather than runny.
Step 9: Test For Doneness
Perform the “bend test” to see if the ribs are ready. Pick up the rack with tongs from one end; if the meat cracks slightly in the middle when the rack bends, they are done.
Use a toothpick to check the resistance between the bones. It should slide into the meat with almost no resistance, like pushing it into a jar of peanut butter.
Aim for an internal temperature of about 195°F to 203°F if using a digital thermometer. This is the range where the fat has fully rendered and the meat is at peak tenderness.
Step 10: Let Them Rest
Transfer the ribs to a cutting board and tent them loosely with foil. Do not skip this step, as it allows the juices to redistribute throughout the meat.
Wait at least 15 minutes before slicing. If you cut them immediately, all the moisture will run out onto the board, leaving you with dry ribs.
Slice between the bones using a sharp chef’s knife. Serve them warm with extra sauce on the side for those who want it.
Common Mistakes to Avoid
Cooking Over Direct Heat
Placing ribs directly over the flames is the fastest way to ruin a meal. The high heat will burn the sugar in the rub and toughen the meat before the inside has a chance to cook. Always use the indirect method to ensure the meat stays tender.
Leaving The Membrane On
The membrane on the back of the ribs is made of elastin and does not break down during cooking. If you leave it on, your guests will have to chew through a plastic-like layer. Removing it ensures every bite is tender and allows the seasoning to reach the back of the meat.
Over-Saucing Too Early
Barbecue sauce contains high amounts of sugar, which burns at temperatures above 265°F. If you apply sauce at the beginning of the cook, you will end up with a black, charred mess. Only apply sauce during the final 30 to 45 minutes of the process.
Relying Solely On Time
Every rack of ribs is different, and every grill breathes differently. If you pull the ribs off exactly at five hours without checking the texture, they might be underdone or overcooked. Use the bend test or a thermometer to verify the meat is actually ready.
Troubleshooting
The Ribs Are Too Tough
Tough ribs usually mean the connective tissue hasn’t had enough time to break down. If you find they are still chewy, they likely needed more time in the wrap or a longer overall cook at a low temperature. Next time, ensure your grill temp stays low and steady.
The Meat Is Falling Off The Bone
While many people think “fall-off-the-bone” is the goal, it actually indicates the ribs are overcooked. This usually happens from leaving them in the foil wrap for too long. To fix this, reduce the wrapping time by 30 minutes in your next session to maintain some “bite” on the bone.
The Bark Is Bitter Or Black
This is often caused by “dirty smoke” or too much wood. If your grill vents are closed too tightly, the smoke becomes trapped and turns acrid. Ensure you have good airflow and that your wood is burning cleanly with a pale blue tint rather than thick white smoke.
Key Takeaways
- Always remove the silver skin membrane for the best texture and flavor penetration.
- Use a two-zone grill setup to cook with indirect heat and avoid burning the meat.
- Maintain a consistent temperature between 225°F and 250°F throughout the cook.
- Use the “Texas Crutch” foil wrap method to speed up the process and ensure tenderness.
- Wait until the final stages of cooking to apply any sugar-based barbecue sauces.
- Let the meat rest for at least 15 minutes before slicing to keep the juices inside.
Frequently Asked Questions
Can I cook ribs on a gas grill?
Yes, you can absolutely cook great ribs on a gas grill. Simply turn off the burners on one side and place the meat there, using the active burners on the other side to maintain the temperature. You will need a smoker box or foil pouch for wood chips to get that smoky flavor.
How do I know when the ribs are finished?
The best way is the bend test. Pick up the rack about a third of the way down with tongs; if the top of the rack bows and the meat starts to crack, it is done. You can also look for the meat pulling back from the ends of the bones by about half an inch.
Should I boil my ribs before grilling?
No, you should never boil ribs. Boiling leaches out the flavor of the meat and ruins the texture, making it grey and mushy. Proper low and slow grilling provides all the tenderness you need while keeping the pork flavor intact.
What is the 3-2-1 method?
This is a popular timing technique: 3 hours of smoking, 2 hours wrapped in foil, and 1 hour unwrapped with sauce. It is a great starting point for beginners, though you may need to adjust the times based on the specific thickness of your ribs.
Our Top Recommended Finds
- Instant-Read Digital Thermometer: This is the only way to know exactly what is happening inside the meat without guessing.
- Heavy-Duty Aluminum Foil: Standard foil is too thin and can tear, letting out the juices you are trying to save.
- Stainless Steel Rib Rack: If you are cooking for a crowd, a rib rack allows you to stand the ribs vertically, doubling your grill space.
Mastering Your Backyard BBQ Kingdom
Now that you have the blueprint for perfect ribs, the best thing you can do is fire up the grill and practice.
Every grill has its own personality, and learning how yours handles heat is part of the journey.
Once you master the basic pork rib, you can start experimenting with beef ribs or different wood flavors like pecan and maple.
Pick up a couple of racks this weekend and put these steps to the test for your family and friends.