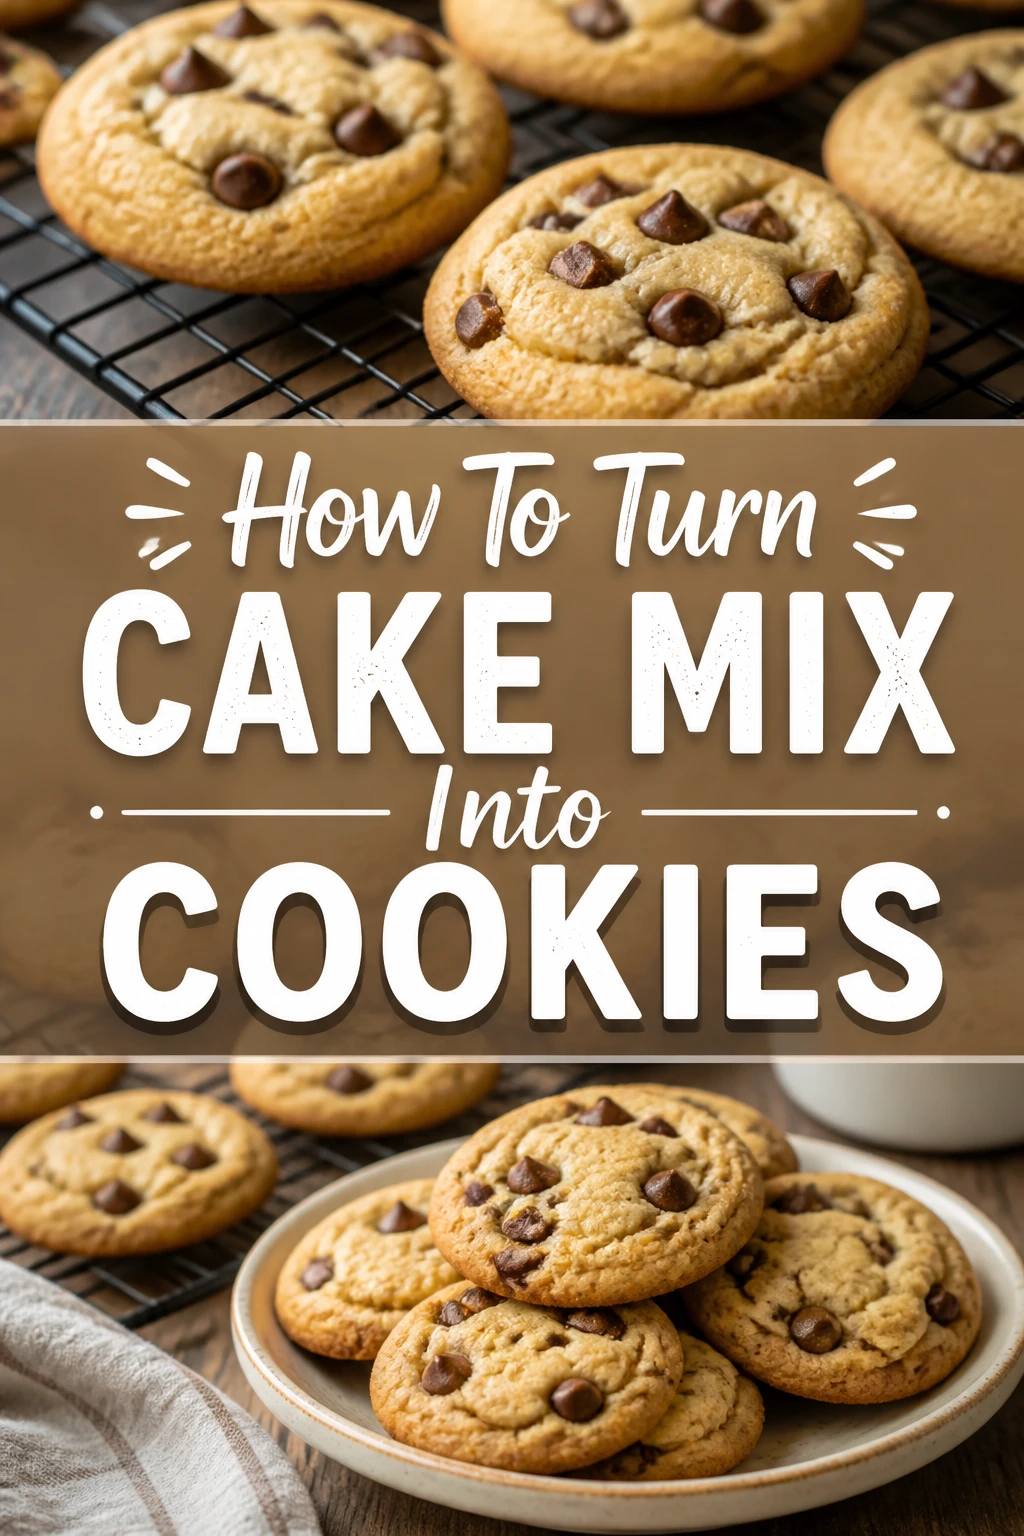
🍪 How To Turn Cake Mix Into Cookies
Making cookies from cake mix is one of my favorite kitchen hacks. I’ve personally used this trick countless times to whip up a batch of delicious cookies when time is short or ingredients are few. It’s a fantastic way to transform a simple box mix into something entirely new and delightful.
This guide will show you exactly how to master this simple baking magic, ensuring perfect cookies every time.
Quick Overview
Transforming a humble box of cake mix into chewy, flavorful cookies is surprisingly easy. You’ll create a simple dough, bake it, and enjoy a quick treat. It’s a perfect project for bakers of all skill levels.
- Time needed: 25-35 minutes (including prep and bake time)
- Difficulty: Beginner
- What you’ll need: Box of cake mix, eggs, oil or melted butter, optional mix-ins
Step-by-Step Instructions
Step 1: Gather Your Ingredients and Tools
Before you begin, ensure you have everything within reach. This makes the baking process smooth and enjoyable. Having your ingredients ready helps prevent any last-minute scrambling.
You will need one standard box of cake mix, two large eggs, and 1/2 cup of vegetable oil or melted unsalted butter. Consider adding your favorite mix-ins like chocolate chips or sprinkles at this stage.
Step 2: Preheat Your Oven and Prep Baking Sheets
Preheat your oven to 350°F (175°C). This temperature is ideal for baking most cookies, allowing them to cook evenly. An accurately preheated oven is crucial for consistent results.
While the oven heats, line two baking sheets with parchment paper or silicone baking mats. This prevents sticking and makes cleanup significantly easier. It also helps the cookies bake more uniformly.
Pro Tip: Using an oven thermometer can help you verify your oven’s actual temperature, as many ovens can be inaccurate. This ensures your cookies bake perfectly.
Step 3: Combine Wet Ingredients
In a large mixing bowl, crack two large eggs. These eggs provide structure and moisture to your cookie dough. They are essential binders in this recipe.
Next, pour in 1/2 cup of vegetable oil or melted butter. Oil tends to make cookies softer and chewier, while butter can add a richer flavor and slightly crispier edge. Choose based on your preference.
Whisk the eggs and oil/butter together until they are well combined. The mixture should appear smooth and uniform. This initial whisking helps distribute the fat and liquid evenly.
Step 4: Add the Cake Mix
Pour the entire contents of your cake mix box into the bowl with the wet ingredients. Do not add any additional ingredients that the cake mix box might suggest for making cake, like water or extra oil. We are specifically turning it into cookie dough.
Stir the mixture using a sturdy spoon or a rubber spatula. Begin mixing gently to avoid a cloud of cake mix dust. Continue mixing until all the dry cake mix is fully incorporated into the wet ingredients.
The dough will be quite thick and sticky, much thicker than cake batter. This is exactly the consistency you want for cookies. Keep mixing until no dry streaks of cake mix remain.
Step 5: Incorporate Optional Mix-Ins
If you’re adding any optional ingredients, now is the time to fold them in. Chocolate chips, white chocolate chunks, sprinkles, nuts, or even dried fruit work wonderfully. About 1 cup of mix-ins is a good starting point.
Gently fold them into the dough until they are evenly distributed. Avoid overmixing once the mix-ins are added, as this can develop the gluten too much and result in tougher cookies. A few folds are usually enough.
Pro Tip: For extra flavor, use a cake mix flavor that complements your mix-ins. A chocolate cake mix with peanut butter chips, or a vanilla mix with white chocolate and sprinkles, are excellent combinations.
Step 6: Chill the Dough (Optional, but Recommended)
While not strictly necessary, chilling the cookie dough for at least 15-30 minutes can make a big difference. Cover the bowl with plastic wrap and place it in the refrigerator. Chilled dough is less sticky and easier to handle.
Chilling also helps prevent the cookies from spreading too much in the oven, leading to a thicker, chewier cookie. If you have the time, this step is worth it for improved texture.
Step 7: Portion and Place Dough on Baking Sheets
Once the dough is ready, scoop rounded tablespoons of dough. A cookie scoop (about 1.5-2 tablespoons in size) is ideal for this, ensuring consistent cookie sizes. Consistent size leads to even baking.
Arrange the dough balls about 2 inches apart on your prepared baking sheets. Give them enough space to spread without touching each other. Overcrowding the baking sheet can lead to uneven baking.
You can leave the dough balls as spheres for a thicker cookie, or gently flatten them slightly with the back of a spoon for a thinner, crispier cookie.
Step 8: Bake the Cookies
Place one baking sheet at a time into your preheated oven. Bake for 8-12 minutes, depending on your oven and desired doneness. The edges should be lightly golden, and the centers should still look slightly soft.
Baking times can vary, so keep an eye on them. You want them to be set but not overly browned. Overbaking leads to dry, hard cookies.
Step 9: Cool and Enjoy
Once baked, remove the baking sheet from the oven. Let the cookies cool on the baking sheet for 2-3 minutes. This allows them to firm up slightly before you move them. They will be delicate when hot.
After a few minutes, transfer the cookies to a wire cooling rack to cool completely. Cooling on a rack prevents the bottoms from becoming soggy. Once cooled, they are ready to be enjoyed!
Common Mistakes to Avoid
Overmixing the Dough
When you mix cake mix and other ingredients, it’s easy to keep going until everything looks perfectly smooth. However, overmixing can develop the gluten in the flour too much. This results in tough, dense cookies instead of soft and chewy ones. Stop mixing as soon as the dry ingredients are just incorporated.
Adding Extra Liquid
The cake mix box provides instructions for making a cake, which often includes adding water or milk. For cookies, you typically only need the eggs and oil/butter. Adding extra liquid will make your dough too thin and cause the cookies to spread excessively, becoming flat and crispy. Stick to the cookie recipe’s liquid amounts.
Overbaking the Cookies
It’s tempting to bake cookies until they look deeply golden, but this can lead to a dry, hard texture. Cookies continue to cook slightly even after they’re removed from the oven. Pull them out when the edges are lightly golden and the centers still look a bit soft. They will firm up as they cool.
Not Chilling the Dough
While you can technically bake cake mix cookies without chilling, skipping this step often results in cookies that spread too much. Chilled dough holds its shape better, leading to thicker, chewier cookies. Even 15-30 minutes in the fridge can make a noticeable difference in texture.
Troubleshooting
Cookies Spreading Too Much
If your cookies are spreading into flat pancakes, several factors could be at play. The dough might be too warm, which is why chilling is often recommended. Ensure your oven temperature is accurate; a too-low oven can also contribute to excessive spreading.
Another reason could be too much liquid in the dough, or not enough flour (though with cake mix, this is less common). Make sure you’re using the correct amount of oil/butter and eggs. If you’re using melted butter, ensure it’s not too hot when added to the eggs, as this can affect consistency.
Cookies Are Too Dry or Hard
Dry, hard cookies are usually a sign of overbaking. Keep a close eye on your cookies in the oven and pull them out when the edges are just set and lightly golden, even if the centers look a little soft. They will continue to bake on the hot sheet.
Additionally, ensure your measurements for wet ingredients are accurate. Too little oil or eggs can also lead to a drier texture. Make sure your cake mix isn’t expired, as older mixes can sometimes affect moisture content.
Cookies Sticking to the Baking Sheet
If your cookies are sticking, it’s likely an issue with your baking sheet preparation. Always use parchment paper or silicone baking mats. These create a non-stick surface that makes transferring cookies easy.
Greasing a pan directly with butter or cooking spray might not be enough, especially for delicate cookies. Make sure your baking surface is properly lined before placing the dough.
Key Takeaways
- Cake mix cookies require minimal ingredients: cake mix, eggs, and oil/butter.
- Do not follow the cake box instructions for liquid; stick to the cookie recipe’s amounts.
- Chilling the dough helps prevent spreading and creates chewier cookies.
- Bake until edges are lightly golden and centers are slightly soft to avoid dry cookies.
- Parchment paper or silicone mats are essential for non-stick baking and easy cleanup.
- Overmixing the dough can lead to tough cookies; mix until just combined.
Frequently Asked Questions
Can I use any flavor of cake mix?
Absolutely! This method works with almost any standard boxed cake mix. Chocolate, vanilla, lemon, strawberry, red velvet, and even spice cake mixes are all excellent choices. The flavor of the cake mix will directly translate to the flavor of your cookies.
What kind of oil should I use?
Vegetable oil, canola oil, or any neutral-flavored oil works perfectly. Melted butter can also be used for a richer flavor. Avoid strong-flavored oils like olive oil, as they might affect the taste of your cookies.
How long do these cookies last?
Stored in an airtight container at room temperature, cake mix cookies typically stay fresh for 3-5 days. For longer storage, you can freeze them for up to 2-3 months. Thaw frozen cookies at room temperature before enjoying.
Can I add frosting or glaze to these cookies?
Yes, you certainly can! Once the cookies are completely cooled, you can drizzle them with a simple powdered sugar glaze, spread a thin layer of canned frosting, or even dip them in melted chocolate. This adds another layer of flavor and visual appeal.
Our Top Recommended Finds
- Silicone Baking Mats: Reusable and non-stick, these make cleanup a breeze and ensure even baking.
- Cookie Scoop Set: For perfectly portioned, uniformly sized cookies every time, which helps them bake evenly.
- Wire Cooling Racks: Essential for allowing air circulation around cookies, preventing soggy bottoms and ensuring they cool properly.
Bake Up Some Joy Today
You now have all the knowledge and steps to transform a simple box of cake mix into a batch of delightful cookies. This hack isn’t just about convenience; it’s about unlocking new possibilities in your kitchen with minimal effort. Imagine the joy of fresh-baked cookies filling your home, all thanks to a simple cake mix.
Why wait? Pick up a box of your favorite cake mix next time you’re at the store. Experiment with different flavors and mix-ins. Get creative and see what delicious combinations you can discover. Start baking today and treat yourself, your family, or your friends to these incredibly easy and satisfying cookies!