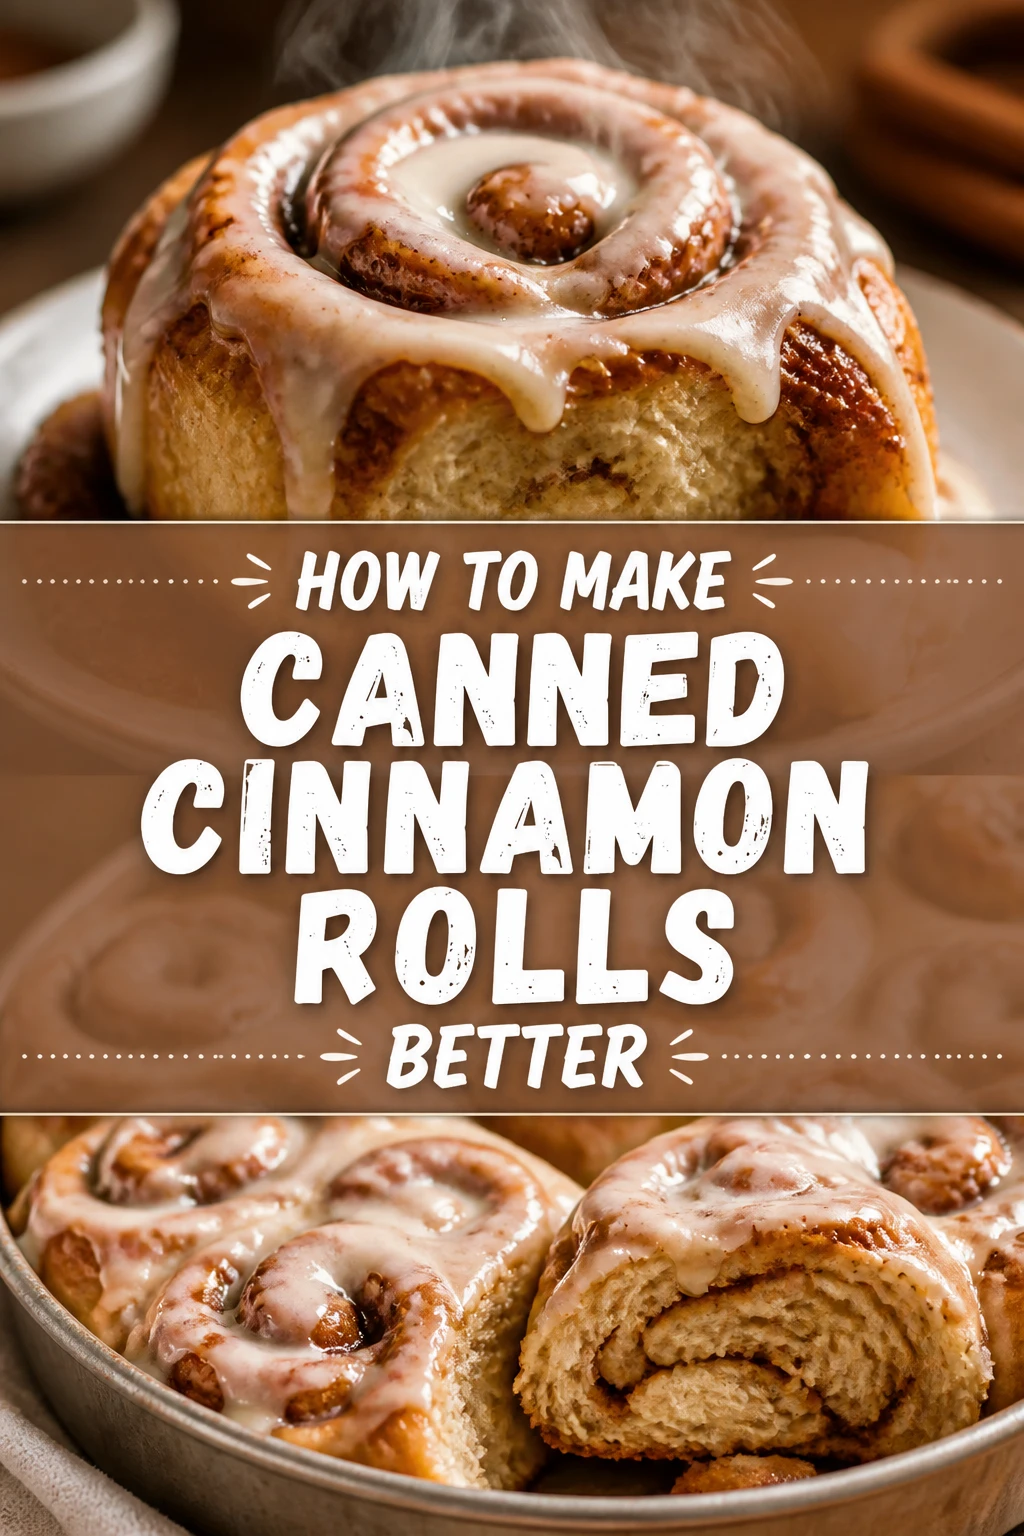
😋 How To Make Canned Cinnamon Rolls Better
We’ve all been there, eyeing a can of cinnamon rolls and wishing for a little more magic.
I’ve spent countless mornings experimenting in my kitchen, transforming these humble pantry staples into something truly extraordinary.
This guide compiles my absolute best secrets and practical tips to elevate your canned cinnamon rolls from good to utterly unforgettable.

Quick Overview
This guide will show you how to transform basic canned cinnamon rolls into a decadent, bakery-quality treat. You’ll learn simple ingredient swaps and baking techniques that make a huge difference.
- Time needed: 30-45 minutes (including baking time)
- Difficulty: Beginner
- What you’ll need: Canned cinnamon rolls, butter, heavy cream, brown sugar, extra cinnamon, vanilla extract, optional cream cheese, powdered sugar.
Step-by-Step Instructions
Step 1: Prep Your Pan with Purpose
The foundation for amazing cinnamon rolls starts with how you prepare your baking dish. A well-prepped pan ensures even baking and prevents sticking, which is crucial for a beautiful finish.
Grease your baking dish generously with softened butter, not cooking spray. Butter adds a layer of flavor and helps the rolls develop a lovely golden-brown crust.
Spread the butter across the bottom and up the sides of your pan. Make sure every surface that will touch a roll is coated.
Pro Tip: For an extra layer of non-stick and flavor, sprinkle a little brown sugar or a cinnamon-sugar mixture over the buttered bottom of the pan. This creates a caramelized crust on the bottom of your rolls.
Step 2: Elevate the Dough
Canned cinnamon roll dough is a blank canvas, ready to absorb more flavor. A few simple additions before baking can dramatically improve its texture and taste.
Unroll each cinnamon roll and gently flatten it slightly if desired. This allows for more surface area to absorb additional flavors.
Brush each unrolled piece of dough with a thin layer of melted butter. This adds richness and helps the next ingredients adhere better.
Sprinkle generously with a mixture of brown sugar and extra cinnamon. You can also add a tiny pinch of nutmeg or cardamom for a more complex spice profile.
Roll the dough back up tightly and place them seam-side down in your prepared baking dish. Arrange them with a little space between each, as they will expand.
Step 3: The Heavy Cream Secret
This is arguably the most impactful step for achieving incredibly soft, moist, and tender cinnamon rolls. Heavy cream works magic on the dough.
Pour about 1/2 cup to 3/4 cup of heavy cream directly over the rolls in the baking dish. The amount will depend on the size of your pan and the number of rolls.
Ensure the cream settles around the base of each roll, but don’t submerge them entirely. The rolls will absorb the cream as they bake, preventing them from drying out.
Let the rolls sit for 5-10 minutes, allowing some of the cream to soak in before baking. This gives them a head start on absorption.
Pro Tip: For an even richer flavor, you can gently warm the heavy cream before pouring it over the rolls. This helps it penetrate the dough more quickly.
Step 4: Bake to Perfection
Baking at the right temperature and for the correct duration is key to achieving that perfect golden exterior and gooey interior.
Preheat your oven to the temperature specified on the cinnamon roll package, usually around 350-375°F (175-190°C).
Place the baking dish into the preheated oven. Bake for the time recommended on the package, plus an additional 5-10 minutes.
Look for the rolls to be deeply golden brown on top and puffed up. The cream should be mostly absorbed and bubbling around the edges.
Cover the rolls loosely with aluminum foil if they start to brown too quickly before they are fully cooked through. This prevents burning while allowing the interior to finish baking.
Step 5: Craft a Superior Frosting
The factory-provided frosting is often too sweet and lacks depth. Making your own or enhancing the existing one is a game-changer.
Empty the canned frosting into a small mixing bowl. This is your base for a much better glaze.
Add 2-3 tablespoons of softened cream cheese to the canned frosting. This introduces a tangy richness that balances the sweetness beautifully.
Whisk in 1 teaspoon of vanilla extract, a pinch of salt, and 1-2 tablespoons of milk or heavy cream. The milk helps achieve a smoother, more pourable consistency.
Beat the mixture with a fork or a small whisk until it’s completely smooth and creamy. Adjust the consistency with more milk or powdered sugar if needed.
Pro Tip: For a truly decadent frosting, skip the canned frosting entirely. Make a simple cream cheese frosting from scratch with cream cheese, butter, powdered sugar, vanilla, and a splash of milk.
Step 6: Frost While Warm
The timing of frosting application is crucial for the best flavor and texture experience. Frosting warm rolls allows for a delicious melt and seep.
Remove the cinnamon rolls from the oven when they are perfectly baked. Let them cool in the pan for about 5-10 minutes.
Do not let them cool completely. The residual warmth helps the frosting melt slightly and spread evenly, creating a beautiful glaze.
Spoon or drizzle your enhanced frosting generously over the warm rolls. Ensure every roll gets a good coating.
Allow the frosting to set for a few minutes before serving. This creates a slightly firm, yet gooey, topping that clings perfectly to the rolls.
Step 7: Optional Finishing Touches
For an extra flourish and personalized touch, consider these final additions. They elevate the presentation and add another layer of flavor and texture.
Sprinkle a light dusting of extra cinnamon or a cinnamon-sugar mixture over the frosted rolls. This enhances the aroma and visual appeal.
Add a handful of chopped toasted pecans or walnuts. The nuts provide a delightful crunch and nutty flavor that complements the sweet rolls.
Drizzle a little caramel sauce or a homemade butterscotch sauce over the top for an even more indulgent treat. This is especially good if serving for a special occasion.
Serve immediately while the rolls are still warm. This is when they are at their absolute best, soft, gooey, and incredibly flavorful.
Common Mistakes to Avoid
Overbaking the Rolls
A common pitfall is baking the rolls for too long, leading to dry, tough results. The edges can become crispy and the centers lose their tender chewiness.
Always keep an eye on your rolls, especially during the last few minutes. They should be golden brown and puffed, but not hard to the touch. The heavy cream addition helps prevent this, but monitoring is still key.
Using Cold Ingredients for Frosting
Trying to mix cold cream cheese or butter into the canned frosting will result in a lumpy, unappealing glaze. Cold ingredients resist blending smoothly.
Ensure your cream cheese and butter are softened to room temperature before incorporating them. This allows for a silky-smooth, cohesive frosting that melts beautifully over warm rolls.
Skipping the Heavy Cream
Many people overlook the simple addition of heavy cream, which is the secret weapon for ultimate moisture. Without it, the rolls can still be somewhat dry and less tender.
The heavy cream is non-negotiable for truly superior rolls. It soaks into the dough during baking, creating an incredibly soft, rich texture that canned rolls usually lack.
Frosting Cold Rolls
Applying frosting to completely cold cinnamon rolls results in a thick, stiff layer that doesn’t meld with the roll. It sits on top rather than becoming part of the experience.
Always frost your rolls when they are still warm, about 5-10 minutes out of the oven. This allows the frosting to slightly melt, creating a wonderful glaze that seeps into the crevices and enhances flavor.
Troubleshooting
Rolls Are Dry Despite Using Cream
If your rolls still turn out dry, the oven temperature might be too high, or they were baked for too long. Even with cream, excessive heat can evaporate moisture too quickly.
Try reducing your oven temperature by 25°F and baking for a slightly longer time, or covering the rolls with foil halfway through. Also, ensure you used enough heavy cream, making sure it coats the bottom of the pan.
Frosting Is Too Thin or Too Thick
Achieving the perfect frosting consistency can sometimes be tricky. A frosting that’s too runny will disappear, while one that’s too stiff won’t spread well.
If your frosting is too thin, gradually whisk in a tablespoon or two of powdered sugar until it reaches your desired thickness. If it’s too thick, add milk or heavy cream, a teaspoon at a time, until it’s perfectly spreadable.
Rolls Stick to the Pan
Sticking often happens when the pan isn’t adequately greased or if the rolls are removed too quickly after baking before they’ve had a moment to firm up slightly.
Always grease your pan generously with butter, especially in all corners and up the sides. If rolls are still sticking, let them cool in the pan for an extra 5-10 minutes. The slight cooling helps them release more easily from the pan’s surface.
Key Takeaways
- Butter your baking pan generously and consider adding brown sugar for a caramelized bottom.
- Enhance the dough with melted butter, brown sugar, and extra cinnamon before baking.
- Pour heavy cream over the rolls before baking to ensure unparalleled moisture and tenderness.
- Create a superior frosting by blending canned frosting with softened cream cheese, vanilla, and a touch of milk.
- Always frost your cinnamon rolls while they are still warm for the best melt and flavor integration.
- Don’t be afraid to experiment with additional spices, nuts, or drizzles for a personalized touch.
Frequently Asked Questions
Can I prepare these rolls ahead of time?
Yes, you can prepare the rolls up to Step 3 (adding the heavy cream) the night before. Cover the baking dish tightly with plastic wrap and refrigerate overnight.
In the morning, remove them from the fridge about 30 minutes before baking to allow them to come closer to room temperature. Then, proceed with baking as directed, possibly adding a few extra minutes to the baking time.
What if I don’t have heavy cream?
While heavy cream yields the best results, you can use half-and-half or whole milk as a substitute in a pinch. However, the rolls might not be quite as rich or moist.
Avoid using skim or low-fat milk, as they lack the necessary fat content to significantly improve the texture of the rolls. The fat in the cream is what makes the difference.
Can I add other flavorings to the dough?
Absolutely! Feel free to experiment with different spices or extracts. A pinch of ground ginger, a touch of orange zest, or a few drops of almond extract can add wonderful complexity.
You can mix these directly into the melted butter before brushing it onto the dough, or sprinkle them along with the cinnamon and brown sugar. Start with small amounts to avoid overpowering the classic cinnamon flavor.
How long do the improved cinnamon rolls last?
These upgraded cinnamon rolls are best enjoyed fresh, ideally on the day they are made. The added moisture from the cream means they stay soft longer than plain canned rolls.
Store any leftovers in an airtight container at room temperature for up to 2 days, or in the refrigerator for up to 4 days. Reheat gently in the microwave or oven for a few minutes to restore their warmth and gooeyness.
Our Top Recommended Finds
- 9×13 Inch Ceramic Baking Dish: A sturdy, even-heating baking dish ensures consistent results and beautiful browning for your rolls.
- Pastry Brush: Essential for evenly applying melted butter to the dough, ensuring every roll gets that extra layer of richness.
- Small Whisk: Perfect for blending your enhanced frosting to a smooth, lump-free consistency, making application a breeze.
Your Next Level Cinnamon Roll Adventure Awaits
You now hold the secrets to transforming a simple can of cinnamon rolls into an extraordinary breakfast or dessert experience.
These small, intentional steps make a world of difference, turning an ordinary treat into something truly memorable.
Don’t wait another moment; gather your ingredients and get ready to impress yourself and everyone lucky enough to share these delightful, elevated cinnamon rolls.