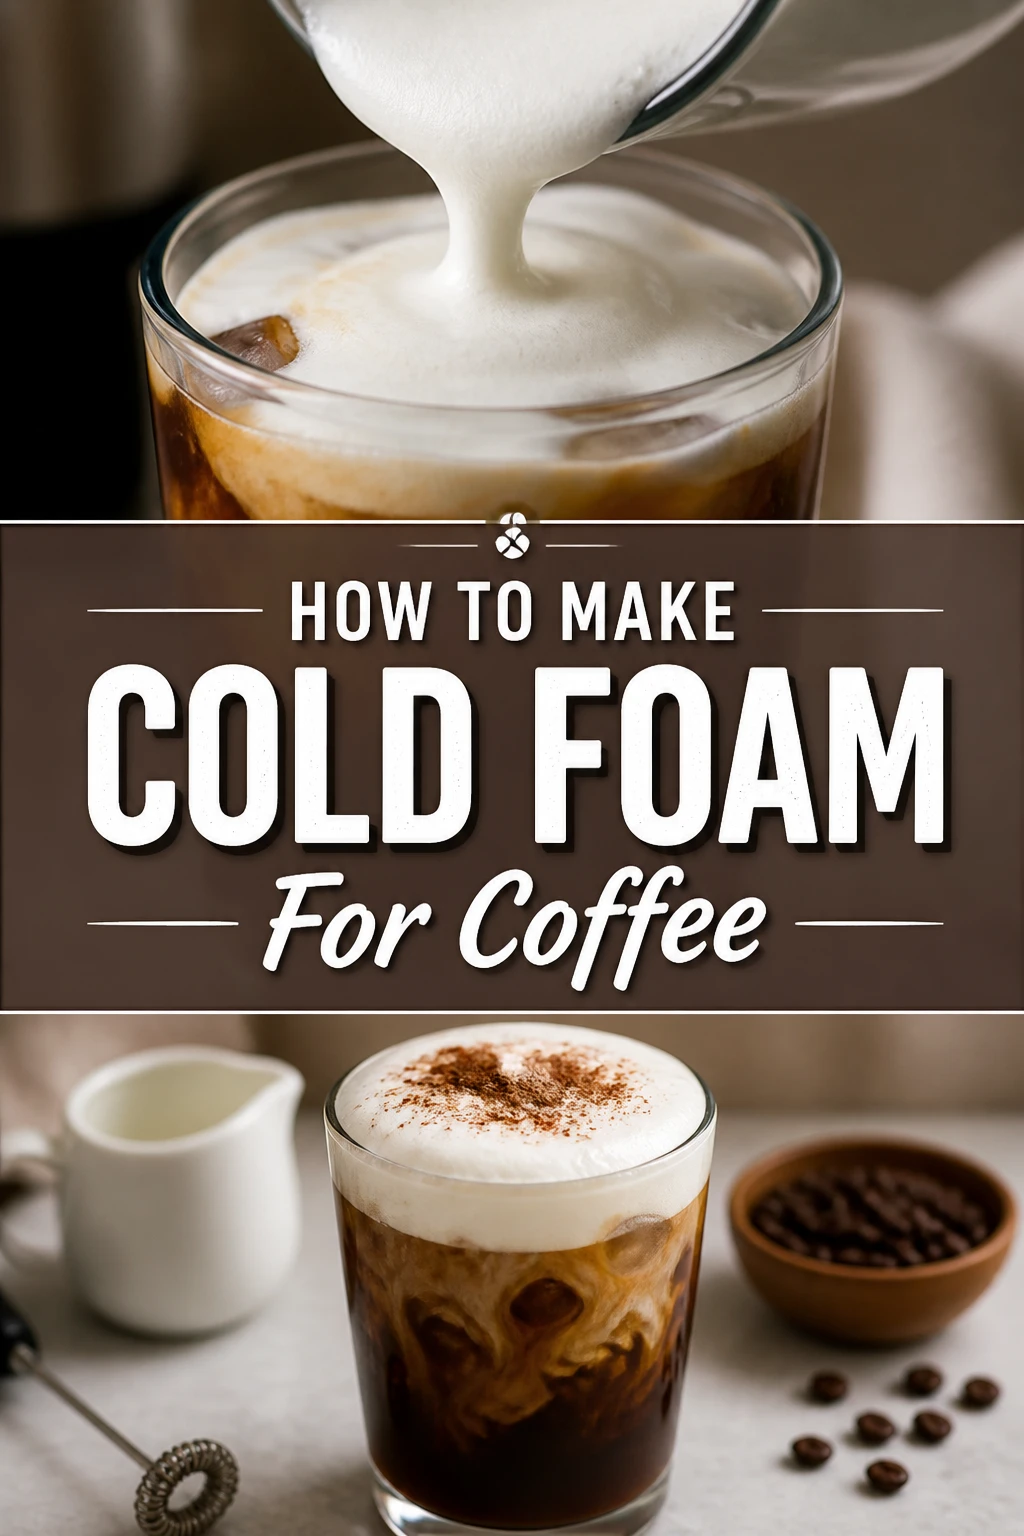
🥛 How To Make Cold Foam For Coffee
Imagine sipping on your favorite iced coffee, topped with a cloud of perfectly frothed, creamy cold foam.
It’s a simple luxury that elevates any drink, turning an ordinary morning into something special.
Having experimented with countless methods in my own kitchen, I’ve perfected the art of creating café-quality cold foam right at home, and I’m here to share every secret.
Quick Overview
This guide will walk you through crafting light, airy cold foam that rivals your favorite coffee shop’s. You’ll learn the techniques to achieve excellent texture and flavor, ready to crown your next cold brew or iced latte.
- Time needed: 5-10 minutes
- Difficulty: Beginner
- What you’ll need: Cold milk, a frothing tool (electric frother, French press, or whisk), optional sweeteners/flavorings.
Step-by-Step Instructions
Step 1: Gather Your Ingredients and Tools
Start with cold ingredients. This is non-negotiable for achieving the best cold foam texture.
Select your milk of choice. Whole milk is often considered the gold standard due to its fat content, which contributes to a stable, rich foam.
Consider other dairy options like 2% or skim milk; they can also froth well, though the foam might be slightly less stable or creamy.
Explore non-dairy alternatives if you prefer. Oat milk, almond milk, and soy milk are popular choices, but opt for “barista blends” as they are formulated to froth better.
Chill your milk thoroughly before you begin. Warm milk simply won’t produce the desired foam consistency.
Decide on your frothing tool. Common options include an electric milk frother, a French press, a handheld whisk, or even a simple lidded jar.
Prepare any optional additions like simple syrup, vanilla extract, or a dash of cinnamon. These should be incorporated before frothing.
Step 2: Choose Your Milk Wisely
Understand that the type of milk significantly impacts your cold foam’s quality. Different milks have varying fat and protein levels, which influence aeration and stability.
Opt for whole milk if you want the creamiest, most stable foam. Its higher fat content helps create a velvety texture that holds its shape beautifully.
Experiment with 2% milk for a slightly lighter foam that still offers good structure. Skim milk will produce a very airy, almost meringue-like foam that dissipates quicker.
Look for barista-style non-dairy milks if you avoid dairy. These products often contain stabilizers and slightly more protein, making them much easier to froth.
Avoid regular almond milk or rice milk, as they typically have lower protein and fat, resulting in very thin, unstable foam that quickly separates.
Ensure your chosen milk is as cold as possible. This helps the proteins and fats maintain their structure during aeration, leading to a denser, longer-lasting foam.
Pro Tip: For non-dairy milks, a brand specifically labeled “barista blend” is your best bet. These are designed to mimic the frothing properties of dairy milk.
Step 3: Add Optional Sweeteners and Flavorings
Enhance your cold foam with sweeteners or flavorings if you desire. This step is best done before frothing to ensure even distribution.
Measure out your chosen additions. A teaspoon or two of simple syrup, maple syrup, or a sugar-free sweetener can add a pleasant sweetness.
Drip in a few drops of vanilla extract, almond extract, or a flavored syrup like caramel or hazelnut for an extra layer of taste.
Stir these additions gently into your cold milk. Use a spoon to ensure they are fully dissolved and incorporated into the liquid before you start frothing.
Be mindful not to overdo it with liquid flavorings, as too much can thin out the milk and make it harder to froth effectively.
Consider adding a pinch of spice, like cinnamon or nutmeg, directly into the milk before frothing for a subtle aromatic touch.
Step 4: Choose Your Frothing Method
Select the tool that best suits your kitchen and preferences. Each method has its own nuances, but all can produce excellent cold foam.
Method A: Electric Milk Frother
Pour your cold milk into the electric frother. Many models have a specific “cold froth” setting.
Fill the frother only to the indicated “max fill” line for frothing, which is usually lower than the heating line. Overfilling prevents proper aeration.
Press the cold froth button. The frother will typically run for about a minute or two, automatically stopping once the foam is ready.
Listen for the change in sound as the milk thickens. The frother will become quieter as the foam forms.
Remove the lid and assess the foam. It should be thick, airy, and hold soft peaks.
Rinse the frother immediately after use to prevent milk residue from drying and becoming difficult to clean.
Method B: French Press
Pour your cold milk into a clean French press. Again, fill it no more than one-third of the way.
Insert the plunger and lid, ensuring it’s securely in place.
Pump the plunger vigorously up and down. Move it rapidly through the milk, creating bubbles and incorporating air.
Continue pumping for about 30-60 seconds. You’ll feel the milk thicken and resist the plunger as it transforms into foam.
Check the consistency. The volume should have significantly increased, and the milk should look light and frothy.
Tap the French press gently on the counter a few times to settle any larger bubbles, creating a more uniform foam.
Method C: Handheld Whisk or Lidded Jar
Pour your cold milk into a medium-sized bowl (for whisking) or a jar with a tight-fitting lid.
For the whisk method: Use a balloon whisk and vigorously whisk the milk in a circular motion. Angle the whisk slightly to incorporate more air.
Whisk continuously for 1-2 minutes, or until the milk visibly thickens and forms a frothy layer. This method requires a bit more arm strength.
For the jar method: Secure the lid tightly on your jar. Make sure it’s leak-proof!
Shake the jar vigorously for 30-60 seconds. Shake it as hard as you can, moving it up and down and side to side.
Open the jar and observe the foam. It should be noticeably thicker and have increased in volume.
Tap the bowl or jar gently on the counter to eliminate large bubbles and refine the foam’s texture.
Step 5: Achieve the Perfect Consistency
Look for a foam that is light, airy, and holds its shape. It should not be watery or overly stiff.
Aim for a texture similar to melted soft-serve ice cream or a fluffy cloud. It should gently cascade when poured, not plop.
Avoid over-frothing, which can create large, unstable bubbles that quickly dissipate. The goal is small, uniform microbubbles.
Under-frothing will leave you with mostly liquid milk and very little foam. If this happens, simply continue frothing for a bit longer.
Gently swirl the foam in its container after frothing. This helps to integrate any remaining liquid milk with the foam, ensuring a smoother texture.
Use a spoon to scoop out the foam if you want to separate it from any unfrothed milk at the bottom of the container.
Step 6: Pour and Serve Immediately
Prepare your cold coffee drink before the cold foam. Have your iced coffee, cold brew, or iced latte ready to go.
Pour the cold foam directly onto your beverage. The foam should sit proudly on top, creating a beautiful layered effect.
Use a spoon to gently guide the foam if it’s particularly thick, ensuring an even distribution over your drink.
Serve your masterpiece immediately. Cold foam is best enjoyed fresh, as its airy structure will naturally begin to collapse over time.
Garnish with a sprinkle of cocoa powder, cinnamon, or a drizzle of caramel sauce for an extra touch of flair and flavor.
Enjoy the delightful contrast of the cool, creamy foam with your coffee. It’s a simple pleasure that truly elevates your home barista experience.
Common Mistakes to Avoid
Using Warm Milk
Many people try to froth milk that isn’t sufficiently cold. Warm milk, or even room temperature milk, struggles to hold air effectively.
The proteins and fats in cold milk are more stable and can trap air bubbles much better, leading to a denser, longer-lasting foam.
Always ensure your milk is straight from the refrigerator, ideally even chilled further in the freezer for a few minutes if you live in a warm climate.
Overfilling the Frothing Container
It’s tempting to fill your frother or French press to the brim, especially if you want a lot of foam. However, this leaves no room for expansion.
When milk froths, its volume significantly increases as air is incorporated. Overfilling will result in spills and insufficient aeration.
Always stick to the recommended fill lines on electric frothers, or fill a French press or jar no more than one-third to halfway.
Frothing for Too Long or Not Long Enough
Finding the sweet spot for frothing duration can be tricky. Too little time results in watery, barely frothed milk.
Too much time, especially with vigorous methods like a French press or whisk, can create overly stiff foam with large, unstable bubbles that quickly separate.
Pay attention to the texture and volume increase. Stop when the foam is light, airy, and holds soft peaks, typically within 30-90 seconds depending on the method.
Using the Wrong Type of Non-Dairy Milk
Not all non-dairy milks are created equal when it comes to frothing. Many standard varieties are too thin or lack the necessary protein and fat to hold a good foam.
Regular almond milk, for example, often produces a very thin, watery foam that quickly dissipates. Rice milk is even less suitable.
Always seek out “barista blend” or “for coffee” versions of oat, almond, or soy milk. These are specifically formulated to froth well and provide a creamy texture.
Troubleshooting
Foam is Too Thin or Watery
If your cold foam isn’t thick enough, the milk might not have been cold enough. Ensure your milk is thoroughly chilled before starting the process.
Another common reason is insufficient frothing time. Continue frothing for another 15-30 seconds, observing the texture change.
Also, check the type of milk you’re using. If it’s a low-fat or unsuitable non-dairy option, switching to whole milk or a barista blend non-dairy milk will make a significant difference.
Foam Has Large Bubbles and Collapses Quickly
Large, inconsistent bubbles often indicate over-frothing or too aggressive frothing. While you need to incorporate air, doing it too violently can create unstable pockets of air.
Try frothing at a slightly slower pace or for a shorter duration. After frothing, gently tap the container on the counter a few times to burst larger bubbles and refine the foam’s texture.
Swirling the foam gently can also help integrate air and create a more uniform, stable consistency.
Foam Separates from Liquid Milk
Separation means your foam isn’t fully integrated or stable. This can happen if the milk wasn’t cold enough or if the frothing wasn’t consistent.
Ensure you’re using very cold milk and that you froth until the entire volume of milk has visibly increased and thickened, not just the top layer.
After frothing, give the foam a gentle swirl in its container before pouring. This helps to mix any remaining liquid milk into the foam, creating a more cohesive product.
Key Takeaways
- Always use thoroughly chilled milk for optimal cold foam.
- Whole milk and barista-blend non-dairy milks yield the best results.
- Don’t overfill your frothing container; leave room for expansion.
- Froth until the milk is light, airy, and holds soft peaks, avoiding over-frothing.
- Incorporate sweeteners or flavorings before you begin frothing.
- Serve your cold foam immediately on your favorite iced coffee beverage.
Frequently Asked Questions
Can I make cold foam with any type of milk?
While you can attempt to froth any milk, the best results come from whole milk or specific barista-blend non-dairy milks. These options have the ideal fat and protein content to create stable, creamy foam. Low-fat milks or standard non-dairy varieties like regular almond milk typically produce thinner, less stable foam.
How long does cold foam last?
Cold foam is best enjoyed immediately after preparation. Its airy structure will naturally begin to collapse over time, especially as it warms up. While it won’t spoil quickly, its texture and volume will diminish within 10-15 minutes, so don’t prepare it too far in advance of serving.
Can I make a large batch of cold foam to store for later?
It’s not recommended to make large batches of cold foam for storage. The foam’s delicate structure breaks down quickly, even when refrigerated. For the best quality and texture, always make cold foam fresh for each drink. It only takes a minute or two to prepare.
What’s the difference between cold foam and whipped cream?
Cold foam is made from frothed milk, resulting in a light, airy, and somewhat liquid consistency that blends into coffee. Whipped cream, on the other hand, is made from heavy cream whipped until stiff, creating a much thicker, richer, and more solid topping that sits distinctly on top of a drink.
Our Top Recommended Finds
- Electric Milk Frother: An automatic frother takes the guesswork out, often offering cold froth settings for consistent results every time.
- French Press: Beyond coffee, a French press is a versatile and budget-friendly tool for creating excellent cold foam with manual effort.
- Barista Blend Oat Milk: For non-dairy enthusiasts, a high-quality barista blend oat milk consistently delivers superior frothing performance.
Elevate Your Coffee Experience Today
You now possess the knowledge and practical steps to transform your home coffee routine. Crafting perfect cold foam is a skill that opens up a world of delightful beverage possibilities.
From simple iced coffees to elaborate layered creations, this creamy topping adds a touch of café elegance right in your kitchen.
Don’t wait to treat yourself. Gather your ingredients, pick your frothing tool, and start experimenting with flavors and textures.
Your next refreshing, café-quality cold brew or iced latte is just minutes away. Why not try making a flavored cold foam next, perhaps with a hint of pumpkin spice?