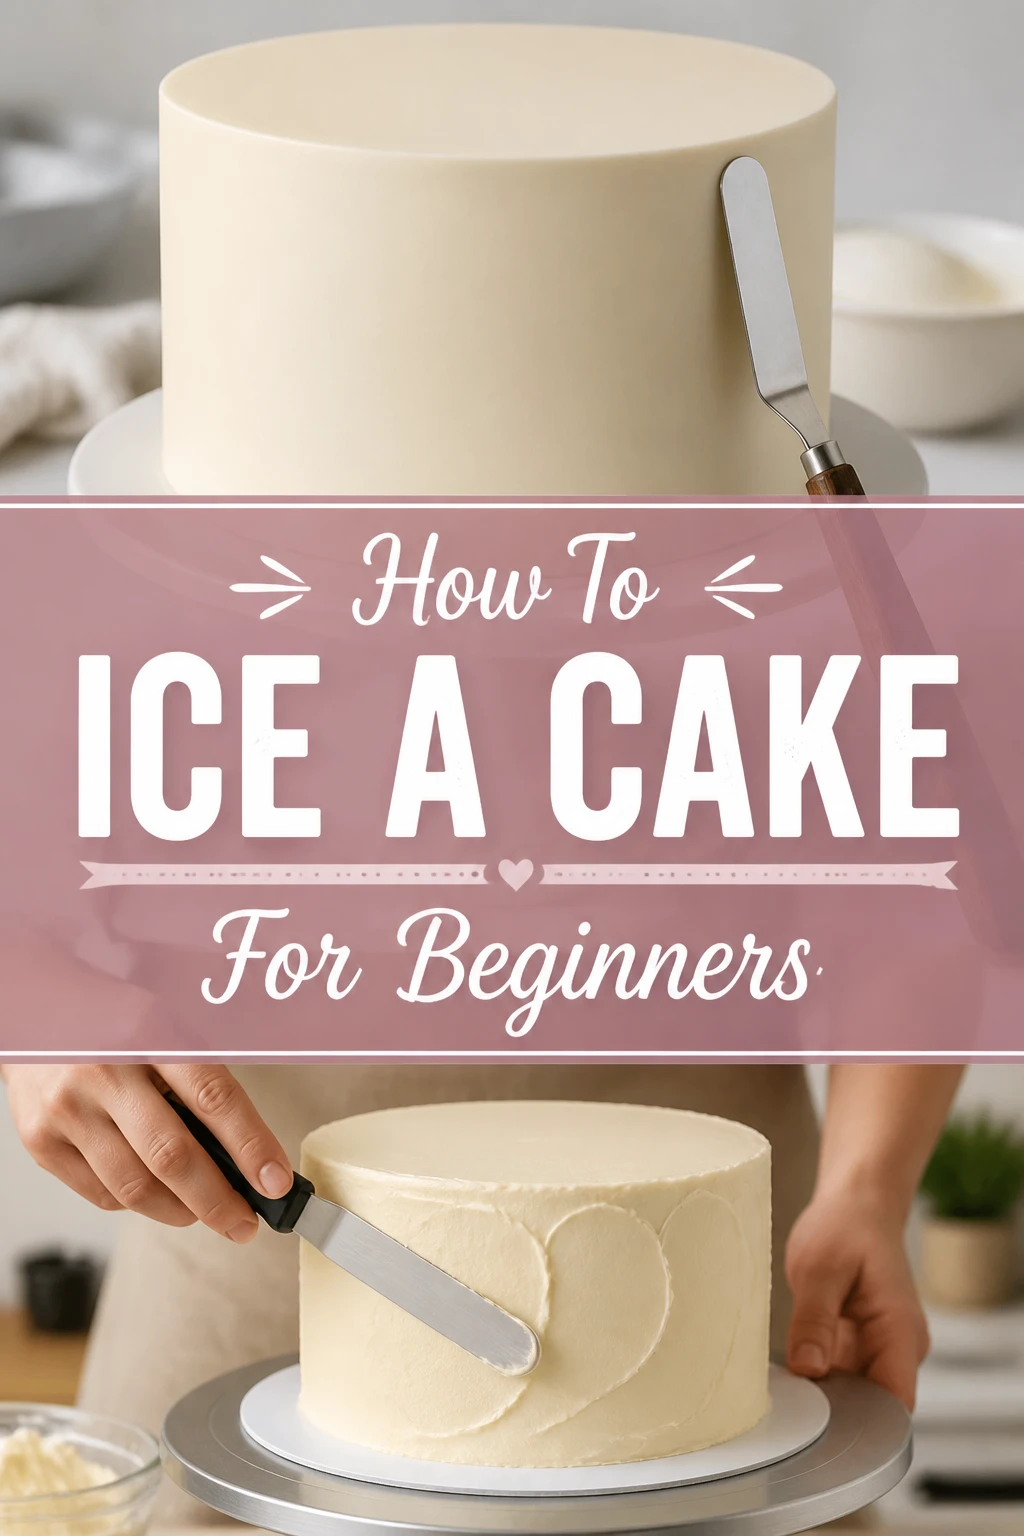
🌟 How To Ice A Cake For Beginners
Learning to ice a cake can feel intimidating, especially when you see those perfectly smooth, professional finishes.
But I promise you, with the right tools and a little patience, anyone can create a beautiful, delicious cake at home.
I’ve frosted countless cakes over the years, from simple birthday treats to elaborate wedding tiers, and I’m excited to share my easy-to-follow method to get you started.
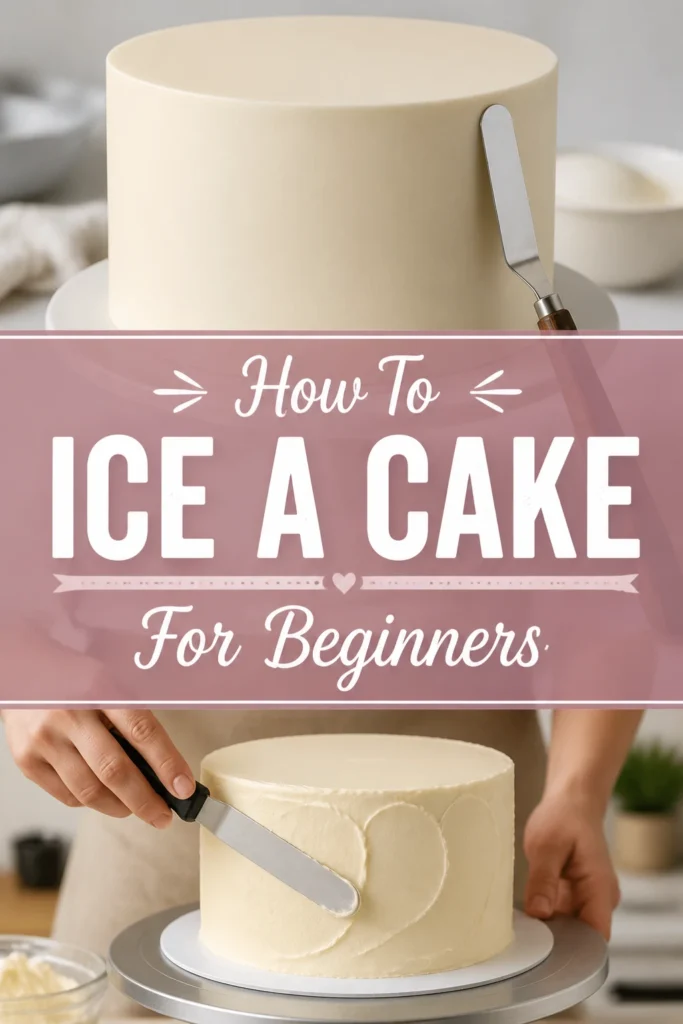
Quick Overview
Icing a cake is a rewarding process that transforms a simple baked good into a centerpiece. You’ll learn the essential techniques for a smooth crumb coat and a beautiful final layer.
- Time needed: 45-90 minutes (plus chilling time)
- Difficulty: Beginner
- What you’ll need: Cake, frosting, offset spatula, bench scraper, turntable (optional), parchment paper
Step-by-Step Instructions
Step 1: Gather Your Tools and Prepare Your Cake
Preparation is key to a smooth icing process. Having everything ready before you start will make the job much easier and less messy.
Ensure your cake layers are completely cool. A warm cake will melt your frosting, creating a disaster. You can even chill your cake in the refrigerator for 30 minutes or freeze it for 15 minutes before icing; this makes it much firmer and easier to handle.
- Gather all your tools: your cake layers, pre-made or homemade frosting, an offset spatula (small and large), a bench scraper, and a cake turntable if you have one.
- Cut four strips of parchment paper, about two inches wide.
- Arrange these strips in a square on your cake stand or serving plate, slightly overlapping in the center. This protects your plate from frosting smears.
Pro Tip: A slightly chilled cake is much easier to crumb coat and frost. The cold helps keep crumbs from tearing off and mixing into your frosting.
Step 2: Level Your Cake Layers
Even layers are crucial for a stable, professional-looking cake. If your cake has a dome, you’ll need to remove it.
Use a serrated knife or a cake leveler to carefully slice off any domed tops. Aim for flat, even surfaces so your cake stacks straight. This prevents leaning or uneven layers later on.
- Place one cake layer on your prepared cake stand, centered on the parchment strips.
- Apply a small dollop of frosting to the center of the cake stand before placing the first layer. This acts as “glue” to secure the cake and prevent it from sliding.
Step 3: Apply the Filling Between Layers
The filling not only adds flavor but also helps to build the height and structure of your cake. Don’t be shy with the frosting.
Use your offset spatula to spread an even layer of frosting over your first cake layer. Spread it right to the edges for full coverage.
- Spread a generous, even layer of frosting over your first cake layer using your offset spatula.
- Place the second cake layer directly on top, aligning it carefully with the first.
- Repeat this process for any additional layers, ensuring each layer is centered and level.
Pro Tip: For extra stability, especially with taller cakes, chill the stacked cake in the fridge for 15-20 minutes after filling. This sets the internal frosting.
Step 4: The Crumb Coat
The crumb coat is arguably the most important step for a smooth, crumb-free final finish. It locks in any loose crumbs.
Apply a very thin layer of frosting all over the cake – top and sides. This doesn’t need to be perfect; its only job is to trap crumbs.
- Scoop a dollop of frosting onto the top of your cake.
- Spread it thinly over the top, then push some over the edges.
- Use your offset spatula to spread this thin layer around the sides of the cake, covering all exposed cake.
- Don’t worry about perfection or smoothness; just get a thin coat on every surface.
- Scrape off any excess frosting from your spatula into your frosting bowl as you work.
Step 5: Chill the Crumb Coated Cake
Chilling the crumb coat is non-negotiable. This step allows the frosting to firm up, effectively sealing in all those pesky crumbs.
Place your crumb-coated cake in the refrigerator for at least 20-30 minutes. You want the frosting to be firm to the touch.
- Transfer your crumb-coated cake to the refrigerator.
- Chill for a minimum of 20-30 minutes, or until the frosting is firm and no longer sticky.
- Clean your offset spatula and prepare your work surface during this time.
Step 6: Apply the Final Layer of Frosting (Top)
Now for the main event: applying the thick, beautiful final layer of frosting. Start with the top for an even surface.
Take a generous amount of frosting and place it on top of your chilled, crumb-coated cake. This layer should be thicker than the crumb coat.
- Scoop a large dollop of frosting onto the center of the cake top.
- Spread it gently from the center outwards, pushing it slightly over the edges.
- Use your offset spatula to create an even, smooth layer across the entire top surface.
- Aim for a consistent thickness, about ¼ to ½ inch, depending on your preference.
Step 7: Apply the Final Layer of Frosting (Sides)
This is where the turntable and bench scraper become your best friends. They help create those crisp, straight sides.
Apply generous amounts of frosting to the sides of the cake. Don’t worry about being neat at this stage; just get the frosting on.
- Add more frosting to the sides of the cake, working in sections if needed.
- Use your offset spatula to spread the frosting roughly around the entire circumference. It should be thicker than the final desired layer.
- Hold your bench scraper perpendicular to the cake stand, gently pressing it against the side of the cake.
- Rotate the cake turntable slowly and steadily, allowing the bench scraper to smooth the frosting.
- Scrape off excess frosting from the bench scraper into your bowl as you rotate.
- Continue rotating and scraping until the sides are smooth and even.
Pro Tip: Keep your bench scraper clean by wiping it on the edge of your frosting bowl frequently. A clean scraper gives the smoothest finish.
Step 8: Smooth the Top Edges
The final step is to create sharp, clean edges where the top meets the sides. This gives a professional look.
Once the sides are smooth, you’ll notice a small “lip” of frosting around the top edge. This is called a “crown” or “collar.”
- Hold your small offset spatula flat, parallel to the top of the cake.
- Start from the outer edge of the cake and gently pull the spatula towards the center.
- Wipe your spatula clean after each swipe to remove excess frosting.
- Repeat this motion all around the cake until the top edges are crisp and clean.
- Carefully slide out the parchment paper strips from under the cake.
Common Mistakes to Avoid
Icing a Warm Cake
Trying to frost a cake that hasn’t fully cooled is a common beginner error. The warmth from the cake will quickly melt your carefully prepared frosting, leading to a runny, messy result. Always ensure your cake is completely cool, or even slightly chilled, before you start.
Skipping the Crumb Coat
Many beginners skip the crumb coat, thinking it’s an unnecessary extra step. This often results in crumbs showing through the final layer of frosting, which looks untidy. The crumb coat is essential for trapping those loose bits and ensuring a perfectly smooth finish.
Using Too Little Frosting
When frosting, it’s natural to want to be conservative with your frosting. However, using too little can make it difficult to spread smoothly without tearing the cake or pulling up crumbs. It’s better to apply a generous amount and then scrape off the excess.
Not Chilling Between Steps
Impatience can be your biggest enemy when icing a cake. Not allowing the crumb coat to chill and firm up means your final layer will mix with the crumb coat, creating a messy finish. Chilling helps solidify each layer, making the next step much easier.
Troubleshooting
Frosting Tearing the Cake
If your frosting is tearing pieces of cake as you spread it, your cake might not be completely cool, or your frosting might be too stiff. Ensure your cake is chilled, and if the frosting feels too firm, try warming it slightly (if it’s buttercream) or adding a tiny bit of liquid (like milk or water) to thin it out.
Crumbs Showing Through
Crumbs appearing in your final frosting layer usually means your crumb coat wasn’t thick enough or wasn’t chilled properly. Go back to basics: apply a thin but complete crumb coat, and then chill the cake until that layer is firm to the touch before applying your final frosting.
Uneven Sides or Top
Unevenness often stems from not leveling your cake layers initially or not using a bench scraper effectively. Make sure your layers are flat before stacking. When smoothing sides, hold the bench scraper at a consistent 90-degree angle and rotate the cake steadily; practice improves this technique significantly.
Key Takeaways
- Always start with a completely cool or slightly chilled cake.
- The crumb coat is crucial for trapping crumbs and creating a smooth base.
- Chilling the cake after the crumb coat is a non-negotiable step.
- Use a generous amount of frosting for the final layer; excess can be scraped off.
- A bench scraper and turntable are invaluable tools for smooth sides.
- Patience and practice are your best allies for achieving a beautiful finish.
Frequently Asked Questions
Can I use store-bought frosting?
Absolutely! Store-bought frosting is perfectly fine for beginners and can still yield beautiful results. Just make sure it’s at a good, spreadable consistency – sometimes warming it slightly or stirring it vigorously helps.
How do I get my frosting to be perfectly smooth?
Achieving perfect smoothness comes down to practice, using the right tools, and chilling. A well-chilled crumb coat, a generous application of final frosting, and careful use of a bench scraper are key. Keeping your tools clean also helps prevent streaks.
What’s the best type of frosting for beginners?
Buttercream frosting (like American buttercream) is generally recommended for beginners. It’s easy to make, holds its shape well, and is forgiving. It can be easily smoothed and is less prone to cracking than some other frostings.
My cake keeps sliding on the plate. What should I do?
To prevent your cake from sliding, put a small dollop of frosting on your cake stand or plate before placing the first cake layer down. This acts as an edible adhesive, securing your cake in place while you work.
Your Cake Journey Starts Now
You’ve learned the essential steps to transform a simple baked cake into a beautifully frosted masterpiece. This guide provides a solid foundation, giving you the confidence to tackle your next baking project.
Don’t be afraid to experiment with different frostings or decorating techniques as you gain experience. Perhaps try your hand at piping simple borders or rosettes next. The world of cake decorating is vast and full of creative possibilities. Grab your spatula and start creating delicious memories today!