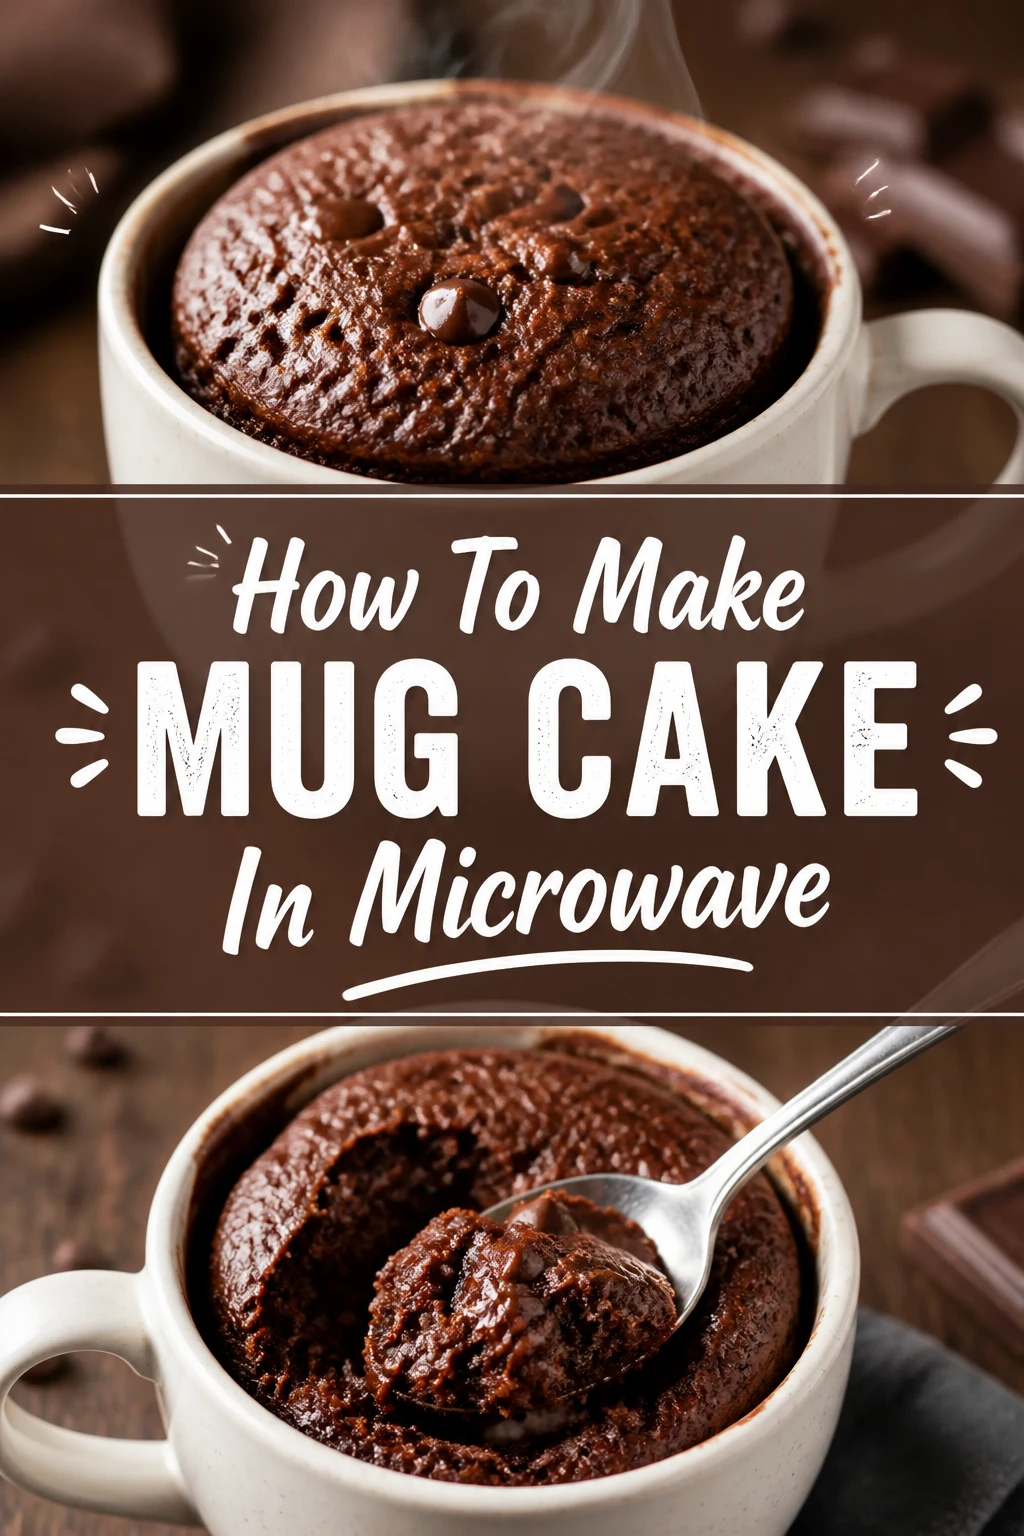
🍰 How To Make Mug Cake In Microwave
Craving something sweet but short on time? That sudden urge for cake doesn’t have to mean a trip to the store or a lengthy baking session. I’ve personally perfected the art of the microwave mug cake through countless late-night experiments. This guide comes from those delicious trials, ensuring you get it right on your very first try.
You’ll discover how to whip up a perfectly portioned, warm, and comforting treat in minutes. Forget complex recipes; this is about quick satisfaction and pure indulgence. Let’s transform simple ingredients into a delightful dessert.
Quick Overview
This guide will empower you to create a delicious, single-serving cake right in your microwave. You’ll master the art of quick mixing and precise microwaving for a perfect result every time.
Get ready to satisfy your sweet tooth with minimal fuss and maximum flavor.
- Time needed: 5-7 minutes (including prep and cook time)
- Difficulty: Beginner
- What you’ll need: A microwave-safe mug, basic pantry ingredients, a fork or small whisk, and a microwave.
Step-by-Step Instructions
Step 1: Gather Your Essential Ingredients and Equipment
Before you begin, lay out all your ingredients and equipment. This ensures a smooth and quick process, especially when dealing with such a fast recipe. Having everything ready prevents last-minute scrambling.
You will need a microwave-safe mug that holds at least 12-14 ounces. A larger mug helps prevent overflow during cooking and gives the cake room to rise. A fork or a small whisk is ideal for mixing.
Collect your dry ingredients: all-purpose flour, granulated sugar, cocoa powder (if making chocolate), baking powder, and a pinch of salt. For wet ingredients, have milk, vegetable oil, and vanilla extract ready. An egg is optional for some recipes but often adds structure.
Ensure your microwave is clean and functioning correctly. You’ll be using its power to quickly transform your batter into a cake. A clean microwave helps maintain even cooking temperatures.
Pro Tip: Using room temperature wet ingredients can sometimes lead to a slightly more tender cake, though with mug cakes, the difference is often minimal. Still, it’s a good habit to cultivate for baking in general.
Step 2: Combine the Dry Ingredients in Your Mug
This step sets the foundation for your cake’s texture and flavor. Proper mixing of dry ingredients ensures an even distribution of leavening agents and flavorings. It helps prevent lumps later on.
Add the flour to your chosen mug. Use a standard all-purpose flour for the best results. The amount will typically be around 3-4 tablespoons, depending on your recipe’s specific yield.
Spoon in the granulated sugar. Sugar contributes to both sweetness and moisture in the cake. Adjust the amount slightly based on your preference for sweetness.
Include cocoa powder if you’re making a chocolate mug cake. Sift it if it’s lumpy to avoid pockets of dry powder in your final cake. For vanilla or other flavors, omit the cocoa.
Sprinkle in the baking powder. This is your leavening agent, responsible for making the cake light and fluffy. A small pinch of salt enhances all the other flavors, so don’t forget it.
Whisk these dry ingredients together thoroughly using a fork or small whisk. Make sure there are no visible clumps of flour or cocoa powder. This initial mix is crucial for a smooth batter.
Step 3: Introduce the Wet Ingredients
Once your dry ingredients are well combined, it’s time to add the liquids. These ingredients will hydrate the flour and activate the baking powder. They also contribute to the cake’s richness and moisture.
Pour in the milk. Any type of milk—dairy or non-dairy—will generally work well. Start with the recommended amount, typically 2-3 tablespoons, as too much liquid can make the cake gummy.
Drizzle in the vegetable oil. Oil adds essential moisture and tenderness to the cake. You can use any neutral-flavored oil like canola, sunflower, or melted coconut oil. Butter can also be melted and used here for a richer flavor.
Add a dash of vanilla extract. Vanilla enhances the overall flavor profile of the cake, even if you’re making a chocolate version. It brings a warmth and depth that’s truly delightful.
Crack an egg into a separate small bowl first, if your recipe calls for one, then add a portion of the beaten egg to the mug. Some mug cake recipes are egg-free, but a small amount of egg yolk or a whole small egg can add structure and richness. If only using yolk, it provides a lovely richness without making the cake too eggy.
Step 4: Gently Mix Until Just Combined
This is a critical step where overmixing can lead to a tough cake. The goal is to bring everything together without developing the gluten too much. A light hand is key here.
Stir the wet and dry ingredients together with your fork or whisk. Start slowly, incorporating the flour mixture into the liquids. Scrape down the sides of the mug to ensure everything is included.
Mix until there are no streaks of dry flour visible. A few small lumps are perfectly fine and often preferred over overmixing. Overmixing develops gluten, which can result in a chewy, rubbery texture.
The batter should be thick but pourable, similar to a standard cake batter. If it seems too thick, you can add half a teaspoon more milk at a time until it reaches the right consistency. Conversely, if it’s too thin, a tiny pinch more flour can help.
Pro Tip: For an extra rich chocolate cake, stir in 1-2 tablespoons of chocolate chips or chunks at this stage. They melt beautifully in the microwave.
Step 5: Add Optional Mix-ins (and Clean the Edges)
This is where you can truly customize your mug cake and make it your own. Personalizing your cake adds an extra layer of enjoyment. It also helps with even cooking.
Fold in any desired mix-ins. Chocolate chips, mini marshmallows, sprinkles, a tablespoon of nuts, or even a swirl of jam can elevate your cake. Be mindful not to add too many, as this can alter the cooking time and texture.
Ensure mix-ins are evenly distributed throughout the batter. This prevents them from sinking to the bottom or clumping together. A gentle fold is all that’s needed.
Wipe any batter from the rim or sides of the mug with a damp paper towel. This prevents burnt bits from sticking to the mug during cooking. It also makes for a cleaner presentation.
A clean mug edge ensures that the cake rises without sticking to the sides. This small detail contributes to a better-looking and tasting final product.
Step 6: Microwave Your Mug Cake
Microwaving is the fastest part of the process, but it requires attention to power levels and time. Different microwaves have varying wattages, so a little experimentation might be needed initially. Start with a lower time setting.
Place the mug carefully in the center of your microwave turntable. Centering it helps ensure even cooking. This prevents one side from cooking faster than the other.
Microwave on high power for 60-90 seconds. Most recipes suggest a starting point of 60 seconds. Keep a close eye on it during this time.
The cake will rise dramatically, often peaking, then settling slightly. This is normal. Watch for the edges to set and the center to appear mostly cooked.
Pro Tip: If your microwave is particularly powerful (over 1000 watts), start with 50-60 seconds. You can always add more time, but you can’t undo overcooking.
Step 7: Check for Doneness and Adjust
Knowing when your mug cake is perfectly cooked is key to avoiding a dry or gooey result. A few simple checks will tell you if it’s ready. Don’t rush this stage.
Observe the top of the cake. It should look set and slightly springy to the touch. The surface should no longer appear wet or liquid.
Gently press the center of the cake with your finger. If it springs back, it’s likely done. If it feels too soft or wet, it needs more time.
Insert a toothpick or the tip of a knife into the center of the cake. If it comes out clean or with moist crumbs attached, your cake is ready. If it’s wet with batter, continue cooking.
Return the mug to the microwave for additional 10-15 second increments if needed. Continue checking after each interval until it reaches desired doneness. Be careful not to overcook, as this will make the cake dry and rubbery.
Step 8: Cool and Enjoy Your Creation
The final step is the most rewarding: enjoying your perfectly baked mug cake. A brief cooling period enhances the texture and prevents burns. Patience is a virtue, even for quick treats.
Carefully remove the hot mug from the microwave using oven mitts or a kitchen towel. The mug will be very hot. Place it on a heat-safe surface.
Allow the cake to cool in the mug for 1-2 minutes. This brief cooling period helps the cake set and makes it easier to eat without burning your mouth. It also allows the residual heat to finish cooking the cake gently.
Add your favorite toppings if desired. A dollop of whipped cream, a scoop of ice cream, a dusting of powdered sugar, or a drizzle of chocolate sauce are all fantastic additions. Enjoy it warm, straight from the mug, with a spoon.
Common Mistakes to Avoid
Overmixing the Batter
One of the most common pitfalls in mug cake making is overmixing. When you mix flour too vigorously, you develop the gluten strands, which can lead to a tough, rubbery cake. The goal is just to combine the ingredients until no dry streaks of flour remain. A few small lumps are perfectly acceptable and often result in a more tender cake.
Overfilling the Mug
It’s tempting to fill your mug to the brim, especially if you want a larger cake. However, mug cakes rise significantly in the microwave. Overfilling can lead to batter overflowing and making a mess in your microwave. Always leave at least an inch and a half of space from the top of the mug to allow for proper rising. This prevents spills and ensures even cooking.
Overcooking in the Microwave
Microwaves cook very quickly and can dry out food fast. Overcooking a mug cake will turn it from moist and tender to dry, dense, and rubbery. Start with the minimum recommended cooking time (e.g., 60 seconds) and check for doneness. If needed, add more time in short 10-15 second bursts. A slightly undercooked cake is often more salvageable than an overcooked one.
Ignoring Microwave Wattage
Not all microwaves are created equal. Wattage varies significantly, and a powerful microwave will cook much faster than a less powerful one. If you have a high-wattage microwave (1000W+), you’ll likely need less cooking time. Conversely, a lower-wattage microwave might need more time. Adjust your cooking time accordingly, starting with less time and adding more if necessary.
Troubleshooting
Cake is Dry and Rubbery
If your mug cake turns out dry and rubbery, the most likely culprit is overcooking. Microwaves can be very powerful, and even a few extra seconds can drastically change the texture. Next time, reduce the initial cooking time by 10-15 seconds and check for doneness more frequently in shorter increments. Ensure you’re not overmixing the batter, as this also contributes to a tough texture.
Cake is Gooey in the Middle
A gooey center usually indicates that the cake is undercooked. This is often a better problem to have than an overcooked cake. Simply return the mug to the microwave and cook for an additional 10-15 seconds. Check again, and repeat until a toothpick inserted into the center comes out clean or with moist crumbs. Ensure your microwave’s power setting is correct if you’ve altered it.
Cake Overflowed the Mug
Overflowing occurs when the mug is overfilled or the cake rises more than anticipated. Make sure you are using a mug that holds at least 12-14 ounces and only fill it about two-thirds full. If your cake still overflows, try reducing the amount of baking powder slightly in your next attempt, as too much can cause excessive rising. You might also want to reduce the cooking time slightly, as rapid, prolonged cooking can sometimes lead to more vigorous rising.
Key Takeaways
- Measure Accurately: Precision with ingredients, especially flour and baking powder, is crucial for the right texture.
- Mix Gently: Stir only until no dry streaks remain to prevent a tough, rubbery cake.
- Use the Right Mug: A 12-14 ounce microwave-safe mug prevents overflow and ensures even cooking.
- Mind Your Microwave: Start with less cooking time and add in short bursts, adjusting for your microwave’s wattage.
- Check for Doneness: A toothpick test or gentle press will tell you if your cake is perfectly cooked, avoiding dryness or gooiness.
- Cool Briefly: Allow 1-2 minutes of cooling in the mug before eating for best texture and to prevent burns.
Frequently Asked Questions
Can I make a mug cake without an egg?
Yes, many mug cake recipes are naturally egg-free and still turn out wonderfully moist and delicious. The egg typically adds a bit of structure and richness, but it’s not always essential for a small, quick cake. Look for specific egg-free mug cake recipes or experiment by omitting the egg and adding an extra tablespoon of milk or oil to compensate for moisture.
What if I don’t have baking powder?
Baking powder is a crucial leavening agent for most mug cakes, giving them their light and fluffy texture. If you don’t have it, your cake will likely be dense and flat. You might try substituting with baking soda combined with an acidic ingredient like vinegar or lemon juice, but the ratios are very specific and can be tricky to get right in a small recipe. It’s best to use baking powder if the recipe calls for it.
Can I prepare the batter ahead of time?
It’s generally not recommended to prepare mug cake batter far in advance. The baking powder starts to react as soon as it comes into contact with liquid. If the batter sits for too long, the leavening power will diminish, resulting in a flat and dense cake. For best results, mix your batter just before you plan to microwave it.
How do I make different flavor variations?
The beauty of mug cakes is their versatility. For a lemon cake, add lemon zest and a squeeze of lemon juice. For spice cake, include cinnamon, nutmeg, and ginger. You can also mix in fruit purees, different extracts like almond or peppermint, or various mix-ins like nuts, dried fruit, or different types of chocolate chips. Experiment to find your favorite combinations.
Our Top Recommended Finds
- Large Microwave-Safe Mug: A sturdy, 14-ounce ceramic mug is perfect. It provides ample room for rising and is durable for frequent use.
- Mini Whisk Set: Small whisks are incredibly useful for mixing batter directly in the mug. They ensure all ingredients are well combined without overmixing.
- Measuring Spoon Set: Accurate measurements are key for mug cakes. A good set of measuring spoons ensures you get the ratios just right every time.
Your Next Sweet Adventure Awaits
You now hold the power to create instant gratification in a mug. This simple yet satisfying treat is perfect for sudden cravings, quick desserts, or a comforting pick-me-up. No more elaborate baking projects needed for a slice of cake.
Don’t just read about it—grab your mug and ingredients today. Experiment with different flavors, add your favorite toppings, and make this quick recipe a staple in your kitchen. Your next delicious mug cake is just minutes away.