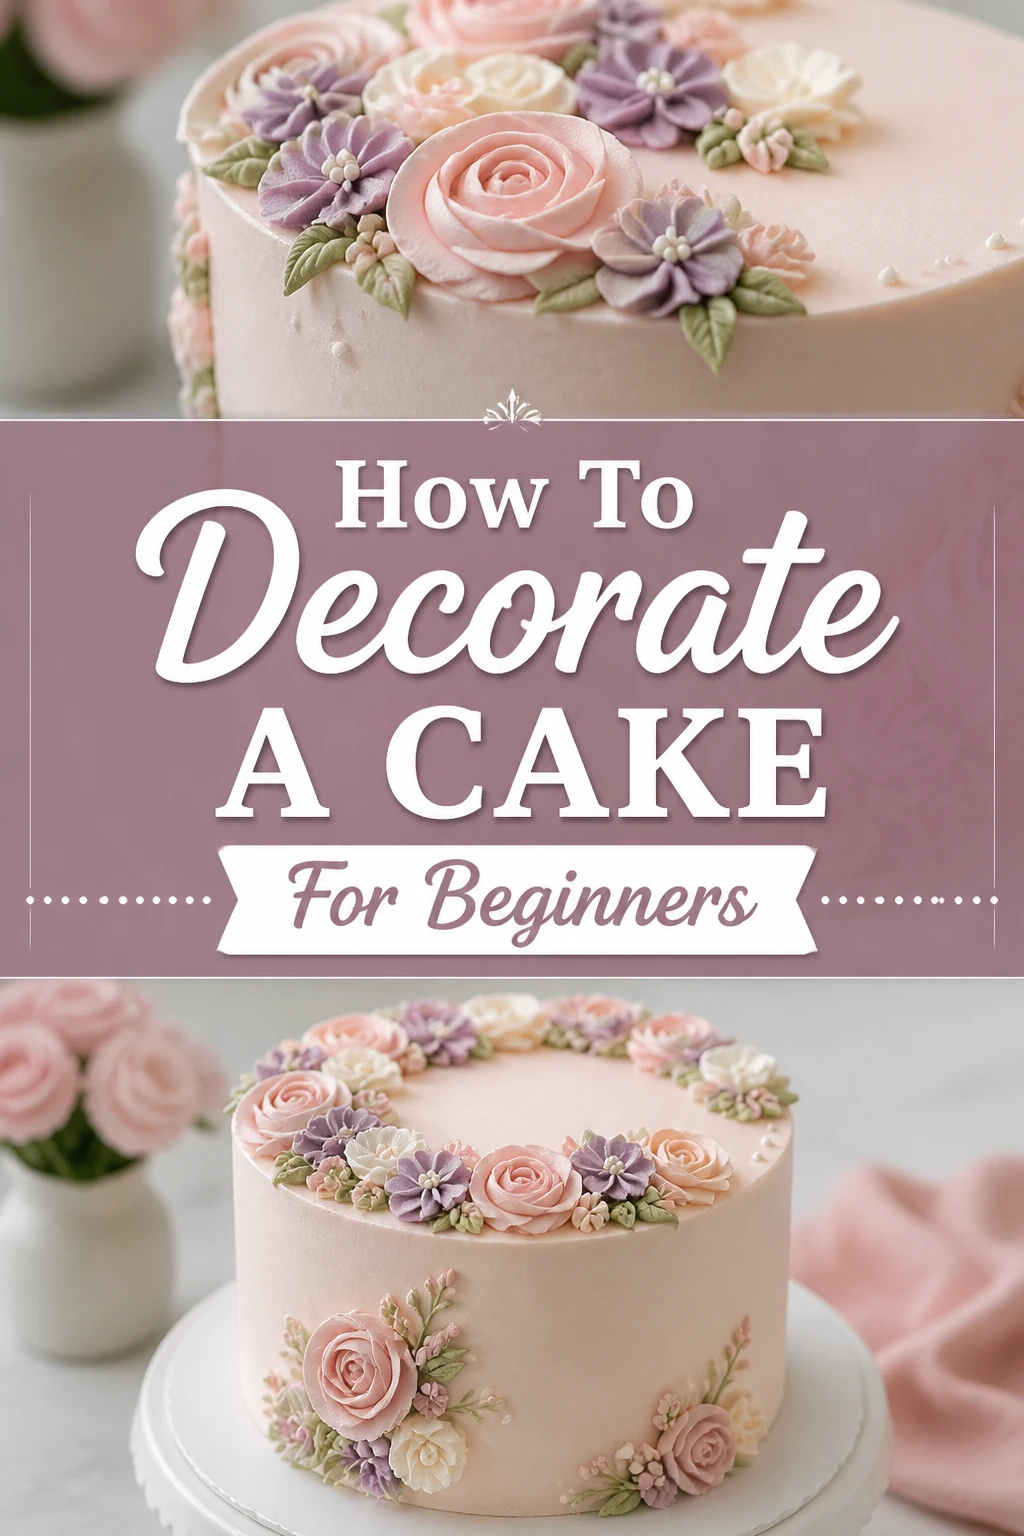
✨ How To Decorate A Cake For Beginners
I still remember the first birthday cake I tried to make for my sister many years ago.
It was a crumb-filled disaster that leaned precariously to the left, but it taught me everything about what not to do.
This guide is built on years of trial and error so you can create beautiful cakes right in your own kitchen without the stress.
Quick Overview
Decorating a cake is a process that requires patience and the right order of operations.
By following these steps, you will move from a rough-baked sponge to a polished, bakery-quality centerpiece.
- Time needed: 2 to 3 hours (including chilling time)
- Difficulty: Beginner
- What you’ll need: Cake layers, buttercream frosting, a turntable, an offset spatula, and a bench scraper.
Step 1: Level Your Cake Layers
Before you even touch the frosting, you need a flat foundation for your design.
Most cakes bake with a slight dome in the center because the edges set faster than the middle.
Place your cooled cake layer on a flat surface and hold a long serrated knife parallel to the counter.
Gently saw off the rounded top of the cake to create a perfectly flat surface.
Repeat this process for all of your layers so they stack evenly without wobbling.
Pro Tip: Use a spinning turntable while leveling to keep your knife steady and ensure the cut is even all the way across.
Step 2: Stack and Fill the Layers
Now that your layers are flat, it is time to build the height of your cake.
Place a small dab of frosting in the center of your cake board or plate to act as glue.
Set your first cake layer down and press gently to secure it in place.
Pipe a thick ring of frosting around the outer edge of the layer to create a “dam” for your filling.
Spread your filling or extra frosting inside that ring, then place the next layer on top, cut-side down.
Check the alignment from the side to make sure the cake isn’t leaning before moving forward.
Step 3: Apply the Crumb Coat
The crumb coat is the most important secret in professional cake decorating.
It is a very thin layer of frosting that “traps” loose crumbs so they don’t show up in your final design.
Scoop a small amount of frosting and spread it over the top and sides of the cake.
Scrape away the excess until the cake layers are visible through the frosting, almost like a “naked cake” style.
Ensure every inch of the sponge is covered so no crumbs can escape during the next step.
Pro Tip: Keep a separate bowl for your “crumb frosting” so you don’t accidentally get crumbs back into your main batch of clean icing.
Step 4: Chill the Cake
You cannot rush the decorating process if you want a clean finish.
Place the crumb-coated cake into the refrigerator for at least 20 to 30 minutes.
Wait until the frosting feels firm to the touch and no longer sticks to your finger.
This step sets the foundation and makes the final layer of frosting much easier to spread.
While the cake chills, you can prepare your final colors or clean your tools for the next phase.
Step 5: Apply the Final Frosting Layer
Once the crumb coat is chilled and firm, you are ready for the “beauty” layer.
Pile a large mound of frosting on top of the cake and spread it toward the edges with your offset spatula.
Push the excess frosting over the sides and begin spreading it downward to cover the perimeter.
Use more frosting than you think you need at first to ensure you have a thick, workable surface.
Work quickly to get a rough coat over the entire cake before the frosting starts to set or crust.
Step 6: Smooth the Sides and Top
This is where your cake starts to look professional and polished.
Hold your bench scraper vertically against the side of the cake at a 45-degree angle.
Spin the turntable with your other hand while keeping the scraper perfectly still.
Remove the excess frosting that builds up on the scraper and repeat until the sides are smooth.
Sweep the “crown” of frosting that has formed at the top edge toward the center of the cake using your offset spatula.
Pro Tip: Dip your metal scraper in hot water and wipe it dry before the final pass to get an extra-smooth, glossy finish.
Step 7: Add Simple Decorative Accents
You don’t need complex piping skills to make a cake look beautiful.
Fit a piping bag with a large star tip and squeeze small “dollops” or rosettes around the top border.
Press sprinkles or crushed nuts into the bottom inch of the cake to hide any imperfections at the base.
Place fresh fruit or edible flowers on top for a natural and elegant look that requires zero piping experience.
Finish by cleaning any stray frosting marks off the cake board with a damp paper towel.
Common Mistakes to Avoid
Decorating a Warm Cake
This is the most common error beginners make because they are excited to start.
If the cake is even slightly warm, the butter in your frosting will melt and slide right off the sides.
Always wait until the cake is completely cool to the touch, or even better, chill the layers in the fridge before leveling.
Overworking the Buttercream
If you stir or spread the frosting too much, you will create tiny air bubbles that ruin the smooth finish.
Try to use long, confident strokes rather than many small, choppy movements.
If your frosting looks bubbly, use a spatula to “mash” it against the side of a bowl to push the air out before applying it.
Using a Dull Knife for Leveling
A dull blade will tear the delicate crumb of the cake rather than slicing through it cleanly.
A long serrated bread knife is the best tool for the job because the teeth do the work for you.
Avoid pressing down on the cake; instead, let the sawing motion guide the blade through the sponge.
Troubleshooting
The Frosting is Too Soft to Hold Its Shape
If your kitchen is warm or you handled the piping bag too much, the frosting might become runny.
Pop the bowl of frosting or the entire cake back into the fridge for 10 minutes to firm up the fats.
You can also beat in a little more powdered sugar to stiffen the consistency if needed.
The Cake Layers are Sliding Around
This usually happens if you used too much filling or if the filling is too slick, like jam or lemon curd.
Make sure you pipe a sturdy “dam” of buttercream around the edge to hold the filling in place.
If it continues to slide, insert a couple of wooden skewers through the layers to lock them together while you frost.
Crumbs are Showing Through the Final Layer
This means your crumb coat was either too thin or you didn’t let it chill long enough.
Do not try to scrape them off, as this will only bring more crumbs to the surface.
The best fix is to add another thick layer of frosting over the top or cover the area with decorations like sprinkles or piped stars.
Key Takeaways
- Always level your cakes to ensure a stable and professional-looking structure.
- Never skip the crumb coat, as it is the secret to a clean and crumb-free finish.
- Chilling the cake between steps is the most effective way to manage soft frosting.
- A turntable and bench scraper are the most important tools for achieving smooth sides.
- Keep your tools clean and free of dried frosting to prevent streaks in your finish.
- Practice your piping on a piece of parchment paper before moving to the actual cake.
Frequently Asked Questions
Should I use store-bought or homemade frosting?
Store-bought frosting is convenient, but it is often too soft for complex decorating or stacking high layers.
Homemade American buttercream is much sturdier and allows you to control the consistency for better results.
How do I get the frosting perfectly white?
Butter has a natural yellow tint that carries over into your frosting when you whip it.
You can add a tiny drop of purple food coloring to neutralize the yellow or use clear vanilla extract to keep it bright.
Can I decorate a cake a day in advance?
Yes, most cakes actually benefit from being decorated a day early because the flavors have time to meld.
Just make sure to store it in a cool place or a cake carrier so the frosting doesn’t pick up fridge odors.
What is the best way to clean my offset spatula?
Warm soapy water is usually enough, but make sure to dry it immediately to prevent any rusting over time.
If you have dried frosting on the blade, soak it in hot water for a minute to melt the sugar and fat away.
Our Top Recommended Finds
- Revolving Cake Turntable: A heavy-duty spinning stand allows you to apply frosting in one continuous motion without stopping.
- Stainless Steel Bench Scraper: This tool is essential for getting those sharp, smooth edges on the sides of your cake.
- Offset Spatula Set: Having both a small and large spatula helps you manage different surface areas with better precision.
Your Journey To Better Baking
Now that you have the basic steps down, the best thing you can do is start practicing.
Don’t worry if your first few cakes aren’t perfect because every mistake teaches you something about the texture of the frosting or the stability of the sponge.
Try experimenting with different piping tips or color combinations once you feel comfortable with the smoothing process.
Grab your apron and start baking your next masterpiece today.