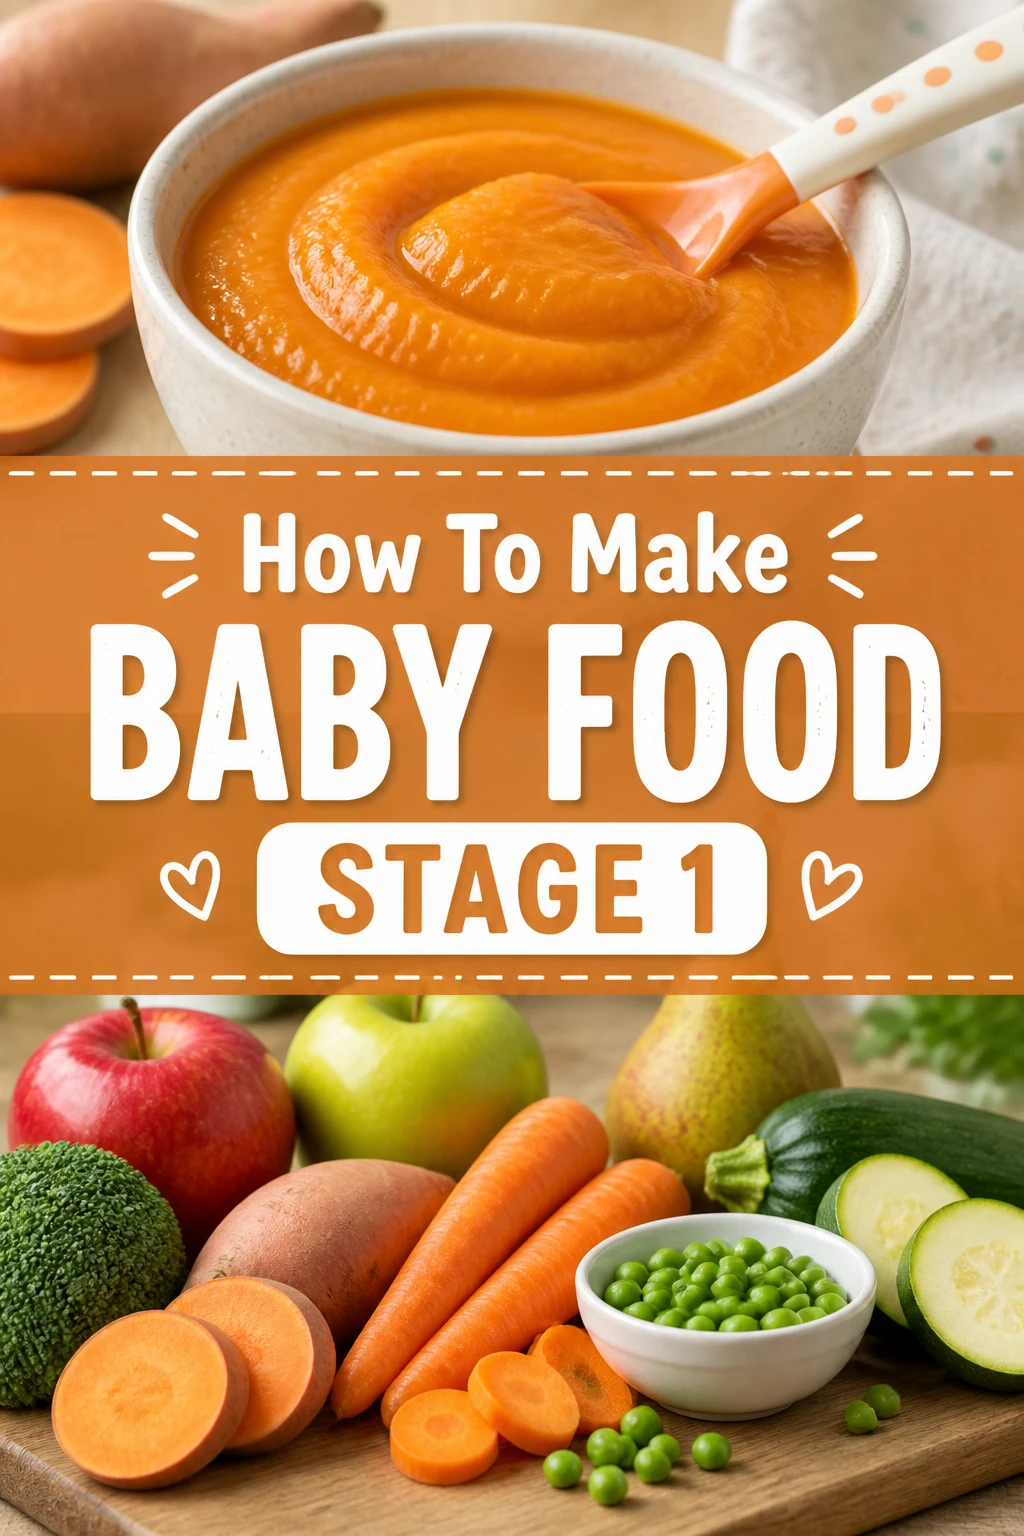
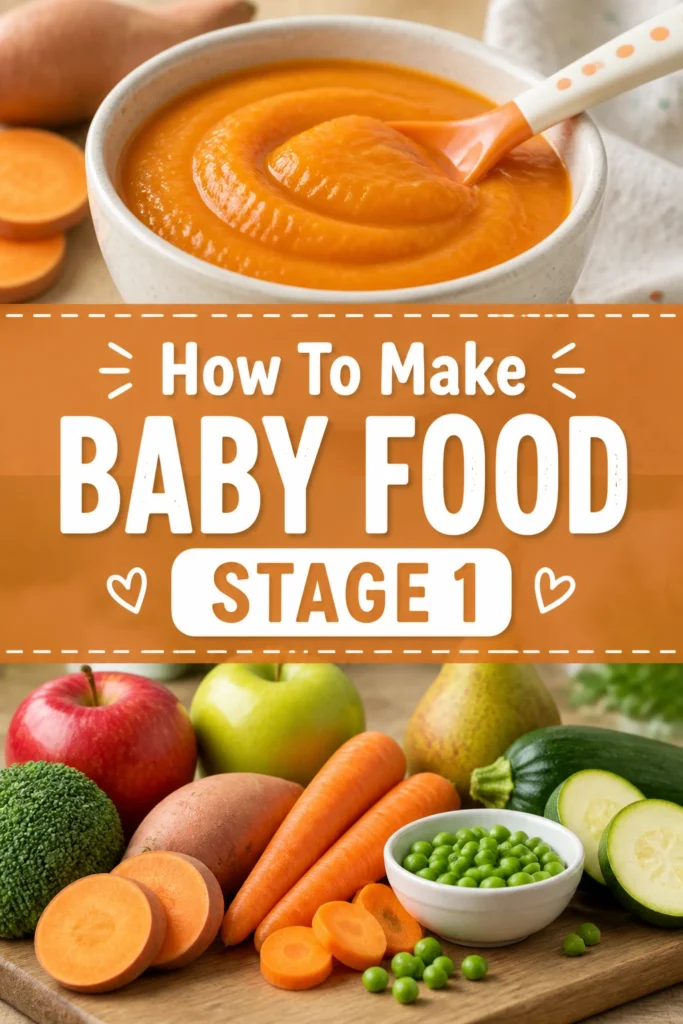
👶 How To Make Baby Food Stage 1
Bringing a new baby home marks the start of countless wonderful adventures.
One of the most exciting milestones is introducing solid foods, a journey I remember fondly with my own little one.
This guide shares the simple, wholesome approach my family embraced, helping you prepare nutritious Stage 1 baby food with confidence and love.
Quick Overview
You’re about to learn how to transform fresh ingredients into perfect, smooth purees for your baby’s first tastes. This process is surprisingly straightforward and incredibly rewarding.
- Time needed: Approximately 30-45 minutes of active preparation, plus cooling time.
- Difficulty: Beginner
- What you’ll need: Fresh fruits or vegetables, a steamer basket, a blender or food processor, ice cube trays, and airtight storage containers.
Step-by-Step Instructions
Step 1: Choose Your First Foods
Selecting the right ingredients is the foundation of healthy baby food. Start with single-ingredient purees to easily identify any potential allergies or sensitivities.
Opt for easily digestible fruits and vegetables. Sweet potatoes, peas, carrots, green beans, avocados, bananas, and pears are excellent choices for Stage 1.
Always pick ripe, fresh produce. Organic options are often preferred by parents, but thoroughly washing conventional produce is also effective.
Pro Tip: Introduce one new food every 3-5 days. This allows you to monitor your baby for any adverse reactions like rashes, gas, or digestive upset. Keep a food diary to track what your baby eats and how they react.
Step 2: Gather Your Tools
Having all your equipment ready makes the process smooth and efficient. You likely already own most of what you need.
You’ll require a cutting board and a sharp knife for preparing the produce. A steamer basket and a pot are essential for cooking, or you can use a microwave-safe bowl for steaming.
A blender, immersion blender, or food processor is necessary for achieving that super smooth consistency. Finally, have ice cube trays and freezer-safe containers for storage.
Step 3: Prepare the Produce
Thoroughly wash all fruits and vegetables under cool running water. Even if you plan to peel them, washing first helps prevent transferring contaminants.
Peel the produce when necessary, especially for vegetables like sweet potatoes, carrots, or fruits like apples and pears. Remove any seeds, pits, or tough skins.
Cut the produce into small, uniform pieces. This ensures even cooking and makes blending much easier later on.
Step 4: Cook Until Tender
Steaming is often the preferred cooking method for baby food. It helps retain most of the nutrients, flavor, and color compared to boiling.
Place the cut produce in a steamer basket over about an inch of boiling water. Ensure the water does not touch the food.
Cover the pot and steam until the produce is very tender when pierced with a fork. Cooking times vary; soft fruits like pears might take 5-7 minutes, while carrots or sweet potatoes could take 15-20 minutes.
Alternatively, you can roast vegetables like sweet potatoes or butternut squash. This brings out a lovely natural sweetness. Roast at 400°F (200°C) until very soft.
Pro Tip: For fruits like avocado or banana, no cooking is needed. Simply mash or blend them raw. These are fantastic first foods due to their creamy texture and nutrient content.
Step 5: Blend to Perfection
Transfer the cooked, tender produce to your blender or food processor. For Stage 1, the goal is an ultra-smooth, lump-free puree.
Add a small amount of liquid to help achieve the desired consistency. This can be breast milk, formula, or the reserved cooking water from steaming.
Start with a tablespoon or two of liquid and blend. Add more liquid gradually, a teaspoon at a time, until the puree is smooth and thin enough for your baby.
Ensure there are no chunks or fibrous pieces that could pose a choking hazard. For very fibrous vegetables, you might even push the puree through a fine-mesh sieve.
Step 6: Cool Safely
Once blended, the baby food will be warm or hot. It’s crucial to cool it down quickly and safely before storing.
Transfer the puree to a shallow bowl or spread it out on a baking sheet. This increases the surface area, allowing it to cool faster.
You can also place the bowl of puree into a larger bowl filled with ice water. Stir the puree occasionally to facilitate cooling.
Aim to get the food to room temperature within one hour to minimize bacterial growth. Never leave freshly made baby food out at room temperature for extended periods.
Step 7: Portion and Store
Once completely cooled, it’s time to portion your homemade baby food for easy serving.
Spoon the puree into clean ice cube trays. Each cube typically holds about 1 ounce, which is a perfect serving size for a baby just starting solids.
Cover the ice cube trays with lids or plastic wrap to prevent freezer burn and contamination. Place them in the freezer until the cubes are solid.
Once frozen, pop the cubes out and transfer them to freezer-safe bags or airtight containers. Label each bag or container with the food type and the date it was made.
Pro Tip: Homemade baby food can be stored in the refrigerator for up to 3 days and in the freezer for up to 3 months. Always thaw frozen cubes in the refrigerator overnight or by using a warm water bath. Reheat gently on the stovetop or in the microwave, stirring well to ensure even temperature, and test before serving.
Step 8: Introduce to Baby
The moment has arrived! When your baby is ready for their first taste, thaw a portion of the puree.
Warm it slightly to a pleasant, lukewarm temperature. Always test the temperature on the back of your hand before offering it to your baby.
Offer a very small amount on a soft-tipped baby spoon. Don’t be discouraged if your baby makes funny faces or pushes it out; it’s a new experience for them.
Continue to offer new foods patiently and observe your baby’s cues. Remember, solids are about exploration and practice at this stage, not necessarily filling them up.
Common Mistakes to Avoid
Adding Salt or Sugar
It’s tempting to season food to our adult tastes, but babies do not need added salt or sugar. Their kidneys are not mature enough to process excess sodium, and sugar can lead to unhealthy preferences and dental issues.
Focus on the natural sweetness and flavors of the fruits and vegetables. Your baby will appreciate the pure taste and develop a palate for wholesome foods.
Ignoring Texture
For Stage 1, a smooth, lump-free puree is crucial. Any chunks can be a choking hazard for babies who are just learning to swallow solids.
If your puree isn’t perfectly smooth, blend it longer, add a little more liquid, or push it through a fine-mesh sieve. As your baby grows, you can gradually introduce thicker textures, but start with silky smooth.
Introducing Too Many Foods at Once
Rushing to introduce multiple new foods can make it impossible to pinpoint the cause if your baby has an allergic reaction or digestive upset. The 3-5 day rule is there for a reason.
Stick to one new food at a time. This methodical approach ensures you can identify and address any issues promptly, keeping your baby safe and comfortable.
Improper Storage
Food safety is paramount when preparing baby food. Leaving purees out at room temperature for too long or storing them incorrectly can lead to bacterial growth.
Always cool food rapidly after cooking, then refrigerate or freeze promptly in airtight, clean containers. Labeling with dates helps you keep track of freshness and avoid spoilage.
Troubleshooting
Food is Too Thin/Thick
If your puree is too thin, it might be challenging for your baby to eat. Try adding a bit more of the cooked solid ingredient, or a spoonful of baby cereal if appropriate for your baby’s stage.
If the puree is too thick, it can be difficult for your baby to swallow. Simply add a small amount of breast milk, formula, or clean water, a teaspoon at a time, until you reach the desired smooth, pourable consistency.
Baby Refuses New Food
It’s common for babies to reject new tastes or textures initially. Don’t take it personally or force them to eat. This can create negative associations with mealtime.
Try offering the food again a few days later. Sometimes it takes multiple exposures (up to 10-15 times!) for a baby to accept a new food. You can also try mixing a tiny amount with a food they already enjoy.
Food Spoils Quickly
If your homemade baby food seems to spoil before its expected shelf life, review your preparation and storage methods. Ensure all equipment is thoroughly cleaned and sanitized.
Make sure you are cooling the food quickly and completely before freezing or refrigerating. Always use airtight containers and avoid cross-contamination with other foods. Check your refrigerator and freezer temperatures to ensure they are optimal.
Key Takeaways
- Always start with single-ingredient purees for Stage 1.
- Steaming helps preserve nutrients and flavor in fruits and vegetables.
- Achieve an ultra-smooth, lump-free consistency for safety.
- Cool purees quickly and store them properly in labeled containers.
- Introduce new foods one at a time, allowing 3-5 days between each.
- Patience is key; it can take many tries for a baby to accept a new food.
Frequently Asked Questions
When can I start making Stage 1 baby food?
Most pediatricians recommend starting solids around 4-6 months of age. Look for signs of readiness, such as good head control, sitting up with support, showing interest in food, and losing the tongue-thrust reflex.
Do I need organic produce?
While organic produce can reduce exposure to pesticides, it’s not strictly necessary. Thoroughly washing conventional fruits and vegetables and peeling them when appropriate is usually sufficient. The most important thing is to offer a variety of fresh, wholesome foods.
How long does homemade baby food last?
Homemade baby food can be stored in the refrigerator for up to 3 days. In the freezer, it typically lasts for up to 3 months. Always label your containers with the date to keep track of freshness.
Can I mix fruits and vegetables for Stage 1?
For Stage 1, it’s best to stick to single-ingredient purees. This helps you identify any potential allergies or sensitivities more easily. Once your baby has successfully tried several individual foods, you can begin to introduce simple combinations.
Our Top Recommended Finds
- Baby Food Maker (Steamer & Blender Combo): These all-in-one machines simplify the process, steaming and blending in the same bowl for less cleanup.
- Silicone Ice Cube Trays with Lids: Perfect for portioning baby food into individual servings, and the silicone makes popping out frozen cubes effortless.
- Small Glass Storage Containers: Ideal for refrigerating individual portions or for packing snacks on the go, offering a non-toxic and durable option.
Embrace This Feeding Adventure
Making your own Stage 1 baby food is a wonderful way to provide your little one with fresh, wholesome meals. It’s a journey filled with discovery, for both you and your baby.
You’re not just preparing food; you’re nurturing their growth, exploring new tastes, and building healthy habits from the very beginning.
So, gather your ingredients, trust the process, and enjoy every precious moment of this new feeding chapter. Your baby will thank you for the delicious, homemade goodness.