🧄 How To Roast Garlic In The Oven
There’s a special kind of magic that happens when you roast garlic.
That pungent, sharp bite transforms into something mellow, sweet, and utterly spreadable.
I’ve been roasting garlic for years, perfecting the technique to get that perfect golden-brown, buttery result every time, and I’m excited to share my foolproof method with you.
Quick Overview
You’re about to transform raw garlic into a sweet, caramelized delicacy that will elevate countless dishes. This guide makes it simple.
- Time needed: 45-60 minutes (10 mins prep, 35-50 mins roast)
- Difficulty: Beginner
- What you’ll need: Whole garlic heads, olive oil, salt, pepper, aluminum foil, baking sheet.
Step-by-Step Instructions
Step 1: Select Your Garlic Heads
Choose firm, unblemished heads of garlic. Look for ones that feel heavy for their size.
Avoid any heads that feel soft, spongy, or show signs of sprouting green shoots, as these might be past their prime.
The fresher the garlic, the better the roasted flavor will be.
Step 2: Prepare the Garlic Heads
Preheat your oven to 400°F (200°C). This ensures the oven is at the correct temperature when your garlic is ready to go in.
Remove most of the loose, papery outer layers from each garlic head. You want to leave just enough to keep the cloves intact.
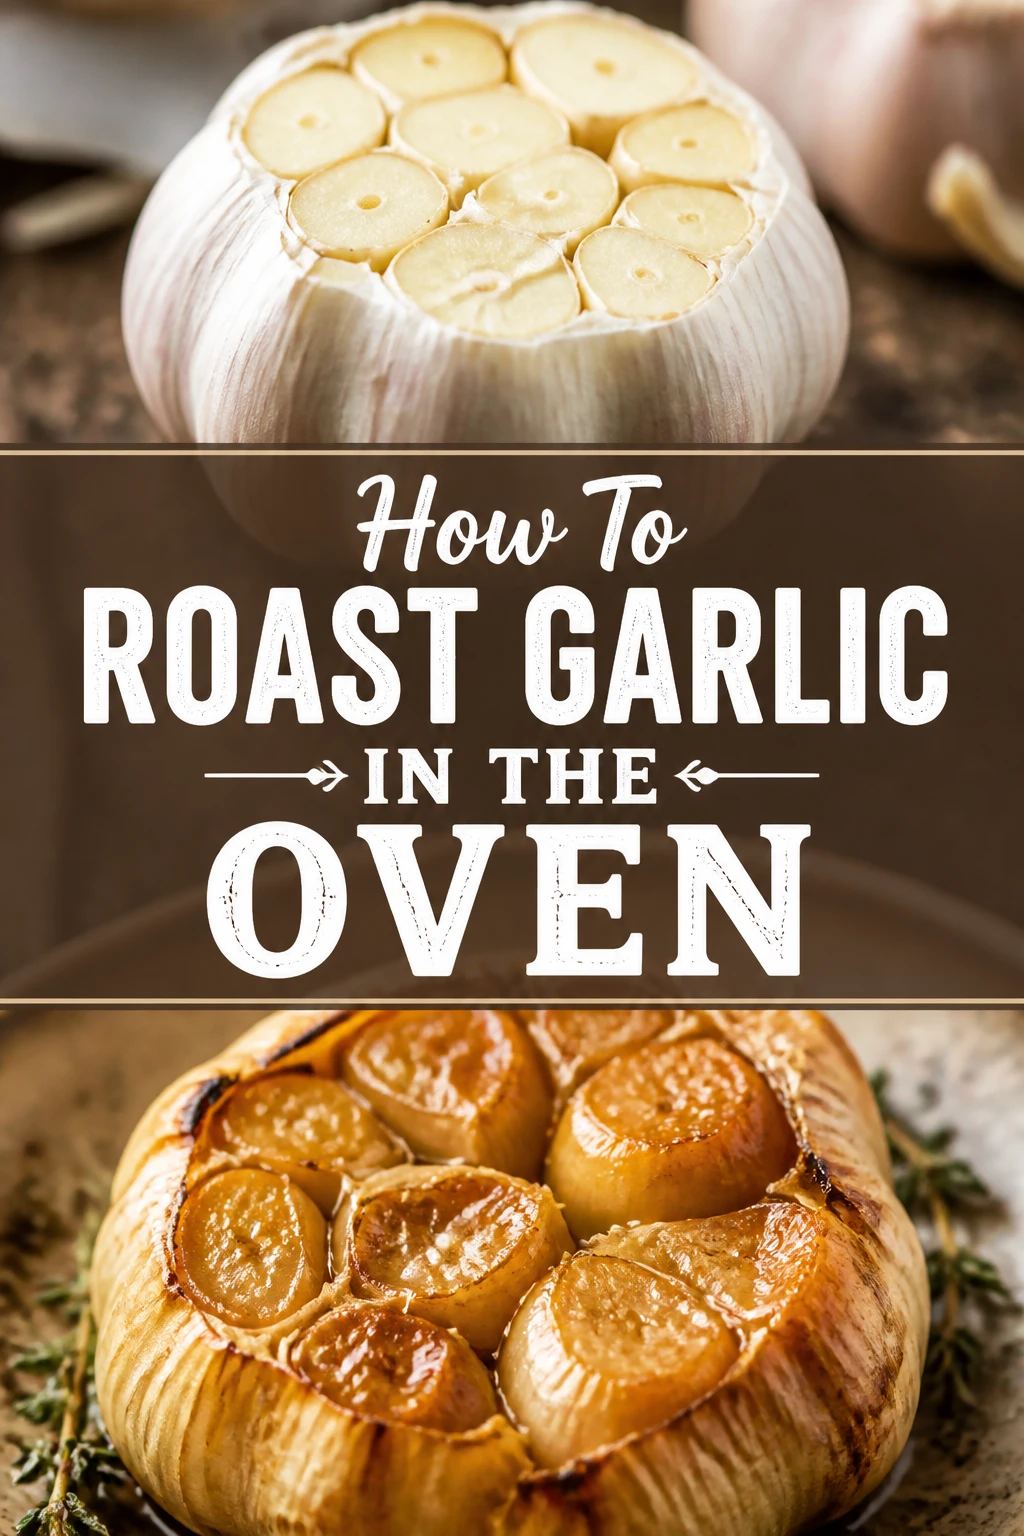
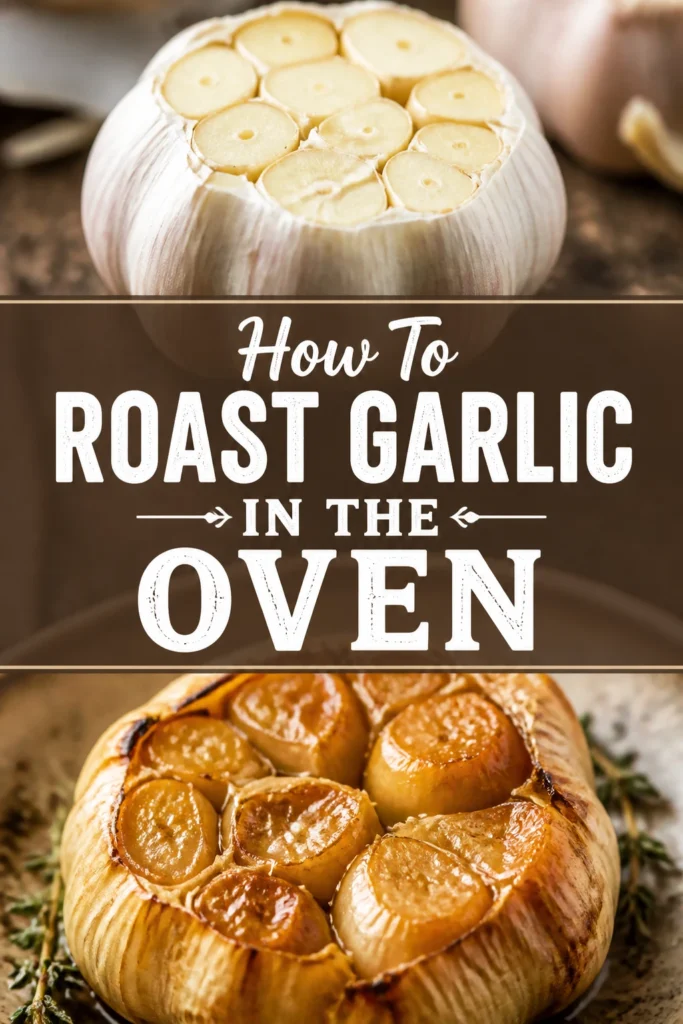
Slice about a quarter to a half-inch off the top of each garlic head. This exposes the tips of the individual cloves.
Make sure all the cloves are visible through the cut top. This allows the oil and heat to penetrate effectively.
Pro Tip: Don’t remove too many outer layers. The remaining skin acts like a natural wrapper, protecting the garlic from burning and steaming it gently.
Step 3: Drizzle with Olive Oil
Place each prepared garlic head onto a small square of aluminum foil. Use a piece large enough to fully enclose the garlic later.
Drizzle about one to two teaspoons of olive oil over the exposed cloves of each garlic head.
Ensure the oil seeps down into the crevices between the cloves. This helps them caramelize and become tender.
Step 4: Season Generously
Sprinkle a pinch of salt over the oiled garlic heads.
Freshly ground black pepper is also a welcome addition, enhancing the overall flavor.
You can also experiment with a tiny sprig of fresh rosemary or thyme tucked into the foil for an aromatic boost.
Step 5: Wrap and Seal
Bring the edges of the aluminum foil up around each garlic head.
Crumple and seal the foil tightly to create a small, individual packet.
This creates a steamy environment that helps the garlic cook evenly and prevents it from drying out or burning.
Step 6: Roast in the Oven
Place the foil-wrapped garlic packets directly onto a baking sheet.
This makes them easier to handle and catches any potential leaks, although properly sealed packets rarely leak.
Bake in the preheated oven for 35 to 50 minutes.
The exact time depends on the size of your garlic heads and your oven’s calibration.
Step 7: Check for Doneness
After about 35 minutes, carefully remove one packet from the oven.
Open the foil slightly to expose a clove.
Squeeze the garlic head gently. It should feel very soft and yielding.
The cloves should be golden brown and look caramelized.
If they still feel firm, reseal the packet and return it to the oven for another 5-10 minutes, then check again.
Pro Tip: Don’t rush this step. Perfectly roasted garlic is incredibly tender and easily squeezes out of its skin. Undercooked garlic will be harder to extract and less sweet.
Step 8: Cool and Extract
Once roasted to perfection, remove the garlic from the oven and let the packets cool for about 10-15 minutes.
This makes them easier to handle and allows the garlic to set slightly.
Open the foil packets. You can now easily squeeze the soft, sweet garlic pulp from the bottom of each clove directly into a bowl.
Alternatively, use a small spoon or a knife to scoop out the softened cloves.
Step 9: Enjoy or Store
Your roasted garlic is now ready to enjoy! It’s fantastic spread on crusty bread, mashed into potatoes, or stirred into sauces.
If you have leftovers, store the roasted garlic cloves in an airtight container in the refrigerator for up to 3-4 days.
You can also cover them with a layer of olive oil in a jar for slightly extended storage (about a week), but be mindful of botulism risk if not properly acidified or refrigerated.
For longer storage, freeze the roasted garlic. Portion it into small amounts in an ice cube tray, cover with olive oil, freeze, then transfer the cubes to a freezer bag. It will last for several months.
Common Mistakes to Avoid
Not Cutting the Top Off
Forgetting to slice off the top of the garlic head is a common oversight. Without this crucial step, the olive oil can’t properly penetrate the cloves, and the steam can’t escape as effectively. This leads to uneven cooking and garlic that’s harder to squeeze out.
Always ensure a good portion of the top is removed, exposing the cloves for optimal roasting.
Not Using Enough Oil
Some people are hesitant to use a generous amount of olive oil, but it’s essential for achieving that signature caramelized, tender texture. Too little oil will result in dry, somewhat tough garlic that doesn’t reach its full sweetness potential.
Don’t be shy with the drizzle; the oil helps conduct heat and contributes to the rich flavor.
Wrapping Too Loosely
A loose foil packet allows too much steam to escape, which can dry out the garlic rather than tenderizing it. It also exposes the garlic to more direct heat, increasing the risk of burning.
Make sure to crimp the foil tightly around the garlic head, creating a secure, sealed environment for steaming and roasting.
Overcooking or Undercooking
Both extremes can ruin roasted garlic. Overcooked garlic turns dark brown or black, becoming bitter and dry. Undercooked garlic will be firm, pungent, and difficult to extract, lacking the desired sweetness and creamy texture.
Always check for doneness around the 35-minute mark, looking for a golden-brown color and a very soft, yielding texture when squeezed.
Troubleshooting
Garlic is Dry and Hard
If your roasted garlic comes out dry and hard, it’s likely due to not enough olive oil or a loosely wrapped foil packet. The garlic might have dried out instead of steaming and caramelizing.
Ensure you drizzle generously with oil and seal the foil tightly next time. You might also have roasted it at too high a temperature or for too long, causing it to dehydrate rather than soften.
Garlic is Bitter
Bitterness in roasted garlic usually indicates it was overcooked and burned. The sugars in the garlic can quickly turn bitter once they pass a certain point of caramelization.
Keep a close eye on the cooking time, especially towards the end. Check for doneness earlier if you suspect your oven runs hot. A slightly golden-brown is perfect; dark brown or black is too far.
Garlic is Still Pungent and Raw-Tasting
This is a clear sign that your garlic is undercooked. It hasn’t had enough time in the oven to break down its strong compounds and develop its characteristic sweetness and mildness.
Return the garlic to the oven for additional roasting time, checking every 5-10 minutes until it’s very soft, golden, and easy to squeeze from its skin.
Key Takeaways
- Always choose fresh, firm garlic heads for the best results.
- Cutting the top off and using ample olive oil are crucial for tender, sweet cloves.
- A tightly sealed foil packet creates the perfect steaming environment.
- Roast at 400°F (200°C) for 35-50 minutes, checking for golden-brown tenderness.
- Avoid overcooking to prevent bitterness and undercooking for optimal sweetness.
- Roasted garlic is versatile; enjoy it immediately or store it properly for later use.
Frequently Asked Questions
Can I roast individual cloves instead of whole heads?
Yes, you can roast individual cloves, but they will cook much faster and are more prone to burning. Peel the cloves, toss them with olive oil, salt, and pepper, then wrap them loosely in foil. Roast for about 15-25 minutes at 375°F (190°C), checking frequently.
What’s the best way to use roasted garlic?
Roasted garlic is incredibly versatile. Spread it on toast or crackers, mash it into mashed potatoes, whisk it into salad dressings, add it to pasta sauces, or mix it into hummus. It brings a deep, sweet garlic flavor to almost any savory dish.
Can I roast garlic without foil?
While foil is highly recommended for its steaming effect, you can roast garlic without it. Place the cut garlic heads in a small, oven-safe dish with a lid, or a muffin tin. Drizzle with oil, season, and cover tightly. This method also works well, but foil is often more convenient for individual packets.
How long does roasted garlic last?
Properly stored in an airtight container in the refrigerator, roasted garlic will last for 3-4 days. If covered with olive oil, it can last up to a week. For longer storage, freeze it for several months. Always be cautious with garlic stored in oil at room temperature due to botulism risk.
Our Top Recommended Finds
- Heavy-Duty Aluminum Foil: Essential for creating secure packets that don’t tear during roasting.
- Quality Olive Oil: A good extra virgin olive oil enhances the flavor of your roasted garlic significantly.
- Garlic Peeler Silicone Tube: Makes quick work of peeling individual cloves if you need to do a large batch after roasting.
Embrace the Golden Goodness
Now that you’ve mastered the art of roasting garlic, a whole new world of flavor awaits in your kitchen.
From simple spreads to complex sauces, this sweet, mellow ingredient will become your secret weapon.
Don’t wait another day. Grab a head of garlic, preheat your oven, and transform your cooking with this simple yet profound technique.
Your taste buds will thank you for this delightful culinary adventure.