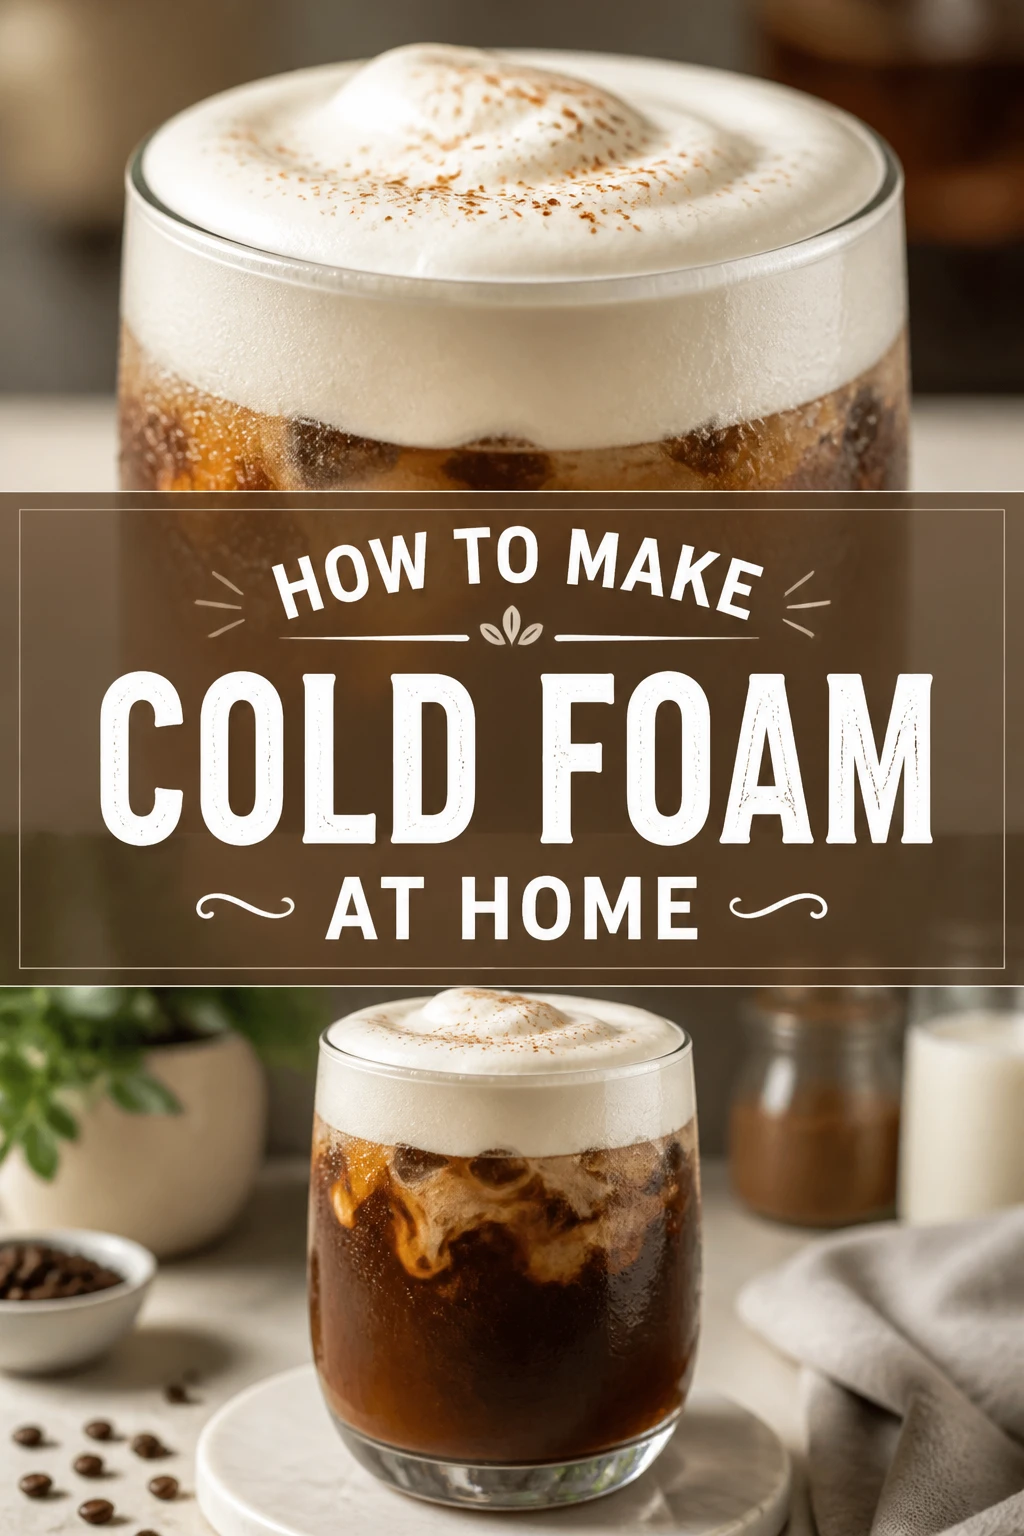
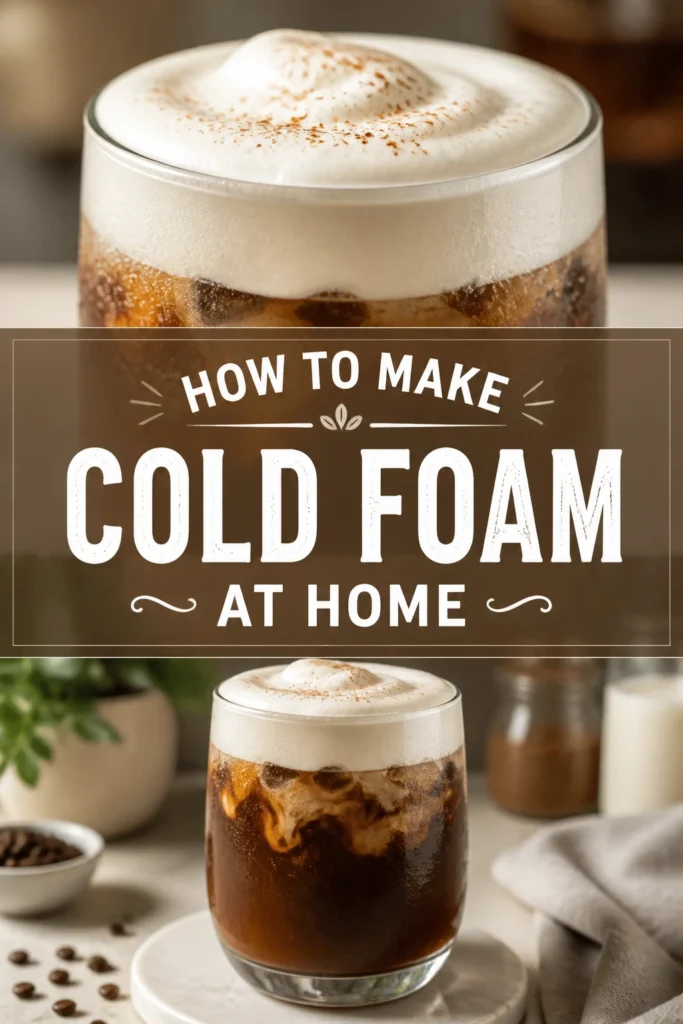
☕ How To Make Cold Foam At Home
Imagine sipping your favorite coffee shop drink, right in your own kitchen. That luxurious, creamy layer of cold foam can elevate any iced beverage. I’ve spent countless mornings perfecting this simple pleasure.
It’s surprisingly easy to replicate that barista-quality experience at home. This guide will show you exactly how to achieve perfect, velvety cold foam every time.
Quick Overview
Making cold foam is a straightforward process that transforms your iced drinks. You’ll learn the secrets to achieving that perfect texture and how to infuse it with your favorite flavors.
- Time needed: 5-10 minutes
- Difficulty: Beginner
- What you’ll need: Cold milk, optional sweetener/flavoring, and a frothing tool.
Step-by-Step Instructions
Step 1: Gather Your Ingredients and Tools
Before you begin, make sure you have everything ready. This makes the process smooth and enjoyable. You’ll need cold milk, any desired sweeteners or flavorings, and your chosen frothing device.
Having everything within arm’s reach prevents any last-minute scrambling. Organization is key for a successful cold foam creation.
Step 2: Choose Your Milk
The type of milk you select significantly impacts the final texture. Whole milk often yields the creamiest, most stable foam due to its fat content. Skim milk can produce a lighter, airier foam.
For non-dairy options, oat milk and almond milk barista blends work wonderfully. These varieties are specifically formulated to froth well. Experiment to find your personal favorite for flavor and consistency.
Step 3: Add Sweetener or Flavor
This is where you customize your cold foam. You can add sweeteners like simple syrup, maple syrup, or honey directly to the milk. Begin with a small amount and adjust to your taste.
For flavored cold foam, incorporate a dash of vanilla extract, a pump of flavored syrup, or a pinch of cinnamon. Ensure any additions are liquid or finely powdered to blend smoothly. Avoid chunky ingredients.
Pro Tip: For the best results, use simple syrup. It dissolves effortlessly into cold milk, preventing any grainy texture. Granulated sugar can sometimes leave a gritty feel.
Step 4: Chill Your Milk Thoroughly
The temperature of your milk is paramount for achieving stable cold foam. Always start with milk that is as cold as possible. Chilled milk helps create a denser, longer-lasting foam.
If your milk isn’t already very cold, place it in the freezer for 5-10 minutes before frothing. Do not let it freeze solid, just get it extra chilly. This initial cold temperature is a game-changer.
Step 5: Pick Your Frothing Method
You have several excellent options for frothing milk at home. Each method offers a slightly different result and convenience level. Select the one that best suits your kitchen and preferences.
An electric milk frother is often the easiest and most consistent. A handheld battery-operated frother is compact and efficient. A French press can also create surprisingly good foam with a bit of manual effort.
Step 6: Begin Frothing
Now it’s time to transform your cold milk into luscious foam. The technique varies slightly depending on your chosen tool. The goal is to incorporate air into the milk without warming it.
If using an electric frother, simply pour the cold milk and sweetener into the carafe and select the cold foam setting. The machine will do all the work for you. Always follow your specific frother’s instructions.
Step 7: Master Your Frothing Technique
For a handheld frother, submerge the whisk head just below the surface of the milk. Turn it on and move it up and down gently, incorporating air. Continue for 30-60 seconds, or until the desired consistency.
If using a French press, pour the milk into the press. Pump the plunger vigorously up and down for 30-60 seconds. This action forces air into the milk, creating a thick foam. Be careful not to splash.
Pro Tip: Stop frothing when the foam has expanded and become visibly thick and airy. Over-frothing can sometimes lead to overly stiff or bubbly foam that dissipates quickly. Aim for a velvety, pourable consistency.
Step 8: Check Consistency and Pour
Once you’ve finished frothing, the cold foam should have a smooth, creamy texture. It should be thick enough to hold its shape but still pourable. Gently tap the container on the counter a few times to release any large air bubbles.
Now, you’re ready to spoon or pour your perfect cold foam over your iced coffee, tea, or any other beverage. Watch it float beautifully on top, ready to be enjoyed. Serve immediately for the best experience.
Step 9: Clean Up Your Tools
Promptly clean your frothing device after use. Milk can dry and become difficult to remove if left sitting. A quick rinse with warm water and a bit of soap is usually sufficient.
Maintaining your tools ensures they last longer and are ready for your next cold foam creation. A clean frother is a happy frother.
Common Mistakes to Avoid
Using Warm or Room Temperature Milk
This is perhaps the most common error. Warm milk simply will not create stable cold foam. The proteins in cold milk are crucial for trapping air and maintaining structure. Always ensure your milk is as cold as possible, straight from the refrigerator or even briefly chilled in the freezer.
Over-Frothing or Under-Frothing
Finding the sweet spot for frothing takes a little practice. Under-frothing results in thin, watery foam that quickly dissipates. Over-frothing can lead to stiff, large-bubbled foam that lacks the desired creamy texture. Aim for a smooth, velvety consistency that holds its shape but remains pourable.
Choosing the Wrong Milk Type
While many milks can froth, some are far superior for cold foam. Low-fat milk often produces a very airy, less stable foam. Heavily processed non-dairy milks might struggle to hold their structure. Opt for whole milk, 2% milk, or barista-blend non-dairy milks for the best results.
Adding Granulated Sugar Directly
Granulated sugar doesn’t dissolve well in cold liquids. Adding it directly to your milk before frothing will often result in a grainy texture at the bottom of your drink. Always use liquid sweeteners like simple syrup, maple syrup, or honey, or dissolve granulated sugar in a tiny bit of warm water first to create a makeshift simple syrup.
Troubleshooting
Foam is Too Thin or Watery
If your cold foam isn’t holding its shape and seems too liquid, the milk might not have been cold enough. Ensure your milk is thoroughly chilled before starting. Alternatively, you might not have frothed it long enough to incorporate sufficient air. Try extending the frothing time by another 10-15 seconds.
Foam is Too Stiff or Bubbly
When cold foam appears overly stiff, resembling shaving cream, or has very large, visible bubbles, it’s likely been over-frothed. This often happens by frothing for too long or with too much intensity. Try reducing your frothing time slightly next attempt. Gently tapping the container on the counter can also help release some larger bubbles.
Cold Foam Doesn’t Hold Its Shape for Long
A quickly collapsing cold foam often points to using a milk type with insufficient fat or protein for stability. Skim milk, for example, produces a very light foam that can be less durable. Switch to whole milk, 2% milk, or a high-quality barista-blend non-dairy milk. Ensuring the milk is extra cold also significantly improves its stability.
Key Takeaways
- Always start with very cold milk for the most stable and creamy cold foam.
- Whole milk or barista-blend non-dairy milks provide the best texture and stability.
- Liquid sweeteners like simple syrup integrate seamlessly into cold foam.
- Avoid over-frothing to prevent stiff, large-bubbled foam; aim for a velvety, pourable consistency.
- Experiment with different frothing tools to find the method that works best for you.
- Promptly clean your frothing equipment to maintain its condition and hygiene.
Frequently Asked Questions
Can I use non-dairy milk for cold foam?
Absolutely! Many non-dairy milks work wonderfully. Oat milk and almond milk barista blends are particularly good options as they are formulated to froth well and create a stable foam. Soy milk can also be a decent choice, but results may vary.
What’s the best milk for cold foam?
For the creamiest, most stable cold foam, whole milk is generally considered the best. Its fat content helps create a rich, velvety texture that holds its shape beautifully. 2% milk is a good alternative, offering a slightly lighter foam.
How long does cold foam last once made?
Cold foam is best enjoyed immediately after preparation. While it might hold its shape for a short while, its texture and stability will gradually diminish over time as the air dissipates. For optimal freshness and creaminess, make it right before serving.
Can I make cold foam in advance?
It’s not recommended to make cold foam in advance. The air incorporated into the milk will start to escape, causing the foam to flatten and lose its desired texture. For the best experience, always prepare your cold foam just before you plan to use it.
Our Top Recommended Finds
- Handheld Electric Frother: Compact, affordable, and incredibly effective for quick, single-serving cold foam.
- Electric Milk Frother Machine: Offers consistent results with various settings, often including a dedicated cold foam option.
- French Press Coffee Maker: A versatile tool that doubles as an excellent manual frother for those who prefer a non-electric method.
Elevate Your Everyday Drinks
You now possess the knowledge and skills to craft perfect cold foam at home. No longer will you need to visit a coffee shop for that luxurious touch on your iced beverages. This simple addition transforms an ordinary drink into an extraordinary treat.
Don’t wait another day to upgrade your coffee routine. Start experimenting with different milks and flavors today. Share your delightful creations with friends and family, and savor every sip of your homemade perfection.