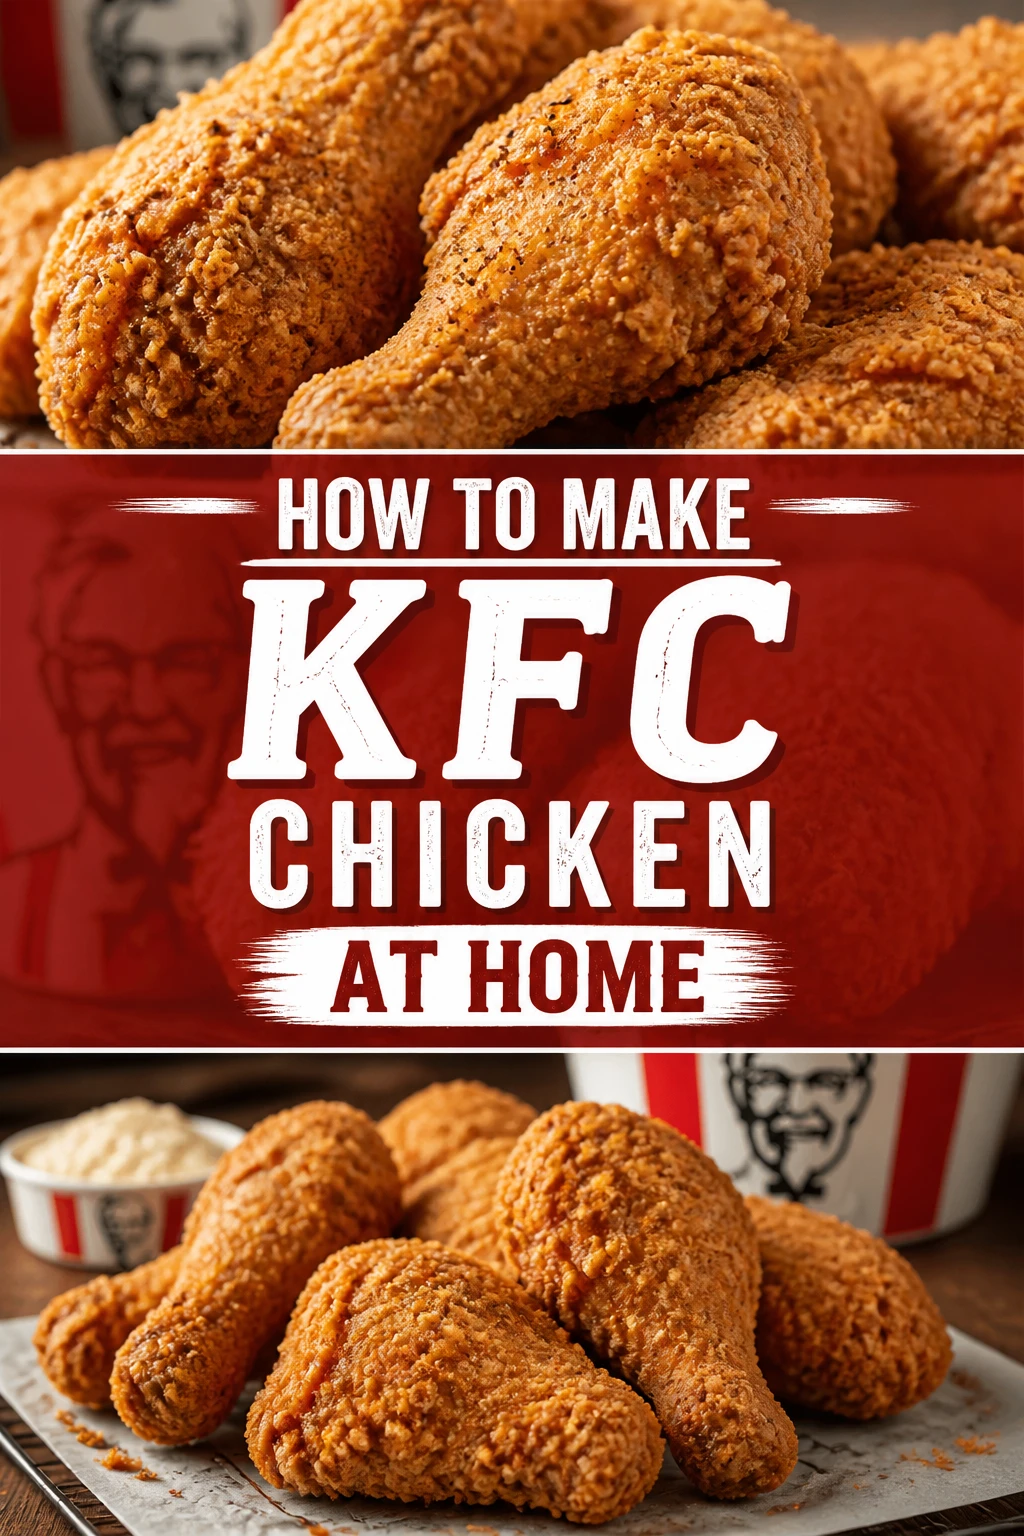
🍗 How To Make Kfc Chicken At Home
I spent months experimenting with different spice ratios and frying techniques to recreate that iconic red-bucket flavor.
After many batches that were either too salty or not crunchy enough, I finally discovered the specific combination of white pepper and MSG that makes the difference.
This guide is the result of those kitchen trials, designed to help you achieve that legendary pressurized crunch in your own skillet.

Quick Overview
Making this recipe requires patience and a willingness to get your hands a little messy with flour and buttermilk.
You are going to transform standard supermarket poultry into a masterpiece of golden-brown crust and succulent meat.
- Time needed: 2 hours (including brining time)
- Difficulty: Intermediate
- What you’ll need: Deep fryer or heavy Dutch oven, meat thermometer, 11 secret spices, buttermilk, and fresh chicken pieces.
Step 1: Prepare the Chicken Brine
Start by breaking down a whole chicken into eight or ten pieces to ensure even cooking across different cuts.
Submerge the pieces in a mixture of buttermilk, salt, and a dash of hot sauce for at least thirty minutes.
This process is known as brining, and it is the secret to ensuring the breast meat remains juicy while the legs finish cooking.
The lactic acid in the buttermilk helps tenderize the proteins, making every bite soft and easy to pull apart.
Pro Tip: If you have the time, let the chicken soak for up to four hours in the refrigerator for maximum moisture retention.
Remove the chicken from the fridge about fifteen minutes before you plan to fry it to take the chill off.
Cold meat can cause the oil temperature to plumet, which leads to greasy, soggy skin rather than a crisp shell.
Step 2: Assemble the Eleven Secret Spices
Gather your spices and ensure they are fresh, as stale herbs will result in a muted and disappointing flavor profile.
Mix together the legendary combination: salt, thyme, basil, oregano, celery salt, black pepper, dried mustard, paprika, garlic salt, ground ginger, and plenty of white pepper.
White pepper is the most important ingredient here because it provides that specific “bite” that characterizes the Original Recipe.
Add a teaspoon of MSG (often sold as Accent) if you want the flavor to be indistinguishable from the restaurant version.
While many people are hesitant about MSG, it is the savory backbone of most fast-food seasonings and provides that “craveable” quality.
Whisk these spices into two cups of all-purpose flour until the color is uniform and no clumps of ginger or paprika remain.
Step 3: Create the Dredging Station
Set up a clear workspace with three distinct areas: your bowl of brining chicken, your seasoned flour, and a wire rack.
Drain the excess buttermilk from a piece of chicken, allowing it to drip for a second so the flour doesn’t turn into a thick paste instantly.
Drop the chicken into the flour mixture and use your dry hand to bury it completely under the white powder.
Press the flour firmly onto the skin and into every fold of the meat to create those signature craggy bits that turn crispy.
Pro Tip: Shake the chicken gently after coating to remove excess flour, which prevents the oil from becoming dirty and burnt too quickly.
Place the coated pieces on a wire rack and let them sit for about ten minutes before frying.
This resting period allows the flour to hydrate and stick to the meat, ensuring the breading doesn’t fall off in the fryer.
Step 4: Heat the Frying Oil
Fill a heavy-bottomed pot or a Dutch oven about halfway with a neutral oil that has a high smoke point.
Peanut oil is the gold standard for this recipe because of its clean flavor and ability to handle high heat without breaking down.
Clip a candy or deep-fry thermometer to the side of the pot to monitor the temperature constantly throughout the process.
Aim for a steady temperature of 350 degrees Fahrenheit before you even think about adding the first piece of chicken.
If the oil is too cool, the breading will absorb the grease; if it is too hot, the outside will burn before the inside is safe to eat.
Prepare a landing zone with a clean wire rack set over a baking sheet to catch any drips once the chicken is finished.
Step 5: Execute the Frying Process
Lower the chicken pieces into the hot oil one by one, using long tongs to avoid splashing yourself with hot liquid.
Work in small batches so you do not crowd the pot, which would cause the oil temperature to drop too low.
Dark meat like legs and thighs will take longer to cook through than white meat like breasts and wings.
Fry the chicken for about twelve to fifteen minutes, turning the pieces occasionally to ensure they brown evenly on all sides.
Pro Tip: Use your thermometer to check the internal temperature; you are looking for 165 degrees Fahrenheit for white meat and 175 degrees for dark meat.
Adjust the heat on your stove as needed to keep the oil bubbling steadily without smoking or going quiet.
Step 6: The Cooling and Draining Phase
Lift the golden-brown pieces out of the oil and hold them over the pot for a few seconds to let the oil drain away.
Transfer the chicken to the wire rack rather than a plate lined with paper towels.
Air needs to circulate around the chicken to keep the bottom of the pieces from becoming steamed and soft.
Sprinkle a tiny bit of extra fine salt over the chicken while it is still glistening with oil to lock in the savory notes.
Let the meat rest for at least five to seven minutes before serving to allow the juices to redistribute through the fibers.
This waiting period is the hardest part of the process, but it ensures the first bite is perfect rather than a mouth-burning mess.
Common Mistakes to Avoid
Using Only Black Pepper
Many home cooks assume that the “pepper” in the recipe refers to standard black peppercorns. However, the distinct floral and earthy heat of KFC comes almost entirely from white pepper. If you skip the white pepper, the chicken will taste like standard southern fried chicken rather than the Colonel’s secret blend.
Frying Cold Chicken
Taking chicken straight from the refrigerator and dropping it into the oil is a recipe for failure. The cold meat shocks the oil, dropping the temperature by fifty degrees or more instantly. This results in a greasy crust that slides right off the meat when you try to take a bite.
Overcrowding the Pot
It is tempting to try and cook the whole chicken at once to save time. When you add too many pieces, the oil cannot circulate around the meat, leading to “bald spots” where the breading doesn’t crisp up. Cook in two or three batches to give each piece the space it needs to develop a perfect crust.
Skipping the Resting Period
If you eat the chicken immediately after it leaves the fryer, the breading might feel a bit soft. The crust actually continues to harden and crisp up during the first few minutes on the wire rack. Allowing the chicken to rest also prevents the juices from running out the moment you cut into it.
Troubleshooting
The Breading is Falling Off
This usually happens because the chicken skin was too wet or the flour didn’t have time to set. Make sure you let the coated chicken sit on a rack for ten minutes before frying so the flour can form a “glue” with the buttermilk. Also, avoid poking or moving the chicken too much during the first three minutes of frying.
The Chicken is Burnt Outside but Raw Inside
This is a classic sign that your oil temperature was too high. If the oil is screaming hot, the exterior will turn dark brown in minutes while the center remains dangerous to eat. Use a thermometer to keep the oil at 350 degrees and use a meat thermometer to verify the internal temp of the chicken.
The Crust is Not Crunchy Enough
A soft crust often results from low oil temperature or using the wrong type of flour. Ensure you are using all-purpose flour and that your oil stays above 325 degrees during the entire cooking duration. You can also try adding a tablespoon of cornstarch to your flour mix for an extra-shattering crunch.
Key Takeaways
- Brining is mandatory: Never skip the buttermilk soak if you want juicy, seasoned meat.
- White pepper is the secret: This specific spice provides the authentic flavor profile you are looking for.
- Monitor the temperature: A thermometer is your best friend to prevent greasy or burnt chicken.
- The wire rack matters: Draining on a rack instead of paper towels keeps the bottom of the chicken crispy.
- Rest the coating: Giving the flour ten minutes to hydrate on the chicken prevents the breading from falling off.
- Batch cook: Patience leads to better results than rushing and overcrowding the frying vessel.
Frequently Asked Questions
Can I make this in an air fryer?
You can make a similar version in an air fryer, but it will not have the same texture as the oil-fried version. To do this, spray the breaded chicken heavily with oil mister so there are no dry flour spots. Cook at 375 degrees for about twenty minutes, flipping halfway through.
What is the best oil for frying chicken?
Peanut oil is widely considered the best choice due to its high smoke point and neutral flavor. If you have a peanut allergy, canola oil or vegetable oil are excellent substitutes. Avoid using olive oil or butter, as they will burn at the temperatures required for deep frying.
How do I reheat leftover KFC style chicken?
The best way to reheat fried chicken is in an oven or toaster oven at 350 degrees. Place the chicken on a wire rack over a baking sheet for about ten to fifteen minutes. This allows the hot air to circulate and recrisp the skin without making the meat rubbery like a microwave would.
Do I really need MSG for the authentic taste?
While the chicken will still be delicious without it, MSG provides that specific “fast food” savory hit. If you want to avoid it, you can increase the amount of celery salt and white pepper slightly. However, for a true clone of the original recipe, a small amount of MSG is the missing link.
Our Top Recommended Finds
- Instant Read Meat Thermometer: This tool ensures your chicken is perfectly cooked and safe to eat every single time.
- Lodge Cast Iron Dutch Oven: The thick walls of cast iron hold heat better than stainless steel, making it easier to maintain oil temperature.
- Stainless Steel Wire Cooling Rack: Essential for draining the chicken properly so the crust stays crunchy on all sides.
Bring The Colonel To Your Kitchen Tonight
Now that you have the blueprint for the perfect homemade fried chicken, it is time to put your skills to the test.
Gather your spices, prep your buttermilk, and get that oil heating on the stove for a meal your family won’t forget.
Once you master the Original Recipe, you can try experimenting with a “Extra Crispy” version by double-dipping the chicken in the flour.
You can also look into making homemade coleslaw and biscuits to complete the full restaurant experience right at your dining table.
Don’t wait for a special occasion to try this; the best time to start perfecting your frying technique is today.