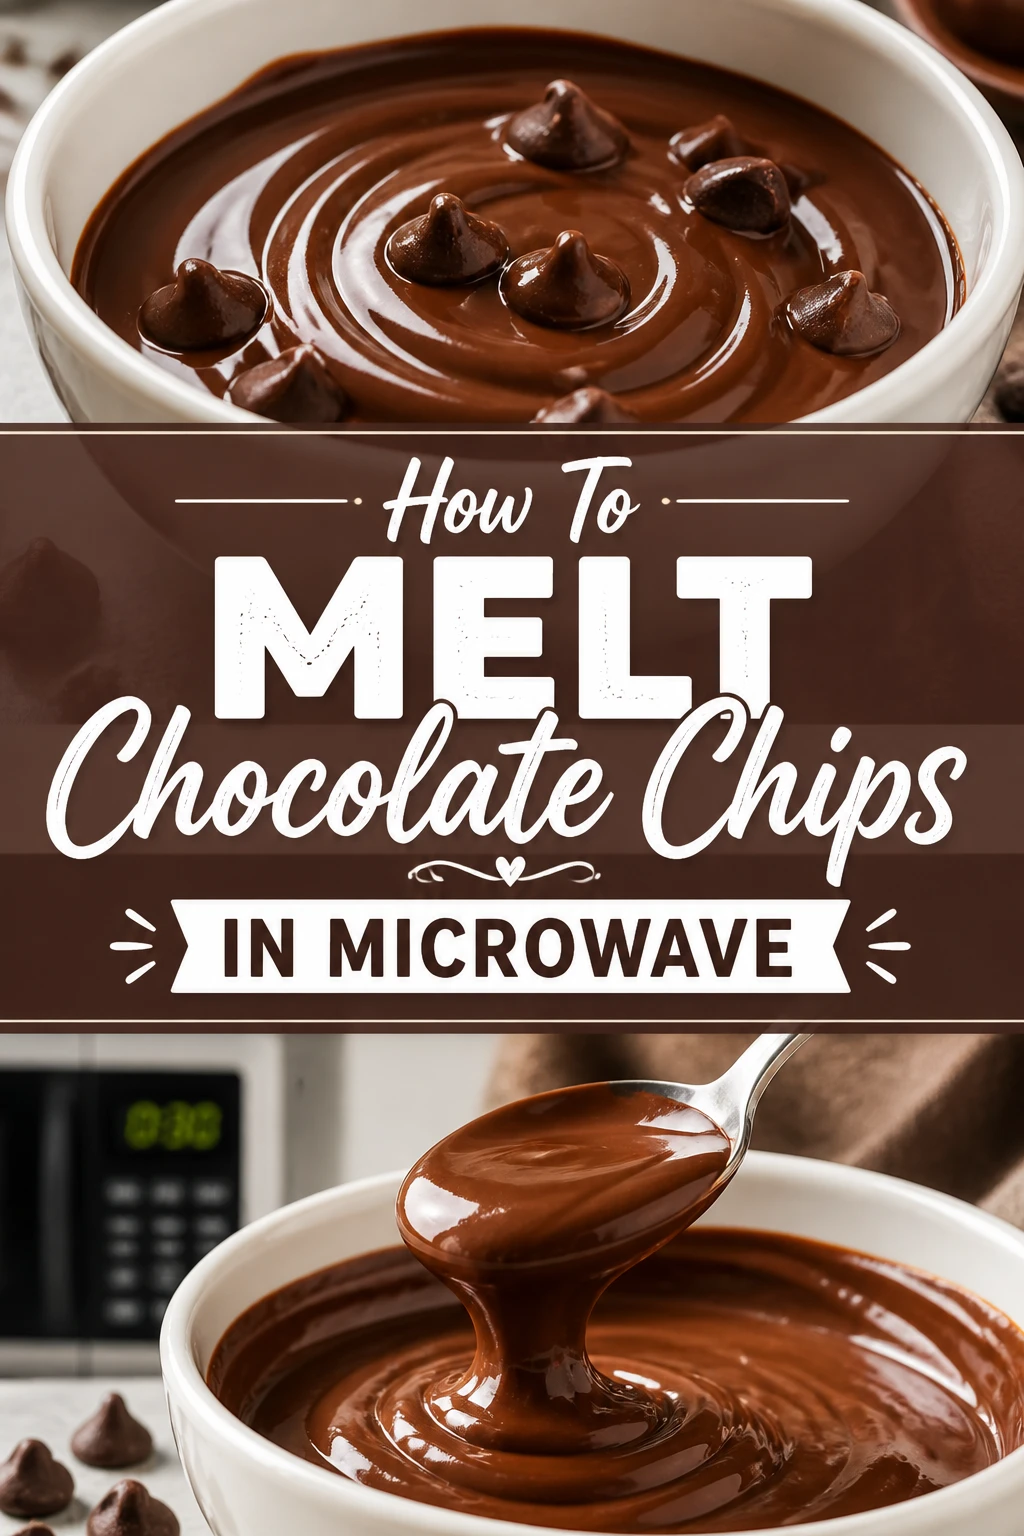
🥣 How To Melt Chocolate Chips In Microwave
Melting chocolate chips seems like a simple kitchen task until you end up with a grainy, burnt mess.
I have spent years in my home kitchen perfecting the science of the microwave method to ensure a silky finish every single time.
This guide provides the exact technique you need to master this essential baking skill without the stress of a double boiler.
Quick Overview
This method focuses on gentle heat and patience to prevent the chocolate from seizing or scorching.
- Time needed: 3 to 5 minutes
- Difficulty: Beginner
- What you’ll need: Microwave-safe bowl, rubber spatula, and chocolate chips
Step 1: Select the Right Bowl
Choose a microwave-safe glass or ceramic bowl for the best results in heat distribution.
Glass retains heat longer than plastic, which helps melt the remaining chips during the stirring process.
Avoid using plastic containers if possible, as they can sometimes leach flavors or warp under the concentrated heat of the sugar and fat.
Ensure the bowl is completely dry before you begin because even a single drop of water will cause the chocolate to seize.
Pro Tip: Wipe your bowl and spatula with a dry paper towel right before use to catch any hidden moisture.
Step 2: Measure Your Chocolate Chips
Pour the desired amount of chocolate chips into your dry bowl, ensuring they are spread in an even layer.
If you are melting a large quantity, it is better to work in smaller batches of about one cup at a time.
Large piles of chips in the center of a bowl often heat unevenly, leaving the middle cold while the edges burn.
Standard semi-sweet, milk, or dark chocolate chips all work well, but keep in mind that white chocolate is much more sensitive to heat.
Step 3: Adjust the Power Setting
Change your microwave power level to 50% or “Medium” before you start the timer.
Most people make the mistake of using the default high power, which is far too aggressive for the delicate fats in cocoa butter.
High heat causes the sugar in the chocolate to caramelize and clump almost instantly.
Lowering the power allows the heat to penetrate the chips slowly and evenly without reaching the scorching point.
Pro Tip: If your microwave doesn’t have a power setting, use shorter 15-second intervals to compensate.
Step 4: Start the First Heating Burst
Microwave the chips for exactly 30 seconds on the reduced power setting.
At this stage, the chips will likely still look completely solid and hold their original shape.
Do not be tempted to add more time during this first round even if they look unchanged.
The goal of the first burst is to gently raise the internal temperature of the chocolate without liquefying it yet.
Step 5: Perform the First Stir
Stir the chips thoroughly with a rubber spatula, moving them from the outside edges to the center.
Stirring is the most critical part of the process because it redistributes the heat and prevents hot spots.
Even if the chips look dry, the friction of stirring helps the softening process begin.
Use a folding motion to ensure the chips at the bottom of the bowl are brought to the top.
Step 6: Heat in Short Intervals
Return the bowl to the microwave and heat for another 15 to 20 seconds.
Continue using the 50% power setting to maintain a controlled environment for the fat molecules.
As the chocolate warms, the intervals should become shorter to avoid overshooting the melting point.
You will start to see the edges of the chips looking shiny and slightly slumped at this point.
Pro Tip: Never exceed 20 seconds per burst after the initial 30-second start.
Step 7: Stir Until Smooth
Remove the bowl when the chips are about 70% melted and look like a thick, lumpy paste.
Stop the microwave before every single chip has vanished into liquid form.
The residual heat of the bowl and the melted chocolate will be enough to melt the remaining solid pieces.
Vigorously stir for about 60 seconds until the mixture becomes glossy and completely liquid.
Step 8: Check the Consistency
Lift your spatula to see how the chocolate drips back into the bowl.
It should fall in a steady, ribbon-like stream without any visible lumps or grains.
If you still have stubborn lumps after a full minute of stirring, microwave for only 5 more seconds.
Patience during this final stage is what separates professional results from a ruined batch.
Common Mistakes to Avoid
Using a Wet Spatula
Water is the absolute enemy of melted chocolate because it creates a chemical reaction called seizing.
When a tiny amount of moisture hits the melted fat and sugar, it turns the smooth liquid into a gritty, hard paste.
Always double-check that your hands, bowl, and stirring tools are bone-dry before you start the process.
Overheating the Mixture
Chocolate has a very low burning point, especially varieties with high sugar content like milk or white chocolate.
Once chocolate burns, it becomes thick, loses its shine, and develops a bitter, unpleasant odor.
You cannot “un-burn” chocolate, so it is always better to under-heat and rely on stirring than to over-microwave.
Forgetting to Stir Frequently
Many people think they can just put the bowl in for two minutes and come back to liquid chocolate.
Microwaves create “hot spots” where the temperature is significantly higher than in other areas of the bowl.
Without frequent stirring, the chocolate in those hot spots will burn while the rest remains solid.
Using the Wrong Power Level
Running the microwave at 100% power is the fastest way to ruin a bag of expensive chocolate chips.
High power causes the cocoa butter to separate from the cocoa solids, resulting in a greasy mess.
The 50% power setting mimics the gentle, indirect heat of a traditional double boiler.
Troubleshooting
The Chocolate Seized and Turned Gritty
If your chocolate has turned into a clump, a small amount of moisture or steam likely got into the bowl.
You can sometimes save seized chocolate by adding a teaspoon of boiling water or neutral oil and stirring rapidly.
While this might fix the texture for a sauce, it will prevent the chocolate from hardening properly for dipping.
The Chocolate is Too Thick for Dipping
Sometimes chocolate chips contain stabilizers that make them hold their shape, resulting in a thick melted consistency.
To thin it out, add a half-teaspoon of coconut oil or vegetable shortening to the warm chocolate.
Stir until the fat is fully incorporated, which will give the chocolate a thinner, more fluid consistency and a beautiful shine.
The Chocolate Looks Dull and Grey
This is often caused by “bloom,” which happens when the chocolate gets too hot and the cocoa butter separates.
While it doesn’t look pretty, the chocolate is still safe to eat and can be used in baking recipes.
To avoid this next time, ensure you are using the 50% power setting and stopping the heat while some lumps remain.
Key Takeaways
- Dryness is mandatory: Ensure every tool and bowl is completely free of moisture to prevent seizing.
- Low and slow: Always use 50% power to protect the delicate fats and sugars in the chocolate.
- Stirring is heating: The mechanical action of stirring distributes heat better than the microwave itself.
- Residual heat: Stop microwaving when the chips are mostly melted and let the bowl do the rest of the work.
- Short bursts: Stick to 15-20 second intervals after the first round to maintain total control.
- Quality matters: Higher quality chips with more cocoa butter will melt more smoothly than cheap versions with fillers.
Frequently Asked Questions
Can I melt white chocolate chips using this same method?
Yes, but you must be even more careful because white chocolate has a much lower burning point than dark chocolate.
Reduce your heating intervals to 10 seconds and stir even more frequently to prevent the milk solids from scorching.
White chocolate is notoriously finicky, so patience is your best tool when working with it.
Why did my chocolate chips not melt at all after 30 seconds?
Chocolate chips are designed to hold their shape under heat, so they often look solid even when they are soft.
You must stir them to break that shape and encourage the melting process to begin.
If they are still hard after stirring, continue with the 15-second bursts as instructed.
What is the best oil to use for thinning chocolate?
Coconut oil is the gold standard because it is solid at room temperature, helping the chocolate set firmly later.
If you don’t have coconut oil, a neutral-flavored oil like canola or grapeseed will also work in small amounts.
Avoid using butter, as it contains water which can cause the chocolate to seize if not handled perfectly.
Can I remelt chocolate that has already hardened?
Yes, you can remelt chocolate several times as long as it hasn’t been burnt or contaminated with water.
Follow the same low-power, short-interval process to bring it back to a liquid state.
Be aware that each time you melt it, the texture may change slightly due to the evaporation of fats.
Our Top Recommended Finds
- Heat-Resistant Glass Bowls: These are perfect for the microwave because they don’t warp and they hold residual heat well.
- Silicone Spatulas: A seamless silicone spatula is easy to dry and won’t trap moisture like wooden spoons can.
- Refined Coconut Oil: Keeping a jar of this in the pantry is the easiest way to fix thick chocolate and add a professional gloss.
Mastering Your Liquid Gold
Now that you have the technical skills to melt chocolate chips perfectly, you can tackle any recipe with confidence.
Try using your smooth, melted chocolate to dip fresh strawberries or drizzle over a pan of homemade brownies.
You might also want to explore how different cocoa percentages affect the melting speed of your favorite brands.
Grab a bag of chips and a clean bowl to start practicing these steps today.