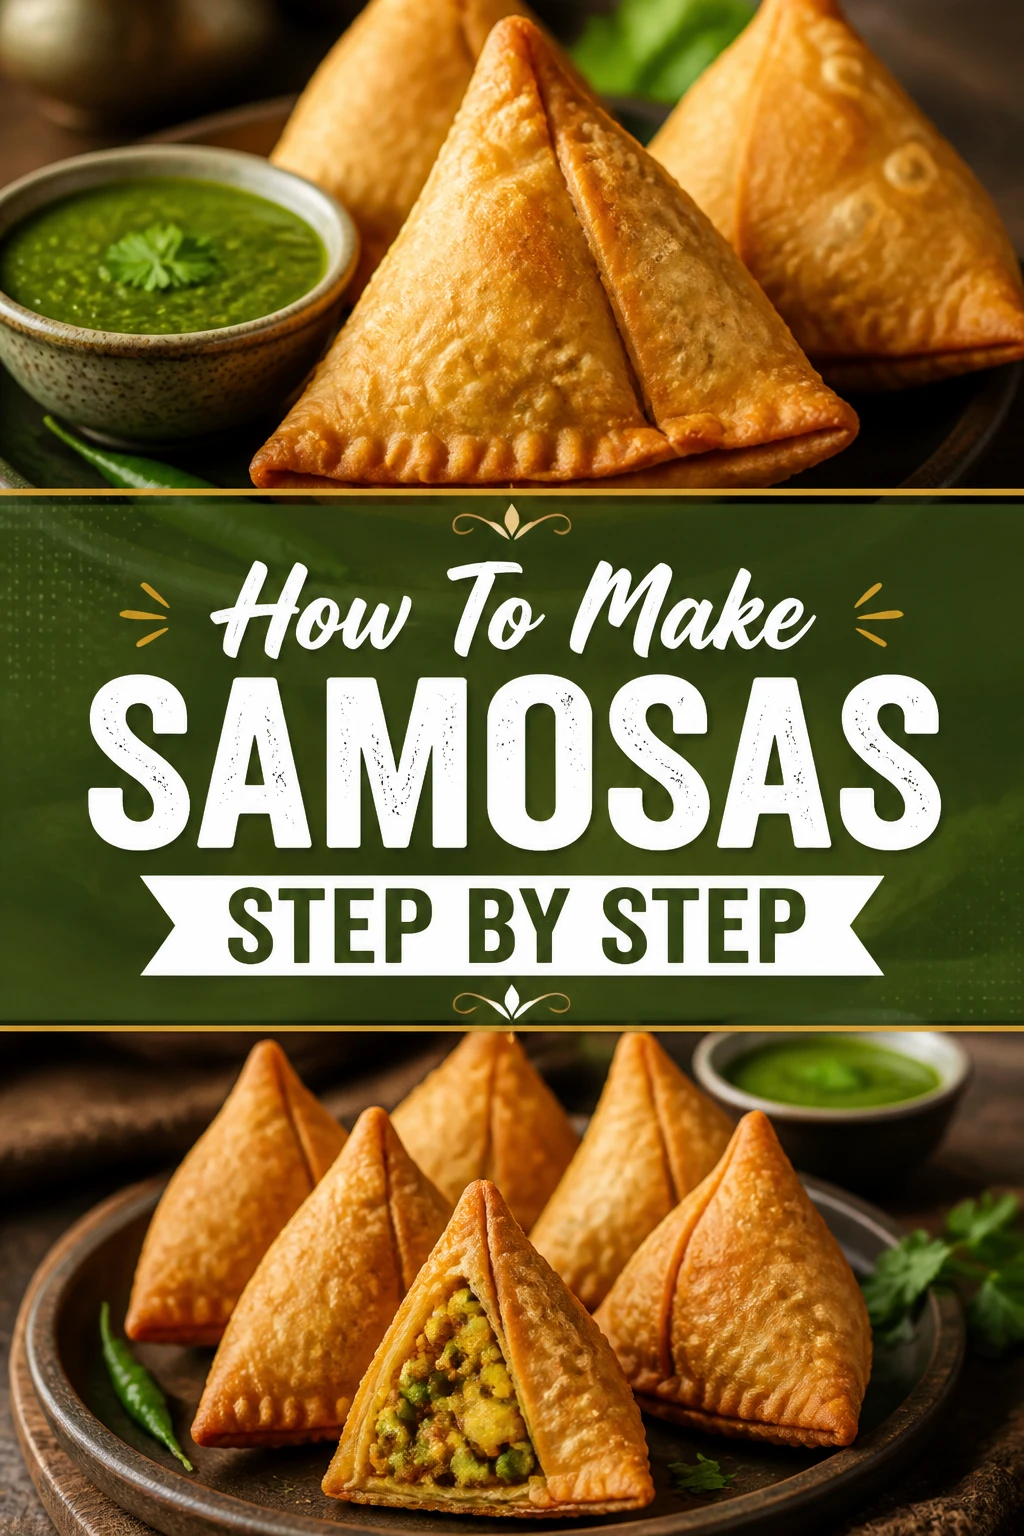
🥟 How To Make Samosas Step By Step
There’s nothing quite like the crisp, savory delight of a homemade samosa.
I remember my grandmother making these in her kitchen, filling our home with incredible aromas, and I’ve spent years perfecting the technique to get that perfect flaky crust and flavorful filling.
This guide shares all those secrets, ensuring you can create authentic, delicious samosas right in your own kitchen.
Quick Overview
This guide will walk you through crafting delicious, crispy samosas from scratch. You’ll learn how to make the perfect dough, prepare a savory potato and pea filling, expertly shape your samosas, and fry them to golden perfection.
- Time needed: Approximately 2 hours (1 hour active, 1 hour resting/frying)
- Difficulty: Intermediate
- What you’ll need: All-purpose flour, potatoes, peas, common Indian spices, cooking oil, basic kitchen tools.
Step-by-Step Instructions
Step 1: Prepare the Samosa Dough
The dough is crucial for that characteristic flaky, crispy texture. It needs to be firm and slightly stiff.
Combine two cups of all-purpose flour (maida) in a large mixing bowl with half a teaspoon of salt and half a teaspoon of carom seeds (ajwain).
Add four tablespoons of melted ghee or oil to the dry ingredients. Use your fingertips to rub the fat into the flour until the mixture resembles coarse breadcrumbs and holds its shape when pressed.
Pour in about half a cup of water, a little at a time, and begin to knead. The exact amount of water can vary, so add cautiously.
Knead the dough for 5-7 minutes until it forms a firm, smooth, and non-sticky ball. Avoid making it too soft; a slightly stiff dough is key for crispy samosas.
Cover the dough ball with a damp cloth or plastic wrap and let it rest for at least 30 minutes. This resting period allows the gluten to relax, making the dough easier to roll.
Pro Tip: Do not over-knead the dough or make it too soft. A firm dough prevents the samosas from absorbing too much oil and becoming soggy during frying.
Step 2: Cook the Potato and Pea Filling
While the dough rests, prepare the aromatic filling. This classic potato and pea mixture is hearty and flavorful.
Boil two large potatoes until tender, then peel and mash them coarsely. You want some texture, not a completely smooth puree.
Heat two tablespoons of oil in a pan over medium heat. Add one teaspoon of cumin seeds and let them splutter.
Stir in a tablespoon of finely grated ginger and one finely chopped green chili. Sauté for about 30 seconds until fragrant.
Add half a cup of fresh or frozen green peas. If using frozen, thaw them first. Cook for 2-3 minutes.
Mix in the spices: half a teaspoon of turmeric powder, one teaspoon of coriander powder, half a teaspoon of red chili powder (adjust to taste), half a teaspoon of garam masala, and one teaspoon of dry mango powder (amchur).
Cook the spices for about a minute, stirring constantly, to toast them and release their flavors. A splash of water can prevent burning if needed.
Add the mashed potatoes to the pan. Season with salt to taste and mix everything thoroughly. Cook for another 3-5 minutes, pressing down with the back of your spoon to ensure all ingredients are well combined and any excess moisture evaporates.
Remove the filling from heat and let it cool completely. A cool filling is essential to prevent the dough from tearing during shaping.
Pro Tip: Ensure your filling is completely dry and cool before filling the samosas. Excess moisture can make the dough soggy and difficult to seal, leading to burst samosas during frying.
Step 3: Portion and Roll the Dough
Once the dough has rested, it’s ready to be transformed into samosa wrappers.
Divide the dough into 8-10 equal portions. The exact number will depend on how large you want your samosas to be.
Roll each portion into a smooth ball. Keep the unused portions covered with a damp cloth to prevent them from drying out.
Take one dough ball and flatten it slightly. Using a rolling pin, roll it out into an oval shape, about 6-7 inches long and 4-5 inches wide.
Ensure the dough is rolled evenly, with no thin spots that could tear. The thickness should be similar to a thin tortilla.
Pro Tip: Avoid using too much dry flour while rolling, as it can make the dough difficult to seal later. A lightly floured surface is sufficient.
Step 4: Shape the Samosas
This step requires a little practice, but it’s easier than it looks. We’re aiming for that classic triangular shape.
Cut the oval dough in half lengthwise using a knife or pizza cutter. You will now have two semi-circular pieces.
Take one semi-circular piece and apply a thin layer of water along the straight edge. This acts as a glue.
Bring one corner of the straight edge to meet the other corner, overlapping them slightly to form a cone shape. Press the seam firmly to seal it completely.
Hold the cone open in your hand. Spoon about 1.5 to 2 tablespoons of the cooled potato filling into the cone, filling it about two-thirds full.
Apply a little water along the remaining open edge of the cone. Gently pinch and pleat the back edge of the opening, then bring the front edge over and press firmly to seal the samosa into a triangular shape.
Ensure all seams are tightly sealed to prevent the filling from escaping during frying. Place the shaped samosa on a tray and cover it with a damp cloth while you shape the others.
Pro Tip: A tight seal is paramount. Spend a little extra time pressing the edges together, especially the top seam, to prevent leakage in the hot oil.
Step 5: Fry the Samosas
Frying is where the magic happens, turning soft dough into a golden, crispy shell.
Heat enough oil for deep frying in a heavy-bottomed pan or kadai over medium-low heat. The oil should be deep enough to submerge the samosas.
Test the oil temperature. Drop a tiny piece of dough into the oil; it should slowly rise to the surface with small bubbles, not immediately sizzle aggressively. The ideal temperature is around 280-300°F (140-150°C).
Carefully slide 3-4 samosas into the oil, ensuring you don’t overcrowd the pan. Overcrowding will drop the oil temperature and result in greasy samosas.
Fry the samosas on low to medium-low heat. This slow frying process is critical for achieving a crisp crust that is cooked through, not just browned on the outside.
Flip the samosas occasionally to ensure even browning. Continue frying for 12-15 minutes, or until they are golden brown and crispy on all sides.
Remove the fried samosas from the oil using a slotted spoon and place them on a plate lined with paper towels to drain excess oil.
Repeat the process with the remaining samosas, adjusting the heat as needed between batches to maintain a consistent oil temperature.
Pro Tip: The secret to truly crispy samosas is slow frying at a low temperature. Resist the urge to crank up the heat, as this will result in quickly browned exteriors and uncooked, doughy interiors.
Step 6: Serve and Enjoy
Your homemade samosas are now ready to be enjoyed!
Serve your hot, crispy samosas immediately with your favorite chutneys. Mint chutney, tamarind chutney, or even a simple ketchup are all excellent choices.
Garnish with a sprinkle of chaat masala for an extra zing if desired.
Common Mistakes to Avoid
Dough That’s Too Soft or Sticky
A common error is adding too much water to the dough, making it soft and pliable like chapati dough. This soft dough absorbs excessive oil during frying, resulting in greasy, less crispy samosas. Always aim for a firm, stiff dough that requires a bit of effort to knead.
Over-stuffing the Samosas
It’s tempting to pack as much delicious filling as possible into each samosa, but over-stuffing makes it incredibly difficult to seal the edges properly. This can lead to the samosas bursting open in the hot oil, creating a messy frying experience and compromising the texture. Fill your samosas about two-thirds full to allow for a secure seal.
Frying at High Heat
Impatience often leads to frying samosas at too high a temperature. While this browns the exterior quickly, the inside remains raw and doughy, and the crust won’t develop that signature crispness. Always fry samosas on a low to medium-low flame, allowing them to cook slowly and evenly, ensuring a perfectly crisp and cooked result.
Wet Filling
A filling that contains too much moisture is a recipe for disaster. It can make the dough soggy, difficult to seal, and cause the samosas to burst during frying. Always ensure your potato and pea filling is thoroughly cooked down and cooled completely, with all excess moisture evaporated, before you begin shaping.
Troubleshooting
Samosas are Soggy or Greasy
This usually indicates that the dough was too soft or the oil temperature was too low during frying. Ensure your dough is firm and stiff, and always fry samosas on a consistent low to medium-low heat. If the oil isn’t hot enough, the samosas will soak it up instead of crisping.
Samosas are Bubbly or Have Large Blisters
Large bubbles or blisters on the samosa crust often occur if the dough was either too soft, rolled too thin, or if the oil was too hot. Make sure your dough is firm, roll it to an even, medium thickness, and maintain a low to medium-low oil temperature for frying.
Samosas are Bursting During Frying
Bursting samosas are a sign of either an overstuffed samosa or improperly sealed edges. Ensure you don’t overfill the dough and take extra care to press all seams firmly together, especially the top edge, before placing them in the oil. A wet filling can also contribute to this issue.
Key Takeaways
- A firm, stiff dough is essential for perfectly crispy, non-greasy samosas.
- Allow the dough to rest for at least 30 minutes to relax the gluten, making it easier to roll.
- Ensure the potato and pea filling is completely dry and cooled before shaping.
- Roll the dough evenly and cut precisely to create consistent samosa wrappers.
- Master the cone-shaping technique and seal all edges firmly to prevent bursting.
- Fry samosas slowly on low to medium-low heat for optimal crispness and even cooking.
Frequently Asked Questions
Can I bake samosas instead of frying them?
Yes, you can bake samosas for a healthier alternative. Preheat your oven to 400°F (200°C). Brush the shaped samosas lightly with oil or melted ghee and bake for 25-30 minutes, flipping halfway, until golden brown and crispy. While delicious, the texture will be slightly different from traditional fried samosas.
How can I store leftover samosas?
Cooked samosas can be stored in an airtight container in the refrigerator for 2-3 days. To reheat, you can bake them in a preheated oven at 350°F (175°C) for 10-15 minutes or air fry them until crispy again. Avoid microwaving, as it will make them soggy.
Can I freeze un-fried samosas?
Absolutely! Place the shaped, un-fried samosas on a baking sheet lined with parchment paper, ensuring they don’t touch. Freeze them until solid, then transfer them to a freezer-safe bag or container. They can be stored for up to 2-3 months. When ready to cook, fry them directly from frozen, increasing the frying time slightly.
What if I don’t have ajwain (carom seeds)?
While ajwain adds a distinct flavor and aids digestion, you can omit it if you don’t have any. The samosas will still be delicious. Some recipes use a tiny pinch of cumin seeds in the dough as an alternative, but it’s not strictly necessary.
Our Top Recommended Finds
- Rolling Pin and Board: A good quality wooden rolling pin and board are essential for rolling out the dough evenly and efficiently.
- Deep-Frying Pan (Kadai): A heavy-bottomed, wide pan ensures even heat distribution and allows for safe deep-frying of multiple samosas.
- Slotted Spoon or Spider Skimmer: Perfect for safely lowering and removing samosas from hot oil, draining excess oil as you go.
Your Samosa Journey Starts Now
Making samosas from scratch is a rewarding culinary adventure that brings incredible flavors to your table.
Don’t be intimidated by the steps; each one is manageable and contributes to the final, delicious outcome.
Gather your ingredients, set aside some time, and embark on this delightful cooking experience today. You’ll be amazed at the authentic, crispy samosas you can create, perfect for sharing with family and friends, or simply enjoying all by yourself.