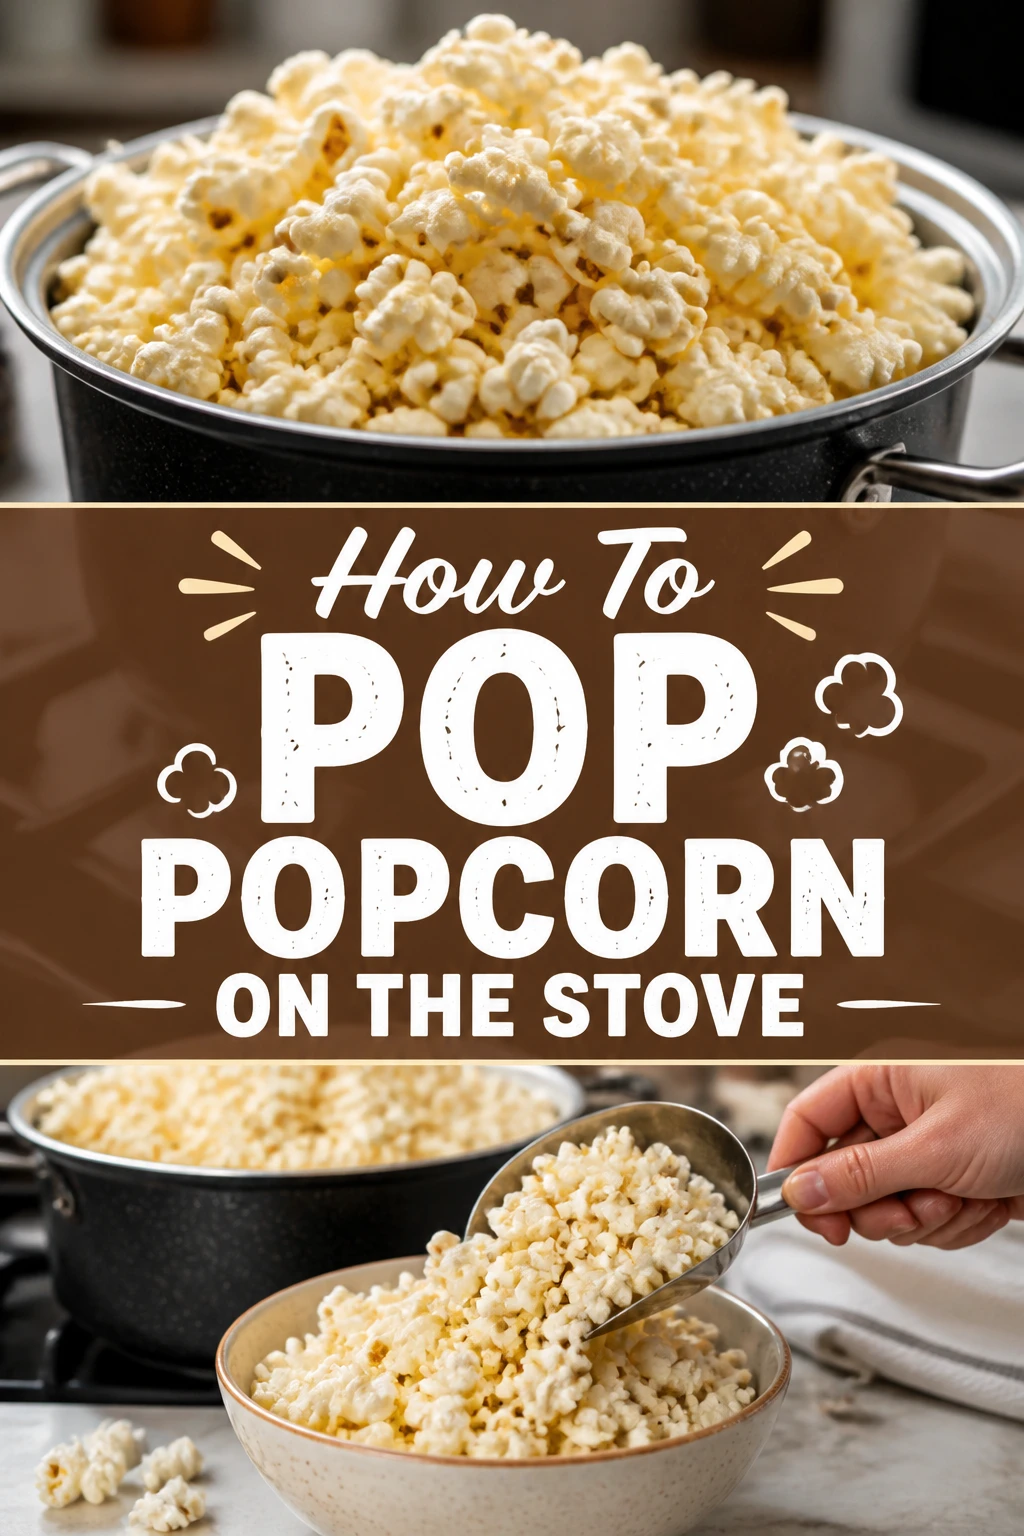
🍿 How To Pop Popcorn On The Stove
Making popcorn on the stove is a simple skill that changes your snack game forever.
I spent years eating microwave bags before realizing that a heavy pot and some quality oil produce a far superior crunch.
This guide is built on hundreds of batches to help you avoid burnt kernels and soggy results.
Quick Overview
Stovetop popcorn is faster than you think and much healthier than the pre-packaged alternatives.
- Time needed: 10 minutes
- Difficulty: Beginner
- What you’ll need: A large pot with a lid, popcorn kernels, high-heat oil, and salt.
Step 1: Choose The Right Pot
Select a heavy-bottomed pot to ensure even heat distribution across the kernels.
A thin pot creates hot spots that will burn your popcorn before the rest of the kernels have a chance to pop.
Ensure the pot is large enough, usually 3 to 4 quarts, to give the kernels plenty of room to expand.
If the pot is too small, the popcorn will become packed tightly and the steam will make it chewy instead of crisp.
Check that your lid fits securely but allows you to move the pot easily on the burner.
Pro Tip: A stainless steel pot or a Dutch oven works best because they hold heat consistently throughout the process.
Step 2: Select Your Cooking Oil
Pick an oil with a high smoke point so it doesn’t break down or taste bitter under high heat.
Coconut oil is the gold standard for that classic movie theater flavor and it handles the heat beautifully.
Consider avocado oil or grapeseed oil if you want a more neutral flavor profile for your snack.
Avoid using butter as your primary popping fat because the milk solids will burn almost instantly at these temperatures.
Measure about two tablespoons of oil for every half-cup of kernels you plan to pop.
The kernels should be lightly coated but not swimming in a pool of grease.
Step 3: The Three-Kernel Test
Place your pot over medium-high heat and add exactly three popcorn kernels to the oil.
This is the most important step for timing because it tells you exactly when the oil is ready.
Wait for all three kernels to pop before adding the rest of your measurement.
If you add the kernels to cold oil, they will soak up the fat and end up tough and oily.
Remove the three popped kernels with a spoon so they don’t burn while the rest of the batch cooks.
Pro Tip: If the three kernels take more than two minutes to pop, your heat is likely too low.
Step 4: Add Kernels And Seasoning
Pour the rest of your kernels into the hot oil in an even layer across the bottom.
Use about a half-cup of kernels for a standard large pot, which will yield about 15 cups of popped corn.
Sprinkle a pinch of fine salt directly into the oil at this stage if you want the salt to stick better.
The oil helps the salt distribute evenly across every single kernel as they explode.
Cover the pot immediately with the lid to prevent hot oil or kernels from escaping.
Step 5: The Initial Shake
Slide the pot back and forth across the burner for a few seconds right after adding the kernels.
This movement ensures every kernel is fully coated in the hot oil and salt mixture.
Keep the heat at medium-high and wait for the first few pops to begin.
You will hear a slow rhythmic clicking before the rapid-fire popping starts.
Hold the lid down firmly with a potholder while you shake to keep everything contained.
Step 6: Vent The Steam
Crack the lid slightly once the popping becomes rapid and consistent.
Steam is the enemy of crispy popcorn and it builds up quickly inside a closed pot.
Leave just a tiny gap to let the moisture escape without letting the kernels fly out.
If you keep the lid tight, the trapped moisture will turn your popcorn into a rubbery mess.
Continue to shake the pot every ten seconds to move unpopped kernels to the bottom heat source.
Pro Tip: Use a lid with built-in vents if you have one, or simply tilt the lid about a quarter-inch to the side.
Step 7: Listen To The Rhythm
Listen carefully as the popping starts to slow down after a minute or two.
The “sweet spot” for finishing is when you hear more than two seconds between pops.
Remove the pot from the heat immediately once the frequency drops.
The residual heat in the bottom of the pot is enough to finish those last few stubborn kernels.
Avoid the temptation to wait for every single kernel to pop, as this is how the rest of the batch burns.
Step 8: Final Seasoning And Serving
Dump the popcorn into a large bowl immediately after removing it from the stove.
Leaving it in the hot pot will continue to dry it out and may lead to scorching.
Drizzle melted butter or extra seasonings over the top while the popcorn is still steaming hot.
The heat helps the flavorings adhere to the surface of the fluff.
Toss the bowl vigorously to ensure even distribution of your toppings.
Common Mistakes to Avoid
Using Too Much Heat
Setting your stove to the highest possible setting is a recipe for disaster. High heat will smoke the oil and burn the outside of the kernels before the inside reaches the pressure needed to pop. Medium-high is the maximum you should ever use for a controlled and successful batch.
Leaving the Lid Fully Closed
Many people think the lid must stay tight to keep the heat in. However, the corn kernels release a significant amount of moisture as they explode. If that steam has nowhere to go, it condenses back onto the popcorn, making it chewy and tough instead of light and airy.
Walking Away from the Stove
Stovetop popcorn happens very quickly once the popping starts. It only takes five to ten seconds for a perfect batch to turn into a charred mess. You must stay at the stove, listening to the rhythm and shaking the pot to ensure success.
Using Old Kernels
Popcorn pops because of a tiny drop of water trapped inside the hull. If your kernels are years old and have dried out, they will either fail to pop or result in small, jagged pieces. Always use relatively fresh kernels and store them in an airtight container in a cool place.
Troubleshooting
The Kernels Are Not Popping
If your kernels are sitting in the oil and doing nothing, your oil might not be hot enough. Ensure you use the three-kernel test before adding the full amount. If the oil is hot and they still won’t pop, the kernels are likely too old and have lost their internal moisture.
The Popcorn Is Chewy
Chewy popcorn is almost always caused by trapped steam. Make sure you are venting the lid during the popping process. Also, ensure you aren’t using too much oil, as an over-saturation of fat can weigh down the kernels and make them feel soggy.
The Bottom Layer Is Burnt
This happens when the pot isn’t shaken enough or the heat is too high. The popped kernels sit at the bottom and continue to toast while you wait for the top ones to finish. Always shake the pot frequently and remove it from the heat as soon as the popping slows down.
Key Takeaways
- Use a heavy-bottomed pot to prevent hot spots and burning.
- Always use a high-smoke point oil like coconut or avocado oil.
- The three-kernel test is essential for ensuring the oil is at the perfect temperature.
- Vent the lid during popping to allow steam to escape for a crispier texture.
- Shake the pot constantly to keep kernels moving and prevent scorching.
- Remove the pot from the heat when pops are two seconds apart.
Frequently Asked Questions
Can I use olive oil to pop popcorn?
You can use refined olive oil, but extra virgin olive oil has a lower smoke point. If you use extra virgin, it may start to smoke and develop an “off” flavor before the kernels pop. It is better to use a more stable oil for the popping and drizzle olive oil on afterward for flavor.
How long do popcorn kernels stay fresh?
In an airtight container, popcorn kernels can stay fresh for about six months to a year. After that, they begin to lose the moisture required to pop effectively. If your popcorn is coming out small and “half-popped,” it is time to buy a new bag.
Is stovetop popcorn healthier than microwave popcorn?
Yes, stovetop popcorn is generally much healthier because you control the ingredients. Microwave bags often contain artificial flavorings, preservatives, and unhealthy fats. On the stove, you can use heart-healthy oils and control the exact amount of salt you consume.
Why do some kernels never pop?
These are often called “old maids.” They usually fail to pop because their outer shell has a tiny crack, allowing the moisture to escape slowly as it heats up instead of building pressure. You will almost always have a few unpopped kernels at the bottom of every batch.
Our Top Recommended Finds
- Whirley-Pop Stovetop Popper: This specialized pot has a built-in crank that keeps the kernels moving constantly for perfect results every time.
- Fine Grain Sea Salt: Standard table salt is often too heavy to stick to popcorn; a fine-grain salt clings much better to the nooks and crannies.
- Nutritional Yeast: This is a fantastic, vegan-friendly seasoning that gives popcorn a cheesy, savory flavor without adding dairy.
Mastering The Art Of The Perfect Crunch
Once you master the basic stovetop technique, you can start experimenting with endless flavor combinations.
Try tossing your fresh popcorn with smoked paprika, garlic powder, or even a drizzle of honey and sea salt.
The control you have over the texture and quality makes this method the ultimate way to enjoy this classic snack.
Grab your favorite heavy pot and a fresh bag of kernels to start your first batch today.