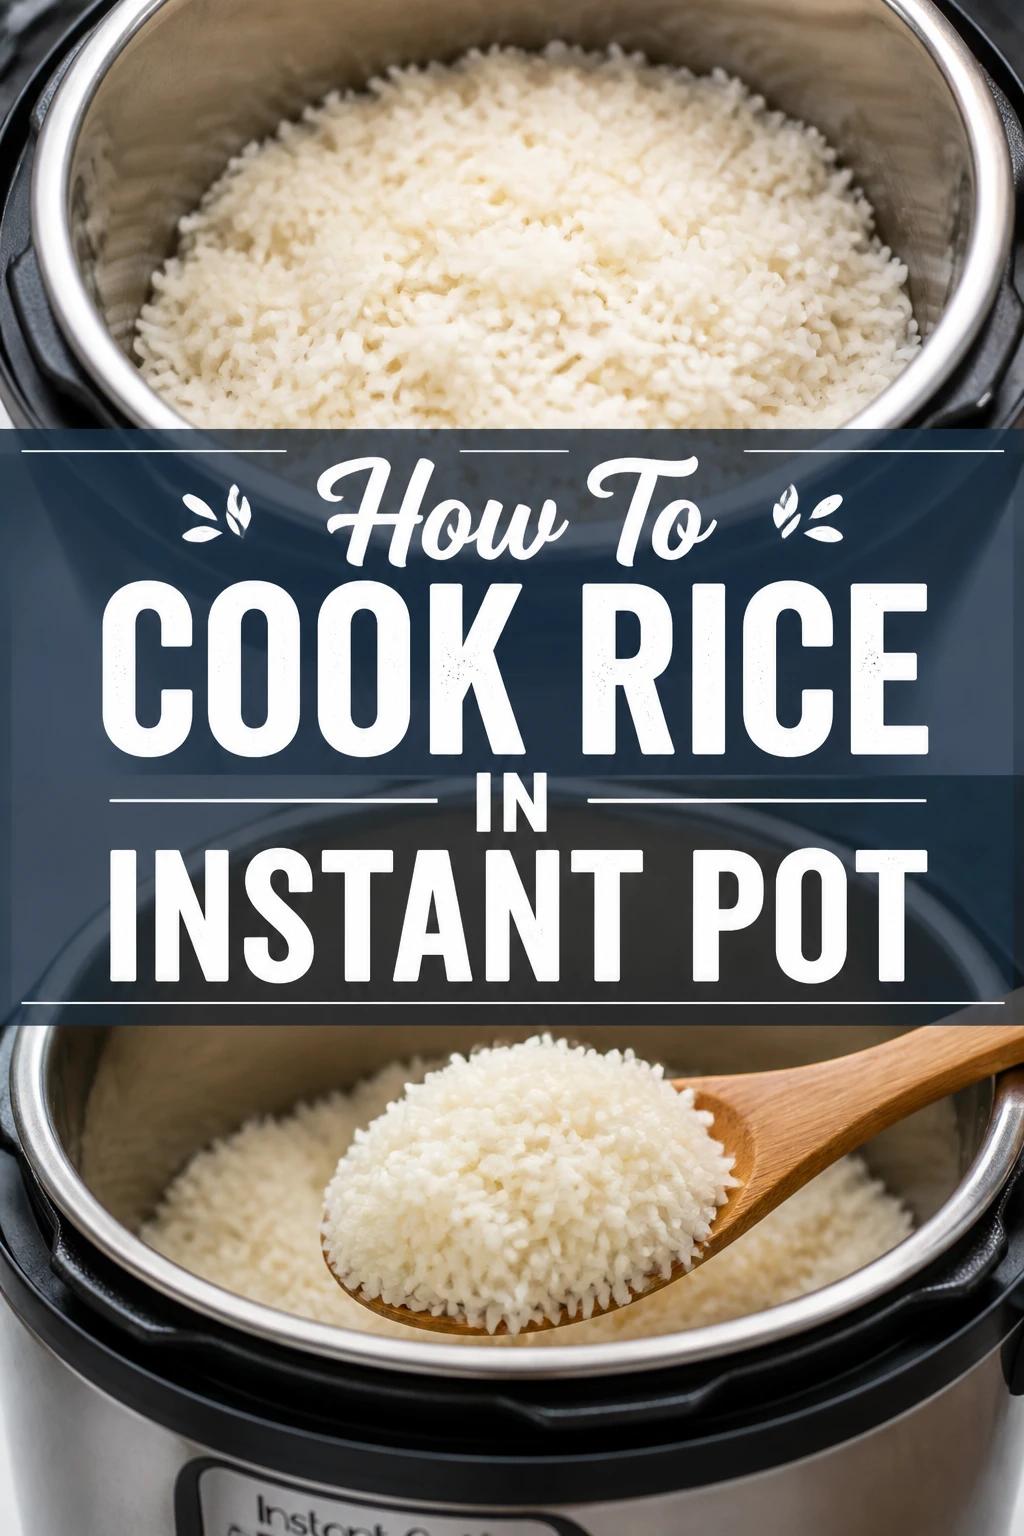
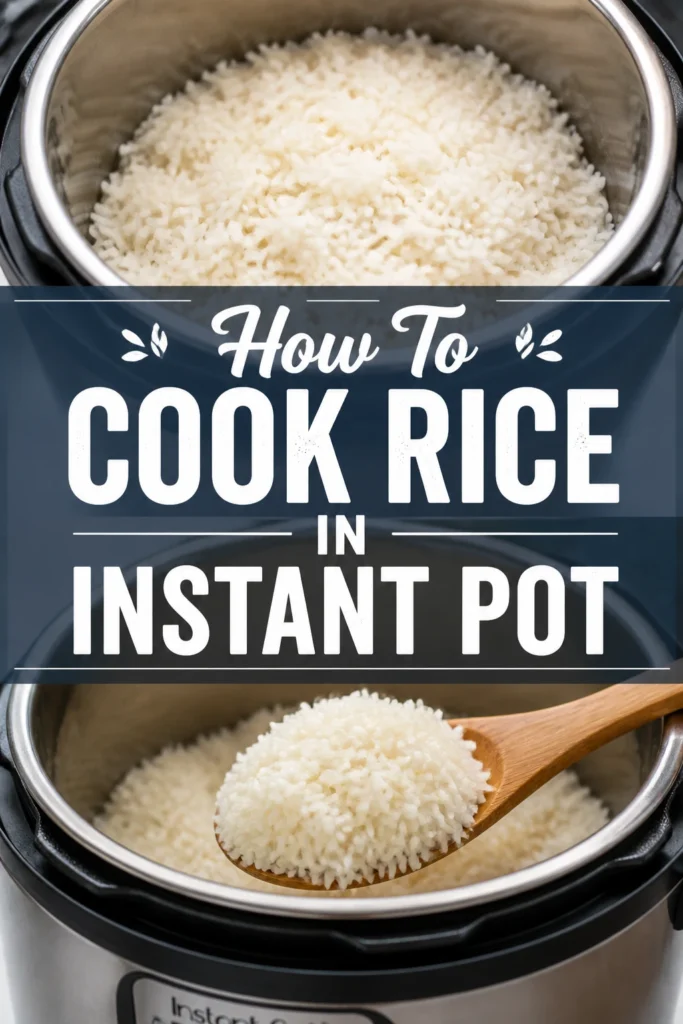
🍚 How To Cook Rice In Instant Pot
I have spent years perfecting the art of the side dish, and nothing is more fundamental than a bowl of perfectly cooked rice.
After testing dozens of methods and dealing with countless “Burn” notices, I found that the Instant Pot is the most reliable tool in the kitchen for this task.
This guide comes from my personal experience of cooking hundreds of batches of rice to ensure you get fluffy, separate grains every single time.
Quick Overview
Cooking rice in a pressure cooker is a game-changer for meal prep and busy weeknights.
It eliminates the guesswork of stovetop temperatures and prevents the dreaded scorched bottom of the pan.
- Time needed: 20-30 minutes (including pressurizing and release time)
- Difficulty: Beginner
- What you’ll need: Instant Pot, measuring cups, a fine-mesh strainer, and your choice of rice.
Step 1: Choose Your Rice Variety
Select the type of rice you want to cook, as this determines your exact timing.
White rice varieties like Jasmine or Basmati are the most common and cook very quickly under pressure.
Brown rice or wild rice blends require significantly more time because the outer bran layer is still intact.
Understand that the ratio for almost all white rice varieties in the Instant Pot is a simple 1:1 ratio.
This differs from the stovetop method because no steam escapes the sealed environment of the pressure cooker.
Pro Tip: If you are using an older Instant Pot model, you might need an extra tablespoon or two of water to ensure the pot comes to pressure correctly.
Step 2: Rinse the Grains Thoroughly
Place your measured rice into a fine-mesh strainer and hold it under cold running water.
Agitate the grains with your fingers to help knock off the excess surface starch.
You will notice the water running underneath is cloudy at first; this is the starch that causes rice to become gummy.
Continue rinsing until the water runs mostly clear, which usually takes about 30 to 60 seconds.
Shake the strainer well to remove as much excess water as possible so you don’t throw off your 1:1 ratio.
Skipping this step is the primary reason people end up with a solid block of rice rather than individual grains.
Step 3: Combine Rice and Liquid
Add the rinsed rice into the stainless steel inner pot of your Instant Pot.
Pour in an equal amount of cold water or broth, maintaining that strict 1:1 ratio.
If you used two cups of dry rice, you must use exactly two cups of liquid for the best results.
Spread the rice into an even layer using a spatula or spoon to ensure every grain is submerged.
Add a pinch of salt or a teaspoon of butter or oil at this stage if you prefer seasoned rice.
Using broth instead of water is a simple way to add a massive amount of flavor to a basic side dish.
Step 4: Seal the Instant Pot
Check the silicone sealing ring inside the lid to make sure it is seated properly in its track.
Place the lid on the Instant Pot and turn it to the locked position.
Move the steam release valve to the “Sealing” position, unless you have a model that seals automatically.
A loose ring or an open valve will prevent the pot from reaching the necessary pressure, leading to undercooked rice.
Listen for the chime that indicates the lid is secure and the machine is ready to program.
Pro Tip: Always double-check your sealing ring for lingering odors from previous meals, as rice can easily absorb the scent of last night’s chili.
Step 5: Set the Cooking Time
Press the “Pressure Cook” or “Manual” button and ensure the pressure level is set to “High.”
Adjust the timer based on the specific variety of rice you are using for the meal.
For White Jasmine rice, set the timer for 3 to 5 minutes depending on your preferred texture.
For Basmati rice, 4 minutes is usually the “sweet spot” for long, fluffy grains.
For Brown Rice, you will need to increase the time significantly to 22 minutes on high pressure.
Avoid using the “Rice” button on your machine, as it is often calibrated for specific quantities that might not match your needs.
Step 6: Allow for a Natural Release
Wait patiently once the cooking cycle finishes and the Instant Pot beeps.
Let the pot sit undisturbed for at least 10 minutes to allow for a “Natural Pressure Release” (NPR).
This step is vital because the rice continues to steam and absorb the remaining moisture during this time.
Resist the urge to flip the valve to “Venting” immediately, as a quick release can make the rice tough and chewy.
After 10 minutes, you can carefully move the valve to “Venting” to release any remaining steam.
Watch for the float valve to drop down before you attempt to open the lid.
Step 7: Fluff and Serve
Open the lid away from your face to avoid the initial burst of hot steam.
Use a plastic rice paddle or a fork to gently fluff the grains and break up any clumps.
Avoid using a metal spoon, which can scratch the bottom of your inner pot or smash the delicate grains.
If the rice looks a little wet, let it sit uncovered for two minutes to allow the excess moisture to evaporate.
Transfer the rice to a serving bowl immediately to prevent it from continuing to cook on the “Keep Warm” setting.
Common Mistakes to Avoid
Using the Automatic Rice Button
The “Rice” button on most Instant Pot models is designed for white rice only and uses a low-pressure sensor. This setting is often inconsistent because it relies on the weight and moisture level of the rice, which can vary wildly between brands. Setting the time manually on high pressure gives you much more control and yields more consistent results every time.
Ignoring the Rinsing Process
Many people think rinsing rice is an optional step, but it is the difference between professional results and a sticky mess. Rice is coated in starch from the milling process, and in the high-heat environment of a pressure cooker, that starch turns into a glue-like substance. Rinsing ensures that each grain remains distinct and fluffy after the cooking process is complete.
Opening the Pot Too Quickly
The “Natural Release” phase is actually part of the cooking time for rice. If you vent the steam immediately, the sudden drop in pressure can cause the rice grains to rupture or remain hard in the center. Giving the rice those extra 10 minutes to rest allows the moisture to distribute evenly throughout the pot.
Troubleshooting
The Dreaded Burn Notice
If your Instant Pot displays a “Burn” error, it usually means there isn’t enough liquid at the bottom of the pot. This often happens if the rice wasn’t rinsed well or if some grains are stuck to the bottom before the cycle starts. To fix this, ensure the bottom of the pot is clean and that you have used the correct 1:1 ratio of liquid to rice.
Rice is Too Crunchy
Crunchy rice is almost always a result of not enough water or an incomplete seal during the cooking process. If your rice comes out hard, you can add 1/4 cup of water, stir it, and put the lid back on for another 2 minutes of pressure cooking. Next time, ensure your sealing ring is tight and your measurements are precise.
Rice is Mushy or Gummy
Mushy rice happens when there is too much water or the rice was cooked for too long. If you find your rice is consistently too soft, reduce the cooking time by one minute or reduce the water by two tablespoons. Remember that different brands of rice may have slightly different moisture requirements, so a little experimentation is normal.
Key Takeaways
- The golden rule for Instant Pot rice is a 1:1 ratio of water to rice.
- Rinsing your rice under cold water is mandatory to remove excess starch.
- Always use the manual/pressure cook setting rather than the automatic rice button.
- A 10-minute natural pressure release is essential for the perfect texture.
- White rice usually takes 3-5 minutes, while brown rice takes about 22 minutes.
- Fluff the rice gently with a fork or paddle to avoid smashing the grains.
Frequently Asked Questions
Can I cook a large batch of rice at once?
Yes, you can cook as much rice as your pot allows, provided you do not exceed the “halfway” fill line inside the inner pot. Rice expands as it cooks and can create foam, which can clog the pressure valve if the pot is too full. As long as you maintain the 1:1 ratio, the cooking time remains the same whether you are making one cup or four cups.
Do I need to add oil or butter to the pot?
Adding a teaspoon of oil or butter is not strictly necessary for the cooking process, but it can help prevent foaming. Some varieties of rice, like Basmati, produce more foam than others, and a little fat breaks the surface tension of the bubbles. It also adds a nice flavor and helps the grains stay even more separate.
Can I use the same timing for wild rice?
Wild rice is actually a grass and has a very tough outer husk, so it requires much more time than white rice. Generally, wild rice needs about 25 to 30 minutes of high-pressure cooking with a 1:1.5 water ratio. It is best to cook wild rice separately from white rice, as the white rice will turn to mush before the wild rice is even close to being done.
What if I want to use broth instead of water?
You can substitute water with chicken, beef, or vegetable broth in the exact same 1:1 ratio. This is an excellent way to infuse flavor directly into the grain rather than just seasoning it afterward. Just be mindful of the salt content in your broth, as the pressure cooking process can intensify flavors.
Our Top Recommended Finds
- Fine Mesh Stainless Steel Strainer: Essential for rinsing rice without losing half the grains down the kitchen sink drain.
- Silicone Rice Paddle: A gentle tool that fluffs the rice perfectly without scratching the non-stick or stainless steel surface of your pot.
- Extra Sealing Rings: It is helpful to have a dedicated “sweet” and “savory” ring so your plain white rice doesn’t taste like the spicy curry you made yesterday.
Mastering Your Side Dish Game
Now that you have the foundation for perfect rice, you can start experimenting with different flavor profiles and additions.
Try adding a stick of cinnamon and a few cardamom pods to your Basmati rice for an aromatic Indian-style side dish.
You can also look into “pot-in-pot” cooking methods if you want to cook your main course and your rice at the same time.
Take these steps into your kitchen today and stop settling for mediocre stovetop results.