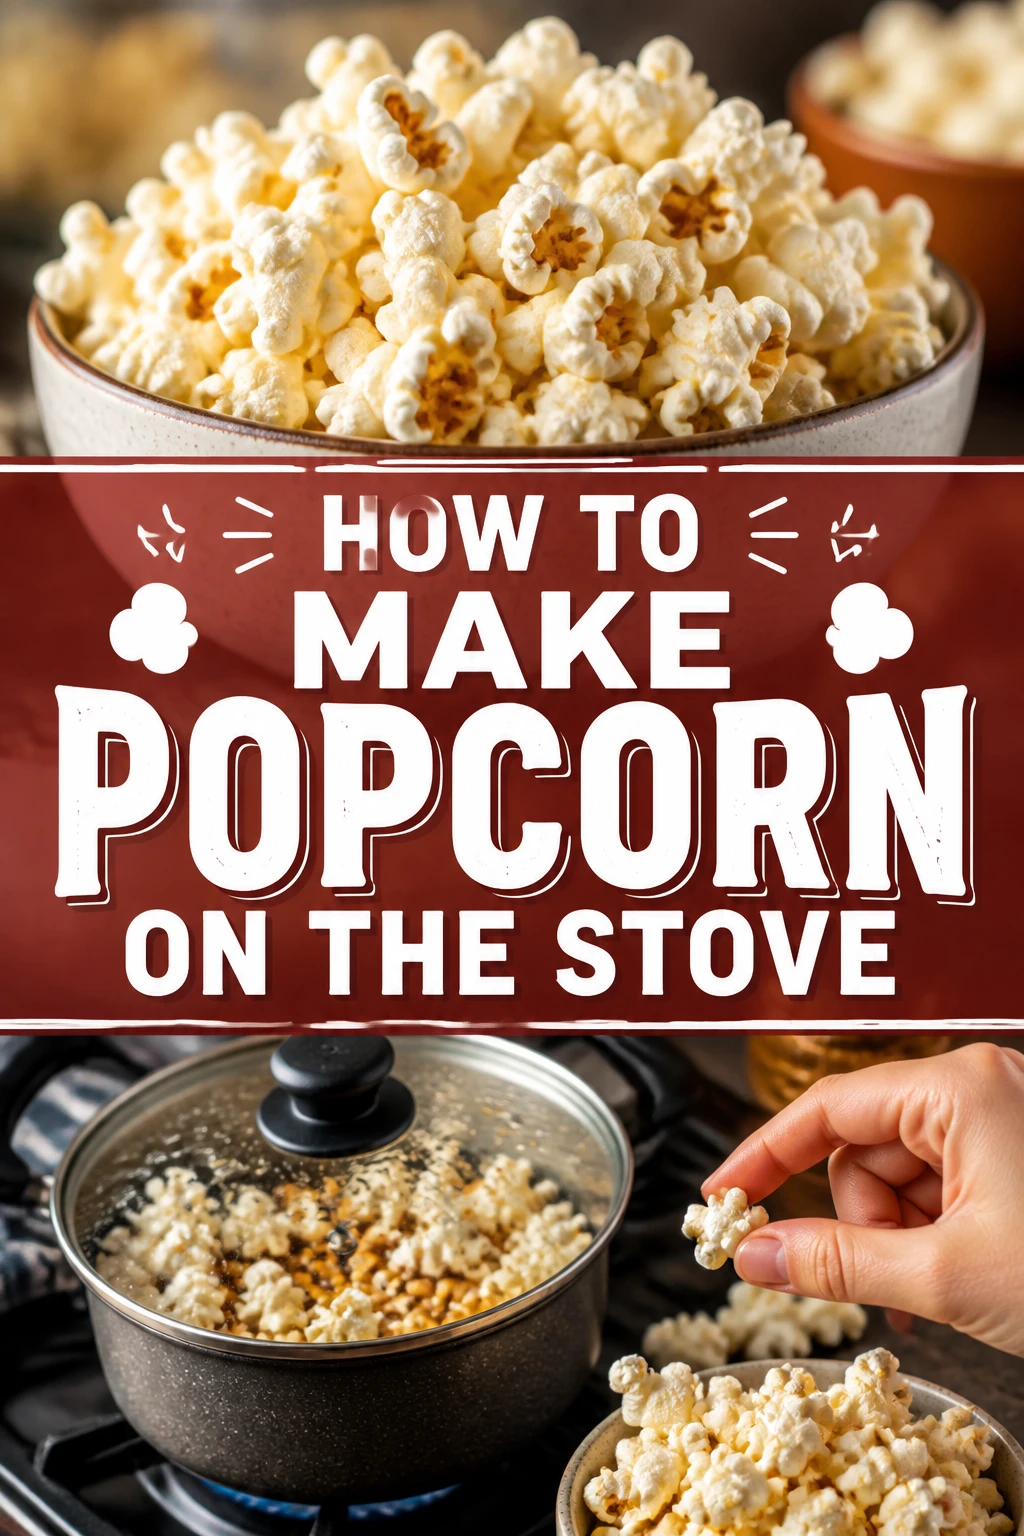
🍿 How To Make Popcorn On The Stove
There’s nothing quite like a fresh bowl of popcorn. Forget the microwave bags; making popcorn on the stove transforms a simple snack into an experience. I’ve spent countless movie nights perfecting this method, and the aroma alone is enough to bring everyone to the kitchen.
This guide shares all my best tips, ensuring you get perfectly popped, fluffy kernels every time. You’ll soon be making popcorn that tastes better than any store-bought variety. Get ready to elevate your snack game.
Quick Overview
This guide will walk you through creating delicious, fluffy stovetop popcorn from scratch. You’ll master the art of perfectly popped kernels, ready for your favorite seasonings.
- Time needed: 10-15 minutes (prep and cook time)
- Difficulty: Beginner
- What you’ll need: Popcorn kernels, cooking oil, large pot with lid, salt
Step-by-Step Instructions
Step 1: Gather Your Ingredients and Equipment
Before you begin, collect everything you need. This makes the entire process smooth and enjoyable. Having your tools and ingredients ready prevents scrambling later.
You will need a large, heavy-bottomed pot with a tight-fitting lid. Stainless steel or cast iron works best for even heat distribution. A 3-quart pot is good for a single serving, while a 6-quart pot can handle a family-sized batch.
Measure out your popcorn kernels, cooking oil, and salt. For every 1/2 cup of kernels, you’ll want about 2 tablespoons of oil. Start with a neutral oil like canola, vegetable, or coconut oil.
Pro Tip: Always use fresh popcorn kernels. Older kernels tend to be dry and won’t pop as fully, leading to more “old maids” (unpopped kernels). Check the expiration date if possible.
Step 2: Add Oil and Test Kernels to the Pot
Pour your chosen cooking oil into the large pot. Ensure the oil evenly coats the bottom of the pot. Too little oil can lead to burnt kernels, while too much can make the popcorn greasy.
Next, add just three popcorn kernels to the pot. Place the lid on the pot. These test kernels will tell you when your oil is at the perfect temperature for popping.
Step 3: Heat the Pot and Wait for Test Pops
Place the pot over medium-high heat. Keep the lid on tightly. Listen carefully for the test kernels to pop.
Once all three test kernels have popped, you know the oil is hot enough. This usually takes about 2-3 minutes. The popping sound is your signal to move to the next step.
Pro Tip: Don’t rush this step. If the oil isn’t hot enough, your popcorn won’t pop efficiently. If it’s too hot, the kernels will burn before they can fully expand.
Step 4: Remove Test Kernels and Add the Rest
Carefully remove the pot from the heat. Take out the three popped test kernels. They’ve done their job indicating the right temperature.
Now, add the remaining popcorn kernels to the hot oil. Give the pot a gentle shake to ensure all kernels are coated in oil and spread in a single layer. This prevents overcrowding and promotes even popping.
Step 5: Let Kernels Rest Briefly Off Heat
Place the lid back on the pot. Let the pot sit off the heat for exactly 30 seconds. This crucial step allows the kernels to preheat without burning.
The residual heat from the pot and oil warms the kernels evenly. This method is called “dry-brining” for popcorn and helps achieve a more uniform pop. It reduces the number of unpopped kernels.
Step 6: Return to Heat and Begin Popping
Return the pot to medium-high heat. Keep the lid on tightly. The kernels should start popping within seconds.
Once the popping begins in earnest, shake the pot gently and continuously. Lift the pot slightly off the burner and shake it back and forth. This prevents kernels from burning on the bottom and encourages all kernels to pop.
Step 7: Continue Shaking Until Popping Slows
Keep shaking the pot over the heat. Continue this motion until the popping sounds slow down significantly. You’ll notice the frantic popping subsiding to one pop every few seconds.
When there are 2-3 seconds between pops, it’s time to remove the pot from the heat. Don’t wait for the last kernel to pop, or you risk burning the batch. Trust your ears.
Pro Tip: Resist the urge to lift the lid too often during popping. Steam needs to build up inside to help the kernels pop effectively. Lifting the lid releases this steam and cools the pot, leading to fewer pops.
Step 8: Immediately Transfer and Season
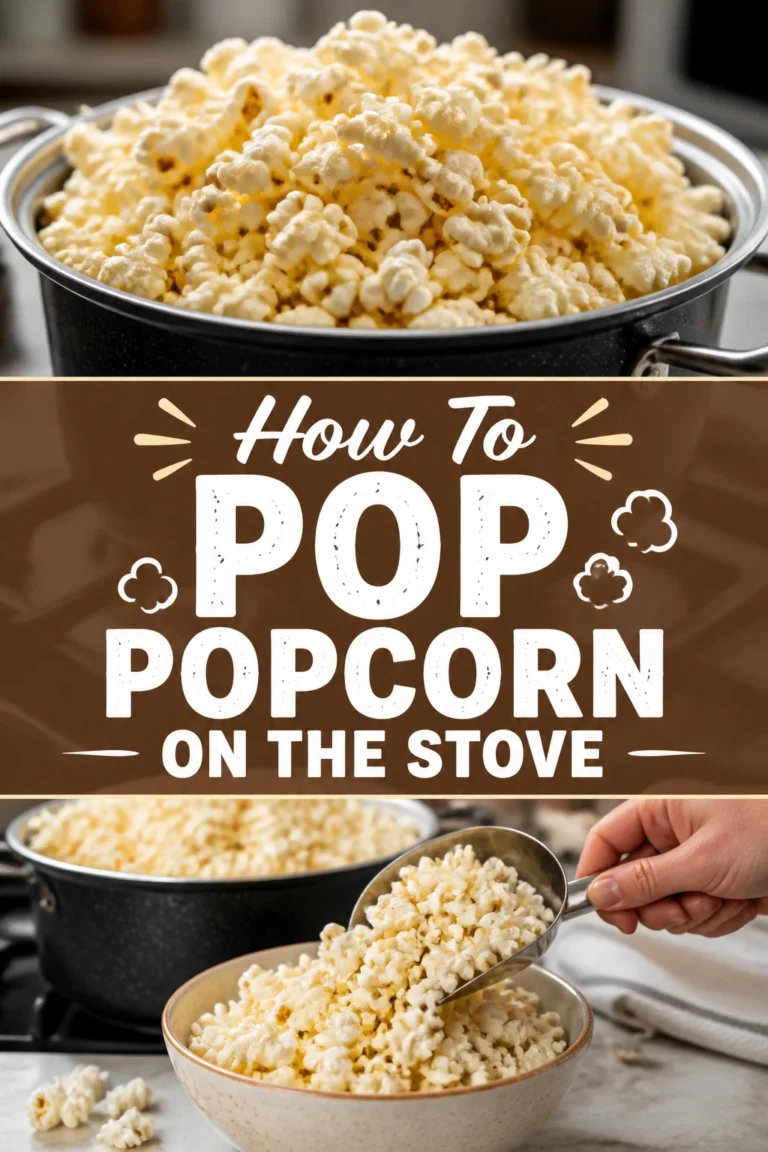
As soon as the popping slows, remove the pot from the heat. Immediately pour the hot popcorn into a large serving bowl. Leaving it in the hot pot will cause it to steam and become soggy, or even burn.
Now it’s time to season your popcorn. Sprinkle salt evenly over the popcorn while it’s still hot. The heat helps the salt stick better. If you prefer butter, melt it separately and drizzle it over the popcorn.
Step 9: Enjoy Your Fresh Stovetop Popcorn
Toss the popcorn gently to distribute the seasoning. Make sure every piece gets some flavor. Your delicious, fluffy stovetop popcorn is now ready to enjoy.
Serve it warm for the best taste and texture. This simple snack is perfect for movie nights, parties, or just a cozy evening in. Congratulations, you’ve mastered the art of stovetop popcorn!
Common Mistakes to Avoid
Using Too Little or Too Much Oil
Getting the oil ratio right is crucial. Too little oil causes kernels to burn quickly and not pop fully, resulting in a lot of scorched “old maids.” Too much oil makes the popcorn greasy and heavy, ruining the light, fluffy texture. Stick to the recommended 2 tablespoons of oil per 1/2 cup of kernels for optimal results.
Overcrowding the Pot
Adding too many kernels to the pot is a common error. When the pot is overcrowded, kernels can’t spread out in a single layer. This leads to uneven heating, poor popping, and a higher chance of unpopped kernels or burnt popcorn at the bottom. Always leave enough space for the kernels to expand, typically filling the bottom of the pot in a single layer.
Not Shaking the Pot
Forgetting to shake the pot during the popping process is a recipe for disaster. Kernels left undisturbed will sit directly on the hot bottom of the pot, quickly burning before they have a chance to pop. Consistent, gentle shaking ensures even heat distribution, prevents burning, and encourages maximum popping.
Lifting the Lid Too Often
It’s tempting to peek, but lifting the lid frequently releases crucial steam and heat. This drop in temperature can slow down the popping process, lead to incomplete pops, and result in chewy rather than crispy popcorn. Trust the process and listen for the pops; resist the urge to peek until the popping significantly slows.
Troubleshooting
Popcorn is Burnt
If your popcorn tastes burnt or you see black kernels, your heat was likely too high or you left it on the stove for too long. Ensure you’re using medium-high heat, not high. Also, remove the pot from the heat as soon as the popping slows to 2-3 seconds between pops. Shaking the pot consistently also helps prevent burning.
Too Many Unpopped Kernels (“Old Maids”)
A high number of unpopped kernels can be frustrating. This often happens if your kernels are old or dry, or if the oil wasn’t hot enough when you added the main batch. Make sure to use fresh kernels and allow the test kernels to fully pop before adding the rest. The 30-second rest off-heat also helps by preheating the kernels evenly.
Popcorn is Chewy or Soggy
Chewy or soggy popcorn is usually a sign of too much steam or not transferring it quickly enough. Ensure your lid fits tightly to trap steam for popping, but immediately transfer the popcorn to a serving bowl once done. Leaving it in the hot pot allows steam to condense back onto the popcorn, making it soft instead of crispy.
Key Takeaways
- Always start with fresh kernels for the best results and fewer “old maids.”
- Use a heavy-bottomed pot with a tight-fitting lid for even heat distribution.
- The three-kernel test ensures your oil is at the perfect temperature before adding the rest.
- A 30-second rest off-heat preheats kernels, leading to a more complete pop.
- Shake the pot continuously once popping begins to prevent burning and promote even popping.
- Remove from heat promptly when popping slows to avoid burnt kernels.
- Transfer immediately to a serving bowl to prevent sogginess from trapped steam.
Frequently Asked Questions
What is the best type of oil to use for stovetop popcorn?
Neutral oils with a high smoke point are ideal for stovetop popcorn. Canola oil, vegetable oil, coconut oil, and peanut oil are excellent choices. They won’t impart a strong flavor, allowing the popcorn to shine, and can withstand the heat required for popping without burning.
Can I use butter instead of oil to pop popcorn?
It’s generally not recommended to use butter for popping popcorn. Butter has a low smoke point and will likely burn before your kernels have a chance to pop. Instead, use a neutral cooking oil to pop the kernels, then melt butter separately and drizzle it over the finished popcorn for flavor.
How do I prevent my popcorn from getting soggy?
To prevent soggy popcorn, it’s crucial to transfer it immediately from the hot pot to a large serving bowl once popping is complete. Leaving it in the hot pot allows trapped steam to condense back onto the popcorn, making it soft. Ensure your pot lid fits tightly during popping to keep steam in, but get it out quickly afterward.
What are some creative seasoning ideas for stovetop popcorn?
Beyond classic salt, the possibilities are endless! Try nutritional yeast for a cheesy flavor, chili powder and cumin for a spicy kick, or cinnamon sugar for a sweet treat. Garlic powder, onion powder, dried herbs, or even a dash of hot sauce can transform your popcorn. Experiment to find your favorite combinations.
Our Top Recommended Finds
- Large, Heavy-Bottomed Pot: A 6-quart stainless steel pot ensures even heat and enough space for a generous batch. Its sturdy construction prevents hot spots and burning.
- Fine-Grain Popcorn Salt: Regular table salt often falls to the bottom of the bowl. Fine-grain popcorn salt sticks better to the kernels, providing consistent flavor in every bite.
- Premium Popcorn Kernels: Investing in good quality, fresh kernels makes a noticeable difference in pop rate and flavor. Look for non-GMO or organic varieties for the best experience.
Your Next Movie Night Awaits
You now have all the tools and knowledge to create perfect stovetop popcorn. This isn’t just a snack; it’s a simple pleasure, a comfort food that brings people together. The aroma alone is a promise of good times.
Don’t wait for a special occasion; make a batch tonight. Experiment with different oils and seasonings. Share your creations and enjoy the compliments. Your popcorn journey has just begun!