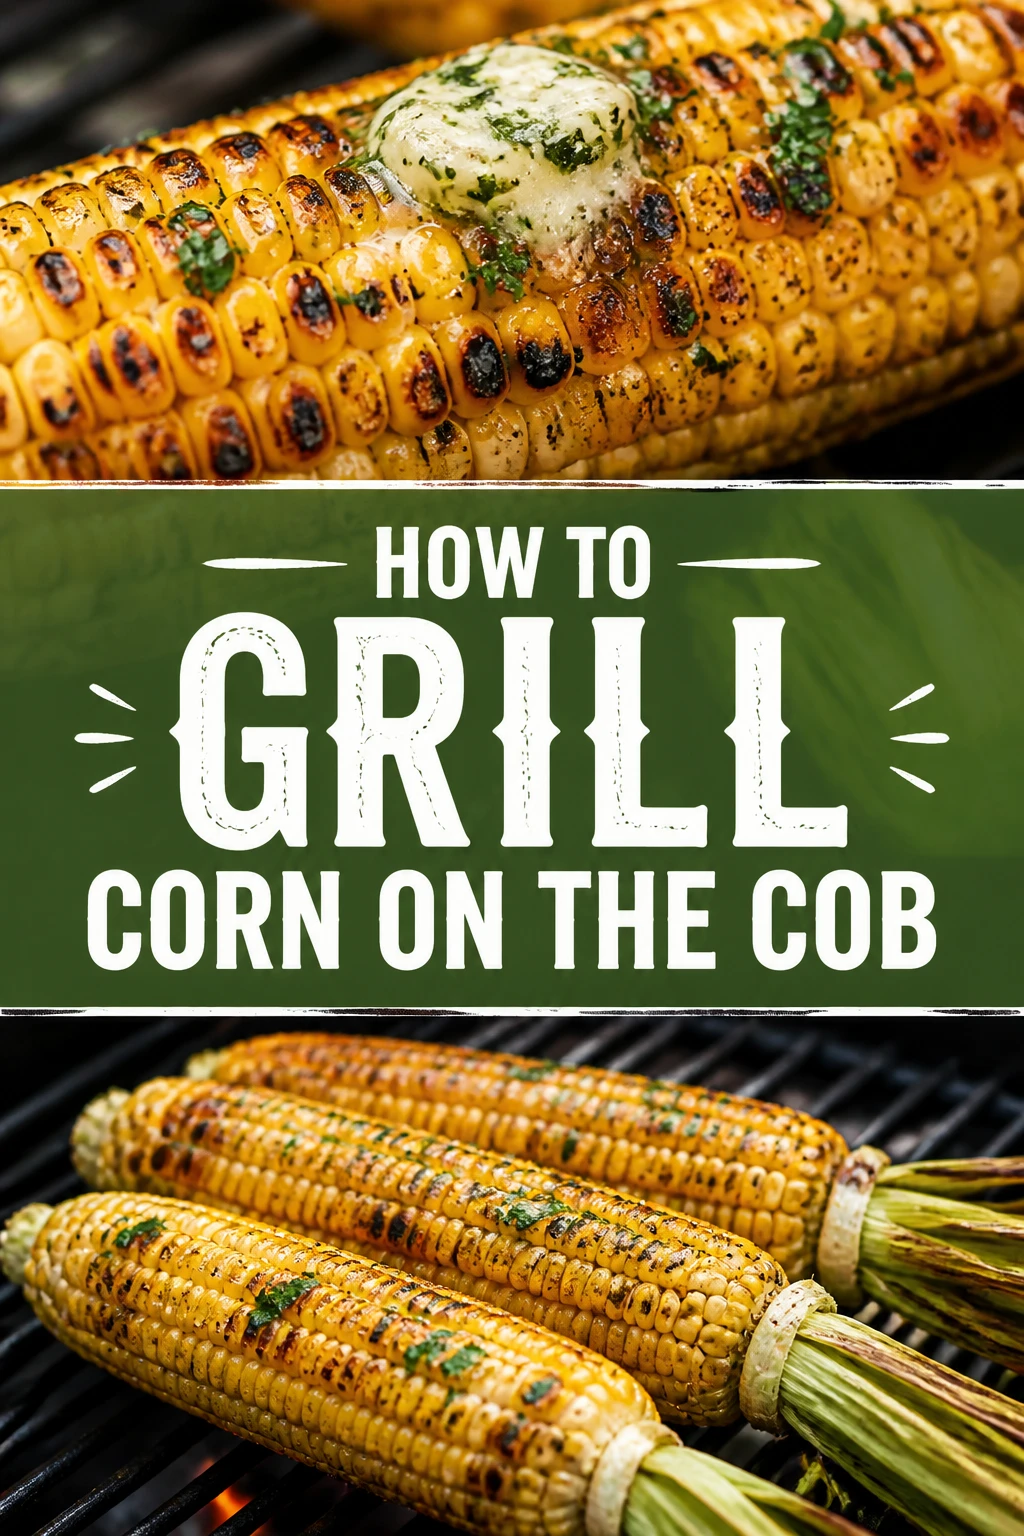
🌽 How To Grill Corn On The Cob
There is something about the smell of charred corn hitting a hot grate that signals the official start of summer.
I have spent years hovering over smoky charcoal grills, testing every possible method to find the perfect balance of snap and sweetness.
Whether you like your kernels bright and juicy or deeply caramelized with a bit of crunch, this guide will show you exactly how to master the flame.
Quick Overview
Grilling corn is a simple pleasure, but the technique you choose changes the flavor profile entirely.
- Time needed: 20 to 30 minutes
- Difficulty: Beginner
- What you’ll need: Fresh corn, high-heat oil or butter, salt, and a reliable grill.
Step 1: Select the Freshest Ears
The quality of your grilled corn starts at the farm stand or grocery store before the heat even touches it.
Look for husks that are bright green and wrapped tightly around the ear, which indicates the corn is still hydrated.
Feel the kernels through the husk without peeling it back; they should feel plump, firm, and consistent from the bottom to the tip.
Check the silk, the hairy bit sticking out of the top, and ensure it is sticky and brown rather than dry or black.
Pro Tip: Avoid corn that has already been shucked and wrapped in plastic if you want the best flavor, as the sugars begin turning to starch the moment the husk is removed.
Fresh corn has a natural sweetness that caramelizes beautifully over an open flame.
If the husk feels loose or the kernels feel like they have gaps, the corn is likely old and will turn out chewy rather than crisp.
Step 2: Choose Your Grilling Method
You have three primary ways to approach the grill, and each offers a different result for your palate.
Grilling in the husk steams the corn in its own moisture, resulting in incredibly juicy kernels with a subtle grassy flavor.
Grilling in foil allows you to infuse the corn with butter and herbs while it cooks, keeping it tender without any char.
Grilling naked (directly on the grates) provides the most smoke flavor and creates those beautiful, dark charred spots that many people crave.
Decide which texture you prefer before you start your prep work, as it changes how you handle the ears.
I personally prefer the naked method for the smoky depth, but the husk method is great for large crowds because it is more forgiving.
Step 3: Prepare the Corn for the Heat
If you are grilling in the husk, you should soak the ears in cold water for at least 15 to 20 minutes.
Soaking prevents the dry husks from catching fire immediately and creates steam to cook the kernels through.
If you are grilling naked, pull back the husks, remove all the silk, and trim the excess stalk at the bottom.
Removing the silk is easier if you use a dry paper towel or a soft-bristled brush to gently scrub the ear after shucking.
Pro Tip: When grilling naked, leave a bit of the stalk on the end to act as a natural handle for turning the corn on the grill.
For the foil method, shuck the corn completely and place each ear on a square of heavy-duty aluminum foil.
A clean ear of corn ensures that the heat hits the kernels evenly without any bitter, burnt silk getting in the way.
Step 4: Season and Oil the Kernels
For corn being grilled directly on the grates, you must apply a light coating of fat to prevent sticking.
Brush the ears with a high-smoke-point oil like avocado or grapeseed oil, or use melted clarified butter.
Sprinkle a generous amount of kosher salt over the oil so it sticks to the kernels during the cooking process.
If you are using the foil method, this is the time to add pads of butter, minced garlic, or sprigs of fresh thyme inside the wrapper.
Seal the foil tightly so the juices and fats stay trapped around the corn as it heats up.
Proper seasoning at this stage builds a base layer of flavor that penetrates the corn as the heat opens up the kernels.
Avoid using pepper or delicate dried herbs at this stage if grilling naked, as they will simply burn and turn bitter over the high heat.
Step 5: Set Up Your Grill Zones
You want a medium-high heat environment, roughly 400°F to 450°F, to get the best results.
Create a two-zone fire if you are using charcoal, with all the coals on one side and an empty space on the other.
Adjust your gas grill by setting the primary burners to medium-high and leaving one burner on low or off.
This setup allows you to sear the corn over the direct heat and move it to the cool side if it starts to cook too fast.
Pro Tip: Clean your grill grates with a wire brush before putting the corn down to ensure you get clean sear marks rather than old food residue.
A clean grill also prevents the corn from sticking, which is the most common frustration for backyard cooks.
Wait until the grates are hot enough that you can only hold your hand over them for about 3 to 4 seconds.
Step 6: Execute the Grill Process
Place your prepared corn on the direct heat side of the grill and prepare to stay close by.
Turn the ears every 2 to 3 minutes using long-handled tongs to ensure even cooking on all sides.
Watch for the color change; the kernels will turn from a pale yellow to a deep, vibrant gold as they cook.
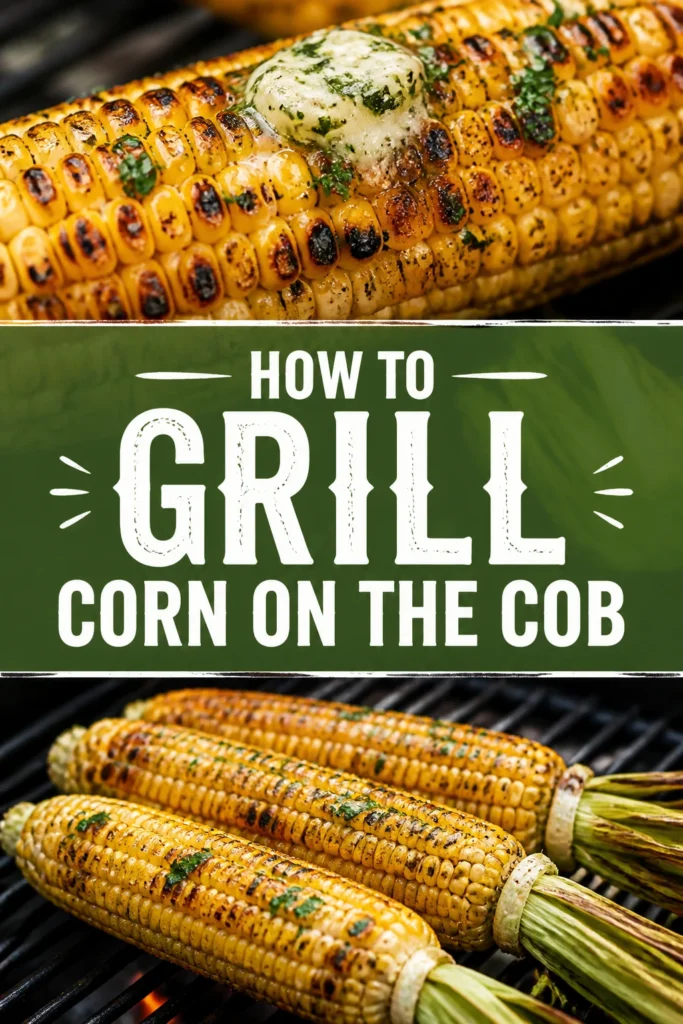
For naked corn, you want to see some charred brown or black spots, but the entire ear should not be charred.
Move the corn to the indirect heat zone if the outside is browning too quickly while the kernels still feel hard.
The total cooking time usually falls between 10 and 15 minutes depending on the heat of your grill and the size of the ears.
If you are grilling in the husk, the outer leaves will turn black and brittle, which is perfectly normal and protects the corn inside.
Step 7: The Finish and Flavor Boost
Once the corn is tender and has the desired amount of char, remove it from the grill immediately.
Rest the corn for a minute or two to let the internal heat finish the cooking process without drying it out.
Slather the ears with fresh butter while they are still steaming hot so it melts into every crevice between the kernels.
This is the perfect moment to add your final toppings, like smoked paprika, lime juice, or crumbled cotija cheese.
Pro Tip: For a true crowd-pleaser, mix mayonnaise, lime juice, and chili powder to make a quick “Elote” style spread for the finished ears.
The contrast of the hot, smoky corn with cool, creamy toppings is what makes grilled corn a standout side dish.
Serve it immediately, as corn loses its optimal texture as it cools down and the starches begin to set.
Common Mistakes to Avoid
Using Old Corn
Many people buy corn that has been sitting in a bin for days and wonder why it tastes starchy or bland. Corn begins to lose its sugar content the moment it is picked, so try to grill it the same day you buy it. If you have to wait, keep it in the refrigerator with the husks on to slow down the conversion of sugar to starch.
Overcooking the Kernels
Leaving corn on the grill for too long turns the juicy kernels into chewy, leathery bits that stick to your teeth. You are looking for a tender-crisp texture where the kernel “pops” when you bite into it. Once the color has deepened and you see some char, it is done; don’t let it sit until it shrivels.
Ignoring the Silk
Failing to remove the silk when grilling naked or in foil leads to a messy eating experience and a burnt, bitter taste. Those fine threads catch fire easily and can leave a grey ash all over your beautiful golden corn. Take the extra minute to use a damp cloth or brush to clear them away before the corn hits the heat.
Troubleshooting
The Corn is Charred but Raw Inside
This happens when your grill is too hot or you are keeping the corn over direct flames for the entire duration. The outside burns before the heat can penetrate the center of the cob. Next time, use the two-zone method: char the outside for a few minutes, then move it to the cooler side of the grill and close the lid to let it finish cooking through.
The Husks are Catching Fire
If you are grilling in the husk and they are flaring up constantly, you likely skipped the soaking step. Dry corn husks are essentially kindling for your grill. Keep a spray bottle of water nearby to douse small flames, or move the corn to a cooler part of the grate until the flare-ups subside.
The Kernels are Tough and Rubbery
Tough corn is usually a sign of overcooking or using corn that was past its prime before it hit the grill. If you find the corn is getting tough, try removing it from the heat a few minutes earlier. You can also try “par-boiling” the corn for 2 minutes before grilling it to ensure the interior is soft while the grill just provides the char.
Key Takeaways
- Freshness is king: Always choose ears with tight, green husks and moist silk for the sweetest results.
- Soak for safety: If grilling in the husk, soak the ears for 20 minutes to prevent excessive burning and create steam.
- Manage your heat: Use a two-zone grill setup to control the char and ensure the kernels cook through without burning.
- Oil prevents sticking: Lightly coat shucked corn in oil or clarified butter to get clean grill marks and easy release.
- Season at the end: Add your delicate spices, fresh herbs, and creamy sauces after the corn comes off the grill for the best flavor.
- Timing matters: Most corn is perfectly cooked within 10 to 15 minutes; watch for the color to turn a deep, golden yellow.
Frequently Asked Questions
Can I grill frozen corn on the cob?
Yes, you can grill frozen corn, but it requires a slightly different approach to avoid a mushy texture. Thaw the corn completely in the refrigerator first and pat it very dry with paper towels to remove excess moisture. Grill it over high heat quickly to get some color without overcooking the already softened kernels.
Should I salt the water if I soak the husks?
It is best to avoid salting the soaking water because salt can actually toughen the kernels as they steam. Save the salt for the actual grilling process or the final seasoning. Pure, cold water is all you need to hydrate the husks and create the necessary steam.
How do I know when the corn is officially done?
The most reliable sign of doneness is the color and the “poke test.” The kernels should be a bright, saturated yellow rather than the pale yellow of raw corn. If you press a kernel with your fingernail or a fork, it should feel tender and release a small amount of clear juice.
Is it better to grill with the lid open or closed?
If you are grilling naked corn for a quick char, leave the lid open so you can monitor the color and turn the ears frequently. If you are grilling in the husk or foil, keep the lid closed to create an oven-like environment that helps the steam cook the corn through to the center.
Our Top Recommended Finds
- Long-Handled Stainless Steel Tongs: Essential for turning corn over high heat without singeing your arm hair.
- Silicone Basting Brush: Perfect for evenly spreading oil or melted butter over the kernels without leaving bristles behind.
- Heavy-Duty Aluminum Foil: A must-have if you prefer the steamed, butter-infused method of grilling corn.
Level Up Your Backyard BBQ
Now that you have mastered the art of the perfect char, you can start experimenting with different flavor profiles like garlic-herb or spicy lime.
Try pairing your grilled corn with a smoky brisket or a rack of ribs to create the ultimate summer feast.
Fire up your grill this afternoon and put these techniques to the test while the corn is at its seasonal peak.