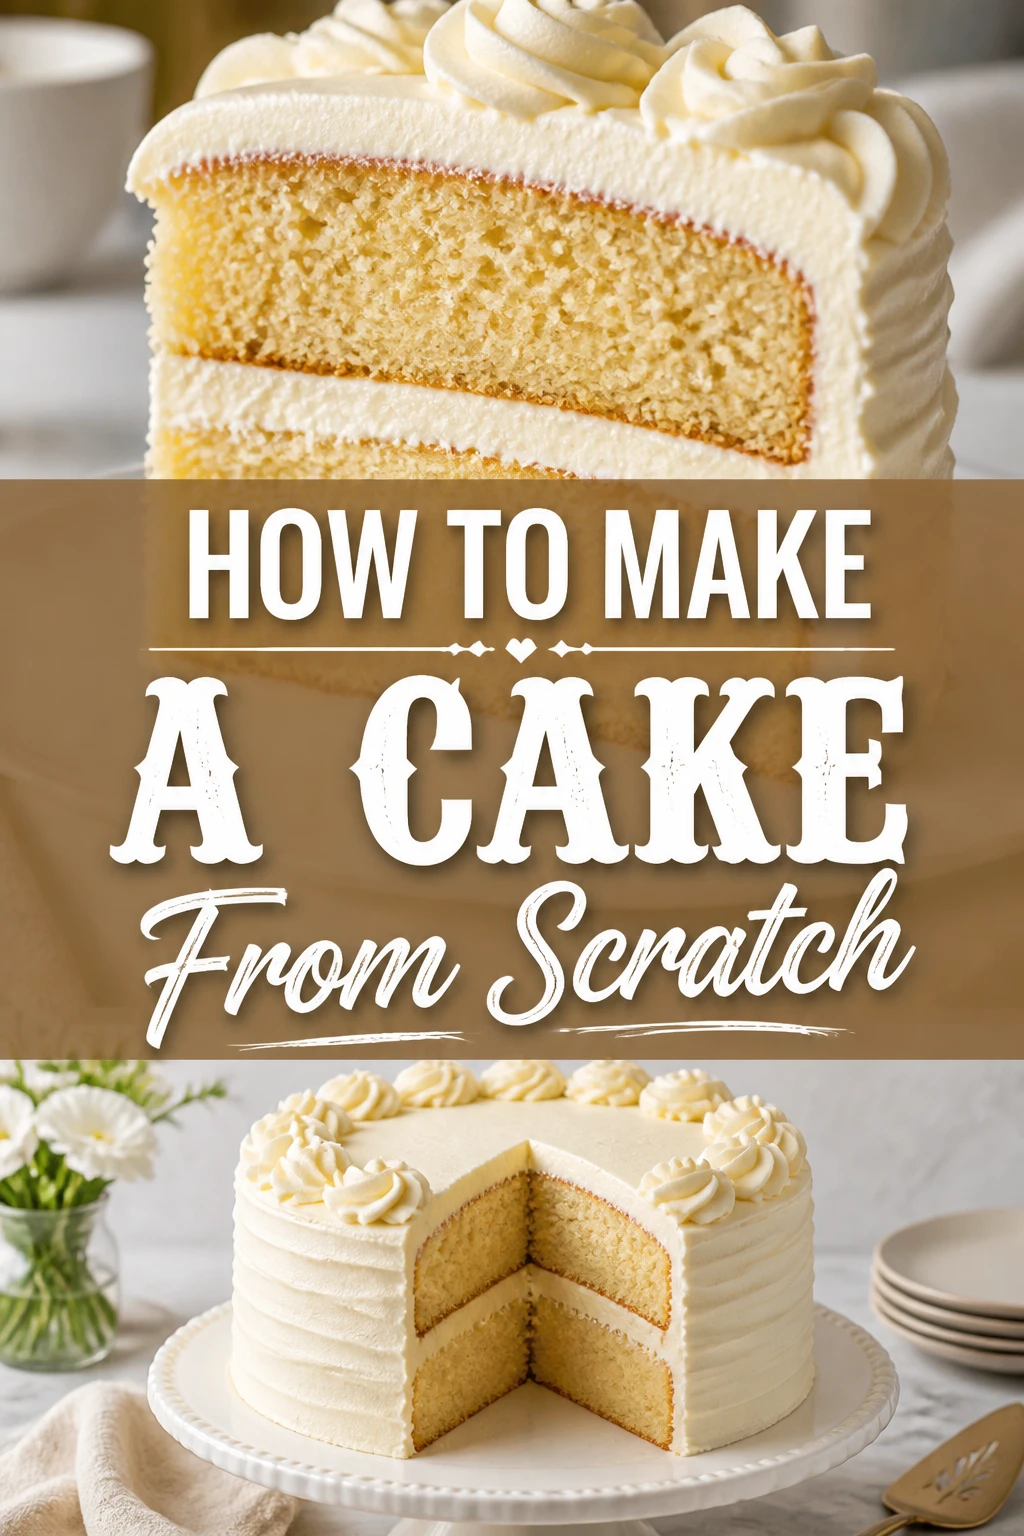
🎂 How To Make A Cake From Scratch
There’s a special kind of magic in creating something delicious from basic ingredients.
Making a cake from scratch might seem daunting, but it’s a deeply rewarding experience that elevates any occasion.
Having baked countless cakes for family and friends over the years, I’ve learned the simple secrets to a perfectly moist crumb and rich flavor, and I’m excited to share them with you.
Quick Overview
This guide will walk you through crafting a beautiful, delicious cake from scratch, perfect for celebrations or a delightful treat.
- Time needed: 2.5 – 3 hours (including baking and cooling)
- Difficulty: Intermediate (but totally achievable for enthusiastic beginners!)
- What you’ll need: Common pantry staples, mixing bowls, an electric mixer, and cake pans.
Step-by-Step Instructions
Step 1: Gather Your Ingredients and Tools
Before you begin, ensure all your ingredients are measured and ready. This practice, known as “mise en place,” makes the baking process smooth and enjoyable.
Make sure your butter, eggs, and milk are at room temperature. This helps them emulsify better, creating a smoother batter and a finer cake texture.
Pro Tip: Cold ingredients can cause your batter to curdle, leading to a dense or crumbly cake. Plan ahead by taking them out an hour or two before you start.
Step 2: Prepare Your Cake Pans
Proper pan preparation is crucial for a cake that releases easily. This step prevents sticking and ensures a beautiful presentation.
Grease your cake pans thoroughly with butter or a non-stick baking spray. Then, dust them lightly with flour, tapping out any excess.
For extra security, you can line the bottoms of your pans with parchment paper after greasing. This creates a non-stick barrier.
Step 3: Preheat Oven and Sift Dry Ingredients
An evenly preheated oven is vital for consistent baking. Always allow your oven at least 15-20 minutes to reach the target temperature.
Preheat your oven to 350°F (175°C). In a medium bowl, sift together your all-purpose flour, baking powder, baking soda, and salt.
Sifting aerates the flour and removes any lumps, which contributes to a light and fluffy cake texture. Whisk them well to combine evenly.
Step 4: Cream Butter and Sugar
This is a fundamental step for many cakes, creating pockets of air that give the cake its structure and lightness.
In a large mixing bowl, using an electric mixer, beat the softened butter on medium speed until creamy. This usually takes about 1-2 minutes.
Gradually add the granulated sugar to the butter, continuing to beat on medium-high speed. Cream the mixture until it’s light, fluffy, and pale yellow, which can take 3-5 minutes.
Pro Tip: Don’t rush the creaming process. It’s essential for incorporating air, which contributes to the cake’s rise and tender crumb. Scrape down the sides of the bowl often.
Step 5: Add Eggs and Vanilla
Eggs add richness, structure, and moisture to your cake. Adding them one at a time ensures proper emulsification.
Add the eggs one at a time to the creamed butter and sugar mixture. Beat well after each addition, scraping down the bowl as needed.
Once all eggs are incorporated, mix in the vanilla extract. The mixture might look slightly curdled at this point, but don’t worry, it will come together.
Step 6: Alternate Dry and Wet Ingredients
This method helps create a smooth batter and prevents overmixing of the flour, which can lead to a tough cake.
With the mixer on low speed, gradually add about one-third of the dry ingredient mixture to the wet ingredients. Mix until just combined.
Next, pour in half of the milk. Mix until just incorporated. Repeat this process: add another third of the dry ingredients, then the remaining milk, and finally the last third of the dry ingredients.
Mix only until the batter is smooth and no streaks of flour remain. Be careful not to overmix, as this develops gluten and can make the cake tough.
Step 7: Fill Pans and Bake
Evenly distributing the batter ensures both cakes bake at the same rate and rise consistently.
Divide the batter evenly between your prepared cake pans. You can use a kitchen scale for precision if you have one.
Smooth the tops with an offset spatula. Bake for 25-30 minutes, or until a wooden skewer inserted into the center comes out clean.
The cakes should be golden brown and spring back when lightly touched. Overbaking can lead to a dry cake.
Step 8: Cool and Frost
Patience is key during the cooling process. Rushing this step can result in a broken cake.
Once baked, remove the cakes from the oven and let them cool in their pans on a wire rack for about 10-15 minutes.
After this initial cooling, invert the cakes onto the wire rack. Gently remove the pans and parchment paper (if used).
Allow the cakes to cool completely, which can take 1-2 hours, before attempting to frost them. Warm cakes will melt your frosting.
Common Mistakes to Avoid
Overmixing the Batter
When you overmix cake batter, you develop the gluten in the flour too much. This leads to a tough, chewy cake rather than a tender, fluffy one.
Always mix wet and dry ingredients only until just combined, with no visible streaks of flour remaining. A few small lumps are perfectly fine.
Using Cold Ingredients
Butter, eggs, and milk that are too cold won’t emulsify properly with each other. This can lead to a lumpy, curdled batter that won’t rise as well.
Always ensure your perishable ingredients are at room temperature. This allows them to blend smoothly, creating a uniform, airy batter.
Improper Pan Preparation
A cake that sticks to the pan is frustrating and can ruin your presentation. Not greasing and flouring thoroughly is a common oversight.
Always grease your pans generously with butter or baking spray, then dust with flour. For extra insurance, line the bottoms with parchment paper.
Opening the Oven Door Too Early
Resisting the urge to peek during baking is tough, but important. Opening the oven door too early can cause your cake to collapse.
The sudden drop in temperature can deflate the delicate structure of the rising cake. Wait until at least two-thirds of the baking time has passed before checking.
Troubleshooting
Cake Sinks in the Middle
This often happens when the cake is underbaked, or if the oven door was opened too soon during baking, causing a sudden temperature drop.
Ensure your oven temperature is accurate (an oven thermometer helps). Always bake until a skewer comes out clean, and avoid opening the oven door before the cake is mostly set.
Cake is Dry and Crumbly
A dry cake is usually a sign of overbaking, or sometimes, using too much flour or not enough fat/liquid in the recipe.
Bake only until a skewer comes out clean and the top springs back. Weighing your flour instead of measuring by volume can prevent using too much. Ensure ingredients are at room temperature for better emulsion.
Cake Sticks to the Pan
This issue almost always points to insufficient pan preparation. It’s a common frustration for many home bakers.
Always grease your pans thoroughly with butter or non-stick spray, then dust with flour. For extra security, line the bottoms with parchment paper. Let the cake cool in the pan for 10-15 minutes before inverting.
Key Takeaways
- Room Temperature Ingredients: Crucial for proper emulsification and a smooth, airy batter.
- Accurate Measurements: Baking is a science; precise measurements ensure consistent results.
- Don’t Overmix: Mix wet and dry ingredients just until combined to avoid a tough cake.
- Proper Pan Prep: Grease and flour thoroughly, or use parchment paper, to prevent sticking.
- Patience with Cooling: Allow cakes to cool completely before frosting to prevent melting and breakage.
- Trust Your Oven: Use an oven thermometer to ensure accurate baking temperatures.
Frequently Asked Questions
Can I substitute oil for butter in a cake recipe?
Yes, you can often substitute oil for butter, but it will change the texture and flavor. Oil cakes tend to be more moist and tender, but lack the rich, buttery flavor and fine crumb that butter provides. It’s best to follow the original recipe for your first attempt.
How do I know if my cake is fully baked?
The best way to check for doneness is to insert a wooden skewer or toothpick into the center of the cake. If it comes out clean with no wet batter attached, your cake is ready. The cake edges will also pull away slightly from the pan, and the top will spring back when lightly touched.
Can I make cake batter ahead of time?
While some batters can rest briefly, cake batter with chemical leaveners (baking powder, baking soda) is best baked immediately. The leavening agents start reacting as soon as they get wet, and their effectiveness diminishes over time, leading to a flatter, denser cake.
What’s the best way to store leftover cake?
Store frosted cake at room temperature under a cake dome for up to 2-3 days. If it contains perishable fillings or frostings (like cream cheese frosting), refrigerate it. For longer storage, unfrosted cake layers can be wrapped tightly and frozen for up to 2 months.
Our Top Recommended Finds
- Electric Stand Mixer: An invaluable tool for creaming butter and sugar, making light work of mixing.
- Parchment Paper Rounds: Pre-cut circles that perfectly fit your cake pans, simplifying pan preparation and ensuring easy release.
- Offset Spatula: Ideal for spreading batter evenly in pans and for applying frosting smoothly.
Your Baking Adventure Awaits
Embarking on the journey of baking a cake from scratch is more than just following a recipe; it’s about connecting with a timeless tradition.
The aroma filling your kitchen and the satisfaction of that first perfect slice are rewards unlike any other.
Don’t be afraid to experiment with flavors once you master this basic recipe. Take this guide, gather your ingredients, and create something truly wonderful today!