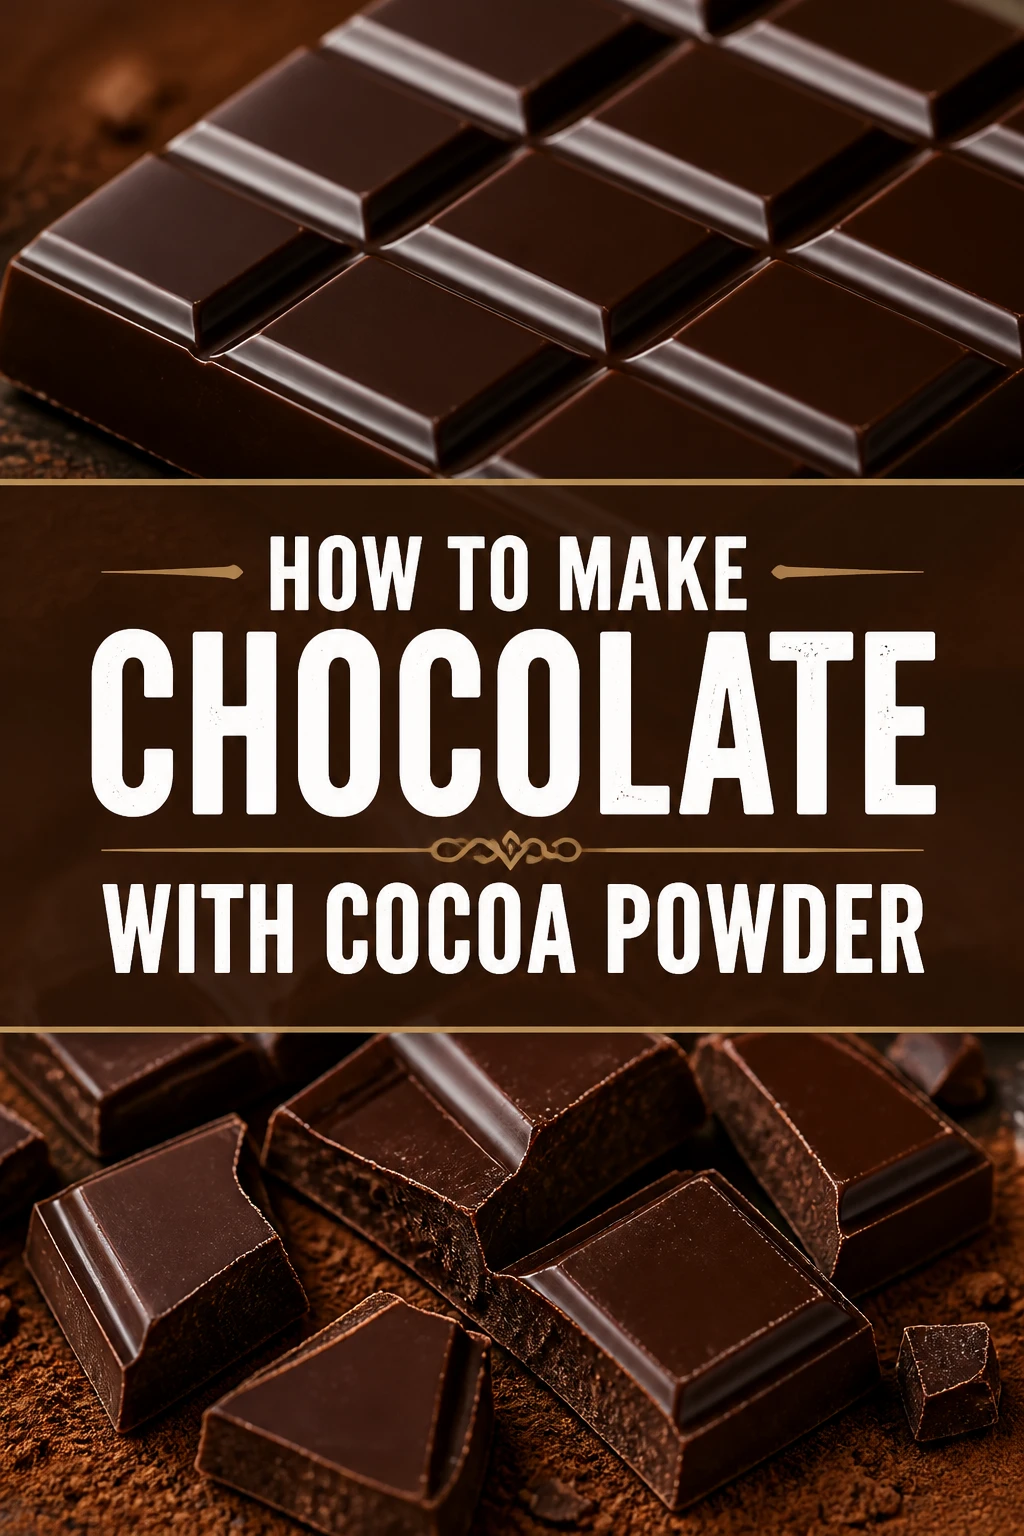
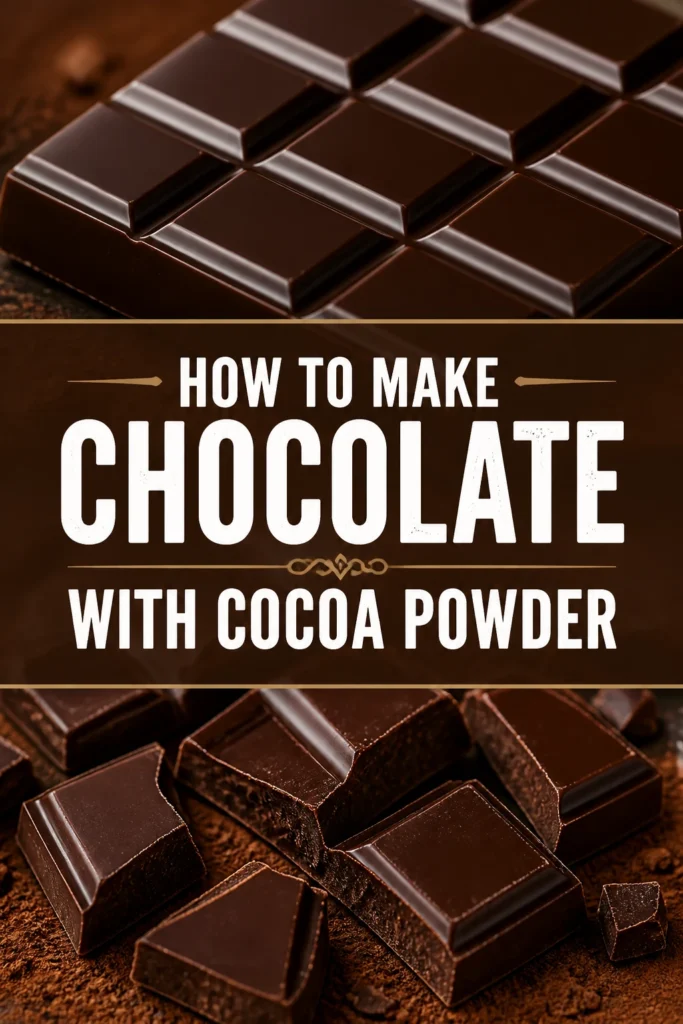
🍫 How To Make Chocolate With Cocoa Powder
Imagine creating rich, dark chocolate right in your own kitchen. It’s a surprisingly simple process that brings immense satisfaction.
I remember the first time I tried this; the aroma alone was enough to convince me. This guide will walk you through every step, ensuring your homemade chocolate is a delicious success.
You’ll soon be enjoying handcrafted treats, customized exactly to your taste.
Quick Overview
This guide will empower you to transform basic cocoa powder into delightful chocolate bars or treats. You’ll learn the essential techniques for melting, mixing, and setting your own custom chocolate.
- Time needed: 45 minutes active, 2-3 hours chilling
- Difficulty: Beginner
- What you’ll need: Cocoa powder, a fat source, sweetener, flavorings, basic kitchen tools, and molds.
Step-by-Step Instructions
Step 1: Gather Your Ingredients and Tools
Before you begin, ensure everything is ready. This makes the process smooth and enjoyable.
Prepare your workspace with all necessary items close at hand.
Here’s what you’ll need:
- Unsweetened cocoa powder (high quality makes a big difference!)
- A fat source: cocoa butter, refined coconut oil, or unsalted butter
- Powdered sugar (confectioners’ sugar)
- Vanilla extract (optional, but highly recommended)
- A pinch of salt
- Double boiler setup (or a heatproof bowl over a saucepan)
- Whisk or spatula
- Fine-mesh sieve
- Silicone molds or a parchment-lined dish
- Measuring cups and spoons
Pro Tip: Using cocoa butter will yield the most authentic chocolate texture and flavor, as it is the traditional fat used in chocolate making. Refined coconut oil is a great vegan alternative with a neutral taste.
Step 2: Gently Melt Your Fat Source
Set up your double boiler. Fill a saucepan with about an inch or two of water and bring it to a gentle simmer.
Place your heatproof bowl over the saucepan, ensuring the bottom of the bowl does not touch the water. This indirect heat prevents scorching.
Add your chosen fat (cocoa butter, coconut oil, or butter) to the bowl. Let it melt slowly, stirring occasionally, until it’s completely liquid and clear.
Step 3: Sift Dry Ingredients
While your fat is melting, prepare your dry ingredients. This step is crucial for smooth chocolate.
Measure out your unsweetened cocoa powder and powdered sugar. The ratio will depend on how dark you like your chocolate. A common starting point is equal parts cocoa powder and powdered sugar, or slightly more sugar for a sweeter bar.
Sift both the cocoa powder and powdered sugar together into a separate bowl. Sifting removes any lumps and ensures a silky-smooth chocolate texture later on.
Step 4: Combine Wet and Dry Ingredients
Once your fat is fully melted, remove the bowl from the double boiler, or keep it over the very low heat if your kitchen is cool. It’s important to work quickly but carefully.
Pour the sifted cocoa powder and powdered sugar mixture into the melted fat. Do this gradually, adding a little at a time.
Whisk continuously as you add the dry ingredients. This helps prevent lumps and ensures everything combines evenly.
Step 5: Stir Vigorously to Emulsify
This is where the magic happens and your mixture truly becomes chocolate. Vigorous stirring creates a smooth, homogenous mixture.
Stir the mixture with your whisk or spatula for several minutes. You’ll notice it transform from a lumpy paste into a glossy, smooth liquid.
Continue stirring until there are no visible dry spots and the chocolate is completely uniform in color and texture. This ensures proper emulsification, preventing separation later.
Step 6: Add Flavorings and Salt
Now is the time to personalize your chocolate. These additions enhance the overall taste.
Stir in a teaspoon of vanilla extract, if using. Vanilla adds a wonderful depth of flavor that complements the cocoa beautifully.
Add a tiny pinch of salt. Salt helps to balance the sweetness and brings out the chocolate’s natural flavors.
Step 7: Pour into Molds
Working quickly before the chocolate cools too much, prepare your molds. Silicone molds are ideal for easy removal.
Carefully pour the liquid chocolate into your chosen molds. Fill them evenly, leaving a little space at the top if desired.
Tap the molds gently on your counter a few times. This releases any trapped air bubbles, resulting in a smoother, more professional-looking finish.
Step 8: Chill to Set
This final step requires patience, but it’s essential for firm, snappable chocolate. Proper chilling ensures the chocolate sets correctly.
Place the filled molds into the refrigerator. Allow them to chill for at least 2-3 hours.
Ensure the chocolate is completely firm before attempting to remove it. You can also place them in the freezer for 30-60 minutes for a faster set, but refrigeration is generally preferred for best texture.
Step 9: Demold and Enjoy
Once your chocolate is fully set, it’s time for the best part! This is where you get to see the fruits of your labor.
Gently press the bottom of the silicone molds to release the chocolate pieces. If using a lined dish, simply lift the parchment paper and break the chocolate into desired pieces.
Store your homemade chocolate in an airtight container at room temperature, or in the refrigerator if your home is warm. Enjoy your delicious, homemade creation!
Common Mistakes to Avoid
Not Sifting Dry Ingredients
Skipping the sifting step for cocoa powder and powdered sugar often leads to lumpy, grainy chocolate. These small clumps won’t dissolve properly in the fat, resulting in an unpleasant texture. Always take the extra minute to sift for a truly smooth finish.
Overheating the Fat
Melting your fat over direct, high heat can scorch it, imparting a burnt flavor to your chocolate. It also risks separating the cocoa butter or coconut oil. Always use a double boiler or microwave on low power, stirring frequently, to ensure gentle and even melting.
Adding Water or Liquid
Chocolate and water are not friends. Even a tiny drop of water introduced into your melted chocolate can cause it to “seize,” turning it into a thick, gritty, unworkable paste. Ensure all your tools are completely dry and avoid adding any water-based flavorings until the very end, if at all.
Not Stirring Enough
Insufficient stirring after combining the wet and dry ingredients can lead to uneven texture and even separation. The cocoa solids and sugar need to be thoroughly emulsified into the fat. Stir vigorously for several minutes until the mixture is completely smooth and glossy.
Troubleshooting
Gritty or Grainy Texture
If your chocolate feels gritty, it’s likely due to unsifted powdered sugar or cocoa powder, or perhaps the sugar didn’t fully dissolve. Always sift your dry ingredients. If using granulated sugar, it must be very finely ground or dissolved completely, which is why powdered sugar is recommended.
Chocolate Not Setting Firmly
This usually indicates an insufficient amount of fat or a fat with a low melting point used in warm conditions. Ensure you’ve used enough cocoa butter or coconut oil, and that your chilling time is adequate. If your home is very warm, storing the chocolate in the refrigerator is best.
Oily Separation
If your chocolate looks oily or the fat separates from the cocoa solids, it could be due to overheating, not stirring enough to emulsify, or an incorrect fat-to-solids ratio. Try to remelt gently and stir vigorously to bring it back together. Adjust ratios slightly in future batches.
Key Takeaways
- Always use high-quality unsweetened cocoa powder for the best flavor.
- Sifting cocoa powder and powdered sugar is essential for a smooth texture.
- Use a double boiler or indirect heat to gently melt your fat source.
- Vigorously stir the mixture to properly emulsify and prevent separation.
- Avoid introducing any water into your chocolate mixture.
- Allow sufficient chilling time for the chocolate to set firmly.
Frequently Asked Questions
Can I use regular granulated sugar instead of powdered sugar?
While technically possible, granulated sugar will give your chocolate a very gritty texture unless it is extremely finely ground or completely dissolved, which is difficult to achieve without specialized equipment. Powdered sugar (confectioners’ sugar) is highly recommended for a smooth result.
How long does homemade chocolate last?
Homemade chocolate, when stored in an airtight container at cool room temperature, typically lasts for 1-2 weeks. If kept in the refrigerator, it can last for several weeks, though it might develop a slight bloom (white streaks) which is harmless.
Can I make milk chocolate using this method?
Yes, you can! To make milk chocolate, you’ll need to incorporate powdered milk (whole milk powder works best) into your dry ingredients. Start with a ratio of 1 part cocoa powder, 1 part powdered sugar, and 0.5 to 1 part powdered milk, adjusting to your taste.
What’s the best fat to use for homemade chocolate?
Cocoa butter is the gold standard for authentic chocolate, providing the best texture and flavor. Refined coconut oil is an excellent vegan and readily available alternative, offering a neutral taste. Unsalted butter can also be used but will give a slightly different, creamier texture and dairy flavor.
Our Top Recommended Finds
- Silicone Chocolate Molds: These make demolding your finished chocolate incredibly easy and come in various fun shapes.
- Double Boiler Insert: A dedicated double boiler insert fits perfectly over most saucepans, providing safe, indirect heat for melting.
- Fine-Mesh Sieve: Essential for removing lumps from cocoa powder and powdered sugar, ensuring a smooth, luxurious chocolate.
Embrace Your Inner Chocolatier
You now have all the knowledge to craft delicious chocolate from scratch. This simple process opens up a world of culinary creativity.
Don’t hesitate to experiment with different flavorings like orange zest, chili powder, or chopped nuts in your next batch. The satisfaction of making your own chocolate is truly unmatched.
Go ahead, gather your ingredients today, and start your sweet adventure!