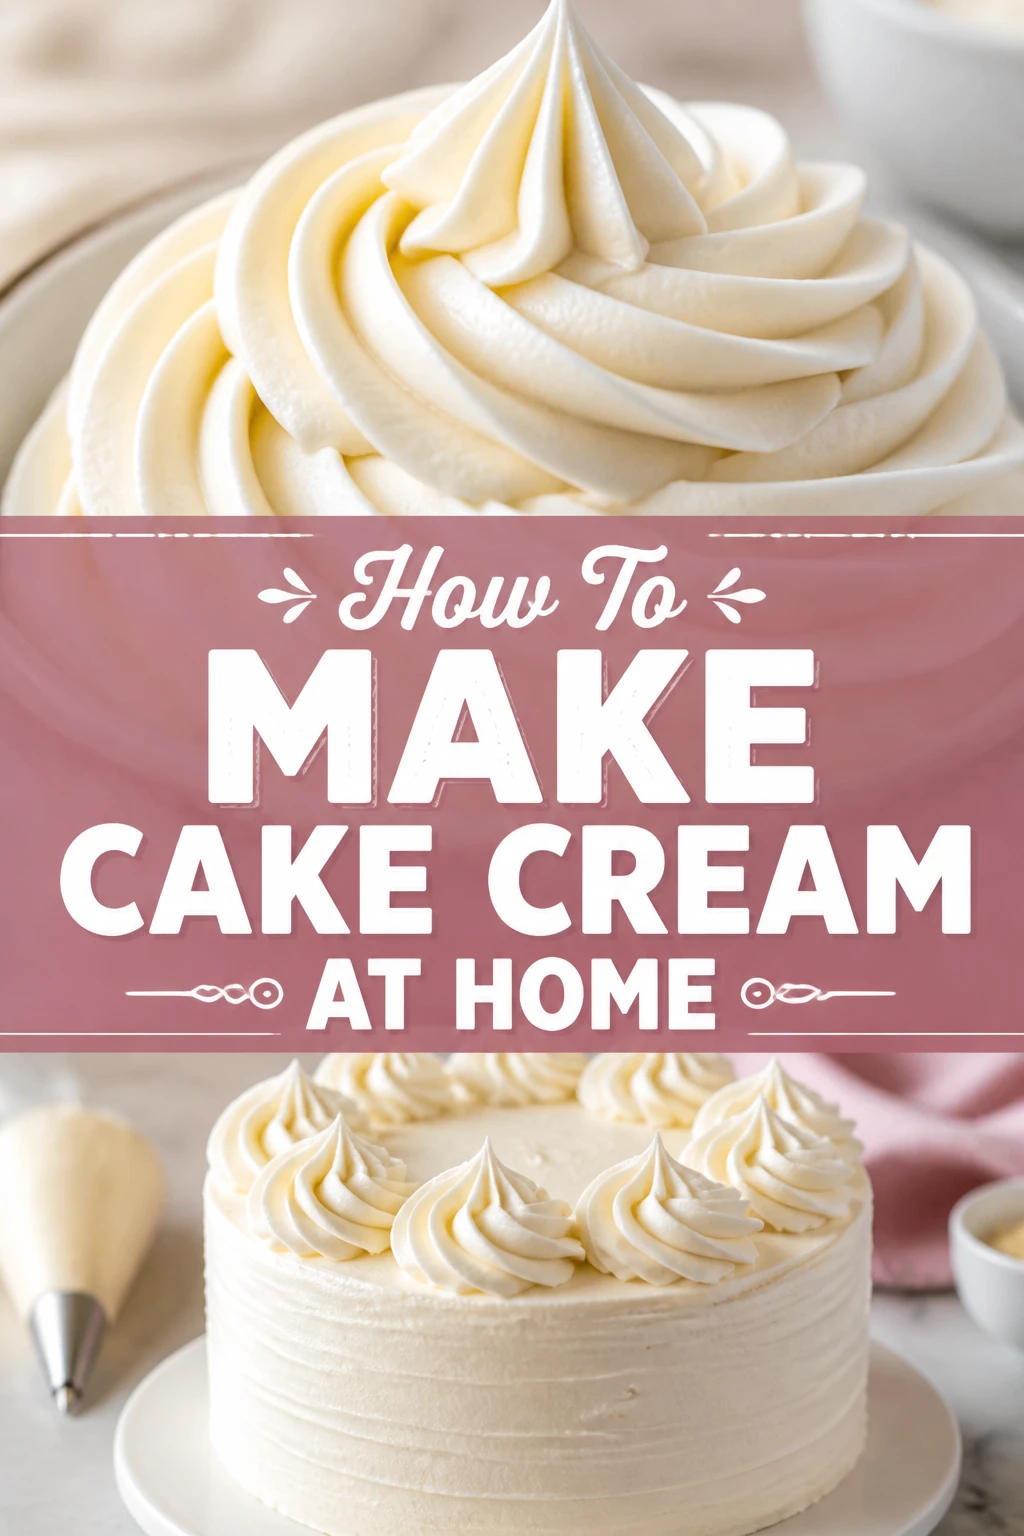
🎂 How To Make Cake Cream At Home
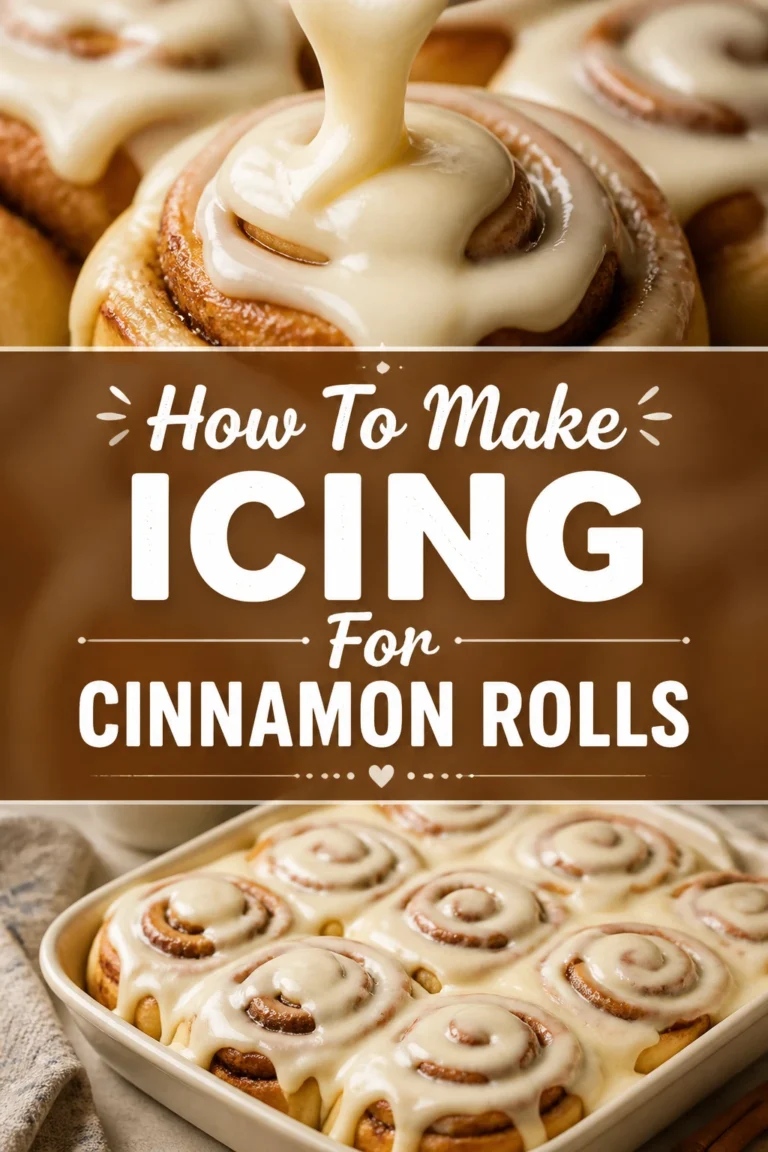
Creating your own cake cream at home transforms any dessert into a masterpiece.
I remember my first attempt at homemade buttercream; it was a lumpy mess, but with practice, I discovered the secrets to silky, smooth perfection.
This guide shares those insights, ensuring your frosting turns out beautifully every time.
Quick Overview
This guide will walk you through crafting a classic, versatile American buttercream. You’ll learn how to achieve a smooth, light, and perfectly sweet frosting, ideal for decorating cakes, cupcakes, and more.
- Time needed: 15-20 minutes active prep, plus optional chilling
- Difficulty: Beginner
- What you’ll need: Butter, powdered sugar, milk/cream, vanilla, mixer, bowl
Step-by-Step Instructions
Step 1: Gather Your Ingredients and Equipment
Before you begin, ensure all your ingredients are at the correct temperature and you have the necessary tools ready. This prevents last-minute scrambling and ensures a smooth process.
Take out your unsalted butter about 30-60 minutes before you start. It needs to be softened, but not melted. Room temperature butter is crucial for a smooth, emulsified frosting.
Measure out your powdered sugar, milk or heavy cream, and vanilla extract. Having everything pre-measured makes the mixing steps much easier.
Set up your stand mixer with the paddle attachment, or have your hand mixer and a large mixing bowl ready. A rubber spatula is also essential for scraping down the bowl.
Pro Tip: Using unsalted butter gives you control over the salt content. If you only have salted butter, omit any added salt in the recipe.
Step 2: Soften the Butter Properly
The consistency of your butter is perhaps the most critical factor for perfect buttercream. It should be soft enough to make an indentation with your finger, but not greasy or shiny.
Cut your softened butter into smaller pieces, about 1-inch cubes. This helps it whip more evenly and quickly.
Place the butter cubes into your mixing bowl. Avoid using butter that is too cold, as it won’t cream properly, leading to a lumpy frosting.
If your butter is too cold, you can gently warm it in the microwave for 5-10 second bursts, flipping it between each burst, until it reaches the right consistency. Be careful not to melt it.
Step 3: Cream the Butter
This step incorporates air into the butter, making your frosting light and fluffy. Don’t rush it.
Beat the softened butter on medium speed for 2-3 minutes using your stand mixer or hand mixer. The butter should become visibly lighter in color and fluffy.
Scrape down the sides and bottom of the bowl frequently with your rubber spatula. This ensures all the butter is evenly creamed and no hard pieces remain.
Continue beating until the butter has a uniform, pale yellow color and a whipped texture. This aeration is key to a light buttercream.
Step 4: Gradually Add Powdered Sugar
Adding the powdered sugar slowly prevents a sugar cloud explosion and allows the butter to properly absorb it. Sifting the sugar is an optional but highly recommended step.
Reduce your mixer speed to low. This is important to prevent powdered sugar from flying everywhere.
Add about one cup of powdered sugar at a time to the creamed butter. Mix on low until it’s just incorporated before adding the next cup.
Increase the speed to medium after each addition and beat for about 30 seconds to fully combine and re-aerate. Remember to scrape the bowl down periodically.
Pro Tip: Sifting your powdered sugar removes any lumps, guaranteeing a super smooth buttercream. It’s an extra step that makes a big difference in texture.
Step 5: Incorporate Liquid and Flavorings
This step brings the buttercream to the perfect consistency and adds delicious flavor. Start with small amounts and adjust as needed.
Pour in your vanilla extract. This is the primary flavoring, but you can experiment with other extracts like almond or lemon.
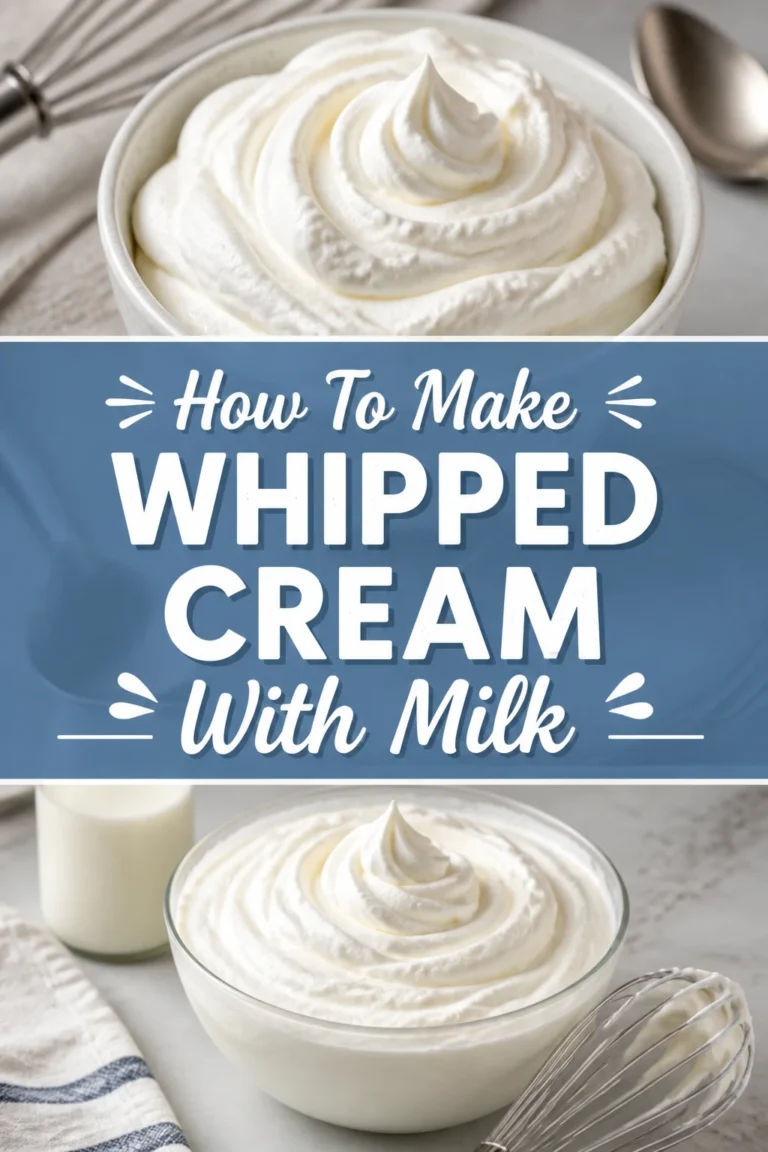
Add 1-2 tablespoons of milk or heavy cream to start. Heavy cream will result in a richer, slightly thicker frosting, while milk lightens it a bit.
Mix on low speed until combined, then increase to medium-high. Beat for another 2-3 minutes to fully incorporate the liquid and whip the frosting to a light, airy consistency.
Step 6: Adjust Consistency and Taste
The ideal consistency depends on your application. Some prefer a stiffer frosting for piping, while others like it softer for spreading.
Assess the frosting’s texture. If it’s too thick, add more milk or cream, one teaspoon at a time, beating after each addition until desired consistency is reached.
If it’s too thin, you can add more powdered sugar, one tablespoon at a time, beating well after each addition. Be cautious not to add too much, or it will become overly sweet.
Taste the buttercream. If you desire more sweetness, add a bit more powdered sugar. For a less sweet taste, a tiny pinch of salt can balance it out.
Step 7: Achieve Ultimate Smoothness
A final whip can make all the difference, removing any remaining air bubbles and creating a truly professional finish.
Switch to the lowest speed on your mixer. Let the buttercream mix on low for an additional 3-5 minutes.
This slow mixing helps to push out any large air bubbles that may have formed during the whipping process.
The result will be an incredibly smooth, silky buttercream that is easy to spread and pipe.
Step 8: Add Color (Optional)
If you want to color your buttercream, it’s best to do it after the frosting has reached its desired consistency and smoothness.
Use gel food coloring for vibrant colors without thinning your frosting. Liquid food coloring can add too much moisture.
Add a tiny drop of gel color with a toothpick to a portion of your buttercream. Mix it in thoroughly until the color is even.
Gradually add more color, mixing after each addition, until you achieve your desired shade. Remember that colors can deepen slightly over time.
Common Mistakes to Avoid
Using Cold Butter
Starting with butter straight from the refrigerator is a common pitfall. Cold butter won’t cream properly, leading to a lumpy, dense buttercream that lacks airiness.
Always ensure your butter is at a true room temperature, soft enough to dent with a finger but not greasy. This allows it to emulsify smoothly with the sugar and create that light texture.
Adding All the Sugar at Once
Dumping all the powdered sugar into the bowl at the beginning creates a huge mess and makes it difficult for the butter to absorb it evenly. This can result in a grainy texture.
Introduce powdered sugar gradually, one cup at a time, on low speed. This allows for proper incorporation and prevents a sugar cloud from engulfing your kitchen.
Not Beating Long Enough
Many beginners stop mixing too soon, especially after adding the sugar and liquid. Under-beaten buttercream can be dense, heavy, and lack that desirable fluffy texture.
Once all ingredients are added, beat the frosting on medium-high speed for several minutes, then on low speed for a few more. This incorporates air and makes it smooth and light.
Over-Mixing After Color/Flavor
While beating is crucial for texture, over-mixing, especially after adding delicate flavors or colors, can sometimes deflate the frosting or make it greasy.
Mix only until colors and flavors are just incorporated. For final smoothness, a few minutes on the lowest speed is usually sufficient without overworking the butter.
Troubleshooting
Buttercream is Too Runny
If your buttercream is too thin, it likely has too much liquid or the butter was too warm to begin with. It won’t hold its shape for piping or spreading effectively.
To fix this, add more sifted powdered sugar, one tablespoon at a time, beating well after each addition until the desired consistency is reached. You can also chill the frosting in the fridge for 15-20 minutes, then re-whip it.
Buttercream is Too Stiff/Dry
A stiff or dry buttercream can be difficult to spread and may crack when applied. This usually means it lacks sufficient liquid or has too much powdered sugar.
Gradually add more milk or heavy cream, one teaspoon at a time, beating on medium speed until the frosting softens to a workable consistency. Be careful not to add too much.
Buttercream Appears Curdled or Separated
Sometimes buttercream can look like cottage cheese, especially if the butter and liquid temperatures were too far apart, or if it got too cold or warm during mixing.
Continue beating on medium-high speed for several minutes. Often, the mixture will come back together as the butter re-emulsifies. If it’s too cold, gently warm a small portion in the microwave and add it back, then continue beating.
Key Takeaways
- Butter Temperature is Paramount: Always start with properly softened, room-temperature butter for the best texture.
- Sift Your Powdered Sugar: This simple step eliminates lumps and ensures a silky-smooth finish.
- Beat Thoroughly: Don’t skimp on mixing time; beating well incorporates air for a light, fluffy frosting.
- Add Liquids Gradually: Control the consistency by adding milk or cream a little at a time.
- Scrape the Bowl Often: Ensure all ingredients are fully incorporated by regularly scraping down the sides.
- Slow Mix for Smoothness: A final low-speed mix removes air bubbles for an extra-smooth result.
Frequently Asked Questions
How long does homemade cake cream last?
Homemade American buttercream can be stored at room temperature in an airtight container for up to 2 days. For longer storage, refrigerate it for up to a week. Always bring it back to room temperature and re-whip before using to restore its texture.
Can I use granulated sugar instead of powdered sugar?
No, granulated sugar will not work for this type of buttercream. Powdered sugar (also known as confectioners’ sugar or icing sugar) contains a small amount of cornstarch, which prevents caking and helps create the smooth, fine texture characteristic of buttercream. Granulated sugar will result in a gritty frosting.
What’s the difference between this and other buttercreams?
This guide focuses on American buttercream, which is the easiest and quickest to make, primarily using butter and powdered sugar. Other types, like Swiss, Italian, or French meringue buttercreams, involve cooking egg whites or yolks with sugar, resulting in a lighter, less sweet, and more stable frosting, but they are more complex to prepare.
Can I make this dairy-free?
Yes, you can substitute dairy butter with a high-quality vegan butter stick and dairy milk/cream with a plant-based alternative like almond or soy milk. Ensure your vegan butter is specifically designed for baking and has a similar fat content to dairy butter for best results.
Our Top Recommended Finds
- Stand Mixer: Essential for effortless whipping and aeration, especially if you bake often.
- Silicone Spatula Set: Perfect for scraping bowls thoroughly and transferring frosting without waste.
- Piping Bag and Tip Set: If you plan on decorating, a basic set offers versatility for various designs.
Your Next Delicious Creation Awaits
Now that you’ve mastered the art of homemade cake cream, a world of baking possibilities opens up.
Imagine your next birthday cake, cupcakes, or even cookies adorned with your perfectly crafted frosting.
Don’t wait; gather your ingredients and start whipping up this delightful treat today. Your taste buds will thank you!