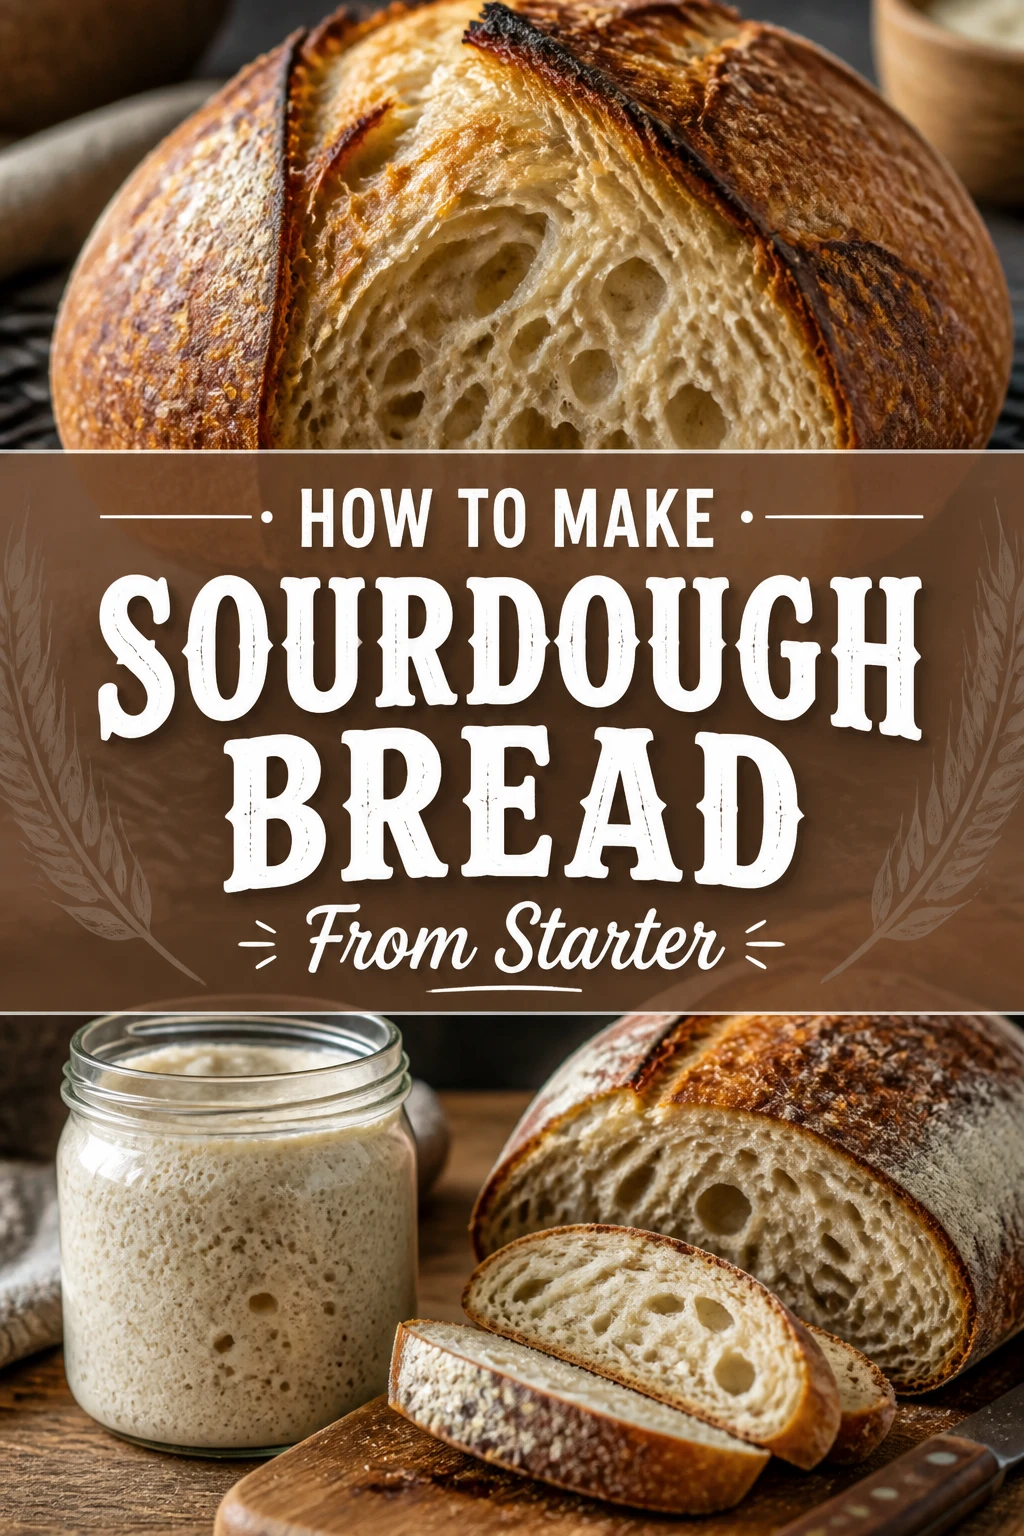
🍞 How To Make Sourdough Bread From Starter
The aroma of freshly baked sourdough is truly something special. It transforms a kitchen, filling it with a comforting, yeasty perfume that promises deliciousness. My journey into sourdough baking began years ago, a path filled with trial, error, and eventually, immense satisfaction.
This guide distills countless hours of hands-on experience into clear, practical steps. You will learn the secrets to achieving that perfect crust and airy crumb. Prepare to create your own artisanal loaves right at home.
Quick Overview
Making sourdough bread is a rewarding process that combines science with a touch of artistry. You’ll transform simple ingredients into a rustic, flavorful loaf using your active sourdough starter. This guide covers everything from mixing your dough to baking the perfect crust.
- Time needed: Active: 45-60 minutes; Total: 18-24 hours (including bulk fermentation, cold proof, and bake time)
- Difficulty: Intermediate (requires patience and attention to detail)
- What you’ll need: Active sourdough starter, strong bread flour, water, salt, large mixing bowl, kitchen scale, dough scraper, Banneton basket, Dutch oven, razor blade or lame.
Step-by-Step Instructions
Embark on your sourdough journey with these clear, actionable steps. Each stage is crucial for developing flavor and structure in your bread. Pay close attention to timing and dough feel.
Step 1: Feed Your Starter and Gather Ingredients
Begin by ensuring your sourdough starter is active and bubbly. Feed it 6-12 hours before you plan to mix your dough. A fed starter should double in size and pass the float test.
Gather all your ingredients and equipment. Measure flour, water, and salt precisely using a kitchen scale. Having everything ready saves time and reduces stress.
Pro Tip: An active starter is key to a successful loaf. It should have a sweet, tangy smell and be full of small bubbles. If it doesn’t float in water, give it more time or another feeding.
Step 2: Mix the Dough (Autolyse and Initial Mix)
In a large bowl, combine your bread flour and most of your water. Mix until no dry spots remain, forming a shaggy dough. Cover the bowl and let it rest for 30-60 minutes. This process is called autolyse, and it allows the flour to fully hydrate and gluten to begin developing.
After the autolyse, add your active starter and the remaining water, if any, to the dough. Mix gently to incorporate the starter. Then, sprinkle the salt over the dough. Work the dough by hand, squeezing and folding it for a few minutes until the salt is fully integrated. The dough will feel sticky at this stage.
Step 3: Bulk Fermentation (Stretch and Folds)
This is where the magic happens, and your dough develops strength and flavor. Bulk fermentation typically lasts 4-6 hours at room temperature, depending on your kitchen’s warmth and starter activity. During this period, you will perform a series of “stretch and folds.”
Every 30-45 minutes for the first 2-3 hours, perform a set of stretch and folds. To do this, wet your hands slightly, grab a portion of the dough from one side, stretch it upwards, and fold it over itself towards the center. Rotate the bowl and repeat this action 3-4 times until you’ve worked your way around the dough. This builds gluten structure and distributes the yeast.
Pro Tip: Observe your dough, don’t just stick to a timer. It should become smoother, more elastic, and increase noticeably in volume by about 30-50% by the end of bulk fermentation. It should also have some visible bubbles.
Step 4: Pre-Shape the Dough
Once bulk fermentation is complete, gently turn your dough out onto a lightly floured surface. Avoid deflating it too much. Using a dough scraper, gently shape the dough into a loose round (a boule) or an oval (a batard). The goal is to create some surface tension without tearing the dough.
Allow the pre-shaped dough to rest on the counter, uncovered, for 20-30 minutes. This “bench rest” allows the gluten to relax, making the final shaping easier. You’ll notice the dough will spread out slightly during this time.
Step 5: Final Shape
Lightly flour your Banneton basket. For a round loaf, dust it generously with rice flour to prevent sticking. For a batard, use a floured linen liner.
Gently flip your dough over so the sticky side is facing up. Shape the dough into its final form, creating significant surface tension. There are many techniques, but the goal is to create a tight “skin” on the outside of the dough. This surface tension will help the loaf hold its shape during baking and achieve a good oven spring.
Carefully transfer the shaped dough, seam-side up, into your prepared Banneton basket. The seam-side up position allows the dough to expand into the basket as it proofs.
Step 6: Cold Proof (Retardation)
Cover the Banneton basket with a clean kitchen towel or a plastic bag to prevent drying. Place it in the refrigerator for 12-18 hours. This cold proofing period, also known as retardation, slows down fermentation. It develops deeper flavors and makes the dough much easier to handle and score before baking.
The cold also helps stiffen the dough, allowing for cleaner cuts when scoring. You can cold proof for up to 24 hours, depending on your schedule and desired flavor development.
Step 7: Preheat and Score
About an hour before you plan to bake, place your Dutch oven with its lid into your oven. Preheat the oven to 500°F (260°C). Allowing the Dutch oven to get screaming hot is essential for a great crust and oven spring.
Once the oven and Dutch oven are fully preheated, carefully remove the Banneton from the fridge. Gently invert the dough onto a piece of parchment paper. Use a sharp razor blade or a bread lame to score the top of your dough. This controlled cut allows the dough to expand predictably and creates beautiful patterns. A single deep score usually works best for beginners.
Step 8: Bake the Bread
Carefully transfer the parchment paper with the scored dough into the hot Dutch oven. Place the lid back on. Bake for 20 minutes with the lid on. This traps steam around the loaf, promoting maximum oven spring and a thin, crispy crust.
After 20 minutes, carefully remove the lid from the Dutch oven. Reduce the oven temperature to 450°F (230°C). Continue baking for another 25-35 minutes, or until the crust is a deep golden brown and the internal temperature reaches 200-210°F (93-99°C). This uncovered baking allows the crust to brown and crisp up beautifully.
Step 9: Cool Completely
Once baked, carefully remove the bread from the Dutch oven using the parchment paper. Transfer it to a wire rack to cool completely. This is perhaps the hardest step, but it is absolutely crucial. Slicing into a hot loaf can result in a gummy interior because the starches are still setting.
Allow the bread to cool for at least 2-3 hours, or even longer, before slicing. This patience ensures the crumb structure fully develops and the flavors meld properly. Enjoy your homemade sourdough!
Common Mistakes to Avoid
Sourdough baking has a learning curve, and many common pitfalls can derail your efforts. Understanding these mistakes helps you sidestep them. Focusing on process and observation will improve your results.
Underfeeding or Overfeeding Your Starter
A weak or inconsistently fed starter will produce weak dough. If your starter isn’t robust, it won’t have the power to lift the bread. Always ensure your starter is fed regularly and at its peak activity when you use it. Conversely, overfeeding too frequently can dilute its strength.
Impatience During Bulk Fermentation
Rushing bulk fermentation is a common mistake. This stage is critical for flavor development and gluten strength. Ending it too early results in a dense, flavorless loaf. Ending it too late leads to overproofed, sticky dough. Learn to read your dough’s signs of readiness rather than strictly adhering to a clock.
Not Creating Enough Surface Tension During Shaping
A loaf without sufficient surface tension will spread out during baking rather than rising upwards. This leads to a flat, dense bread. Focus on creating a tight “skin” on your dough during the final shaping. This technique helps the loaf hold its structure.
Slicing the Bread Too Soon
It’s tempting to cut into a warm, fragrant loaf right out of the oven. However, slicing sourdough before it cools completely can ruin its texture. The internal structure is still setting, and cutting too early can result in a gummy, dense crumb. Patience is a virtue here.
Troubleshooting
Even experienced bakers encounter issues. Knowing how to diagnose and fix problems will make you a more confident sourdough baker. Here are solutions to some common challenges.
Flat, Dense Loaf
If your bread is flat and dense, several factors could be at play. Your starter might not have been active enough, or your bulk fermentation could have been too short or too long. It’s also possible you didn’t create enough surface tension during shaping. Ensure your starter is consistently strong, monitor your dough’s rise during bulk fermentation, and practice your shaping technique.
Crust Too Pale or Too Dark
A pale crust often indicates insufficient baking time or a not-hot-enough oven. Ensure your Dutch oven is fully preheated to the correct temperature. Bake uncovered for longer if needed to achieve a deep golden brown. If your crust is too dark, your oven might be too hot, or you baked it uncovered for too long. Try reducing the temperature slightly or shortening the uncovered baking time.
Dough is Too Sticky to Handle
Excessively sticky dough can be frustrating. This often happens if the hydration level is too high for your flour, or if the gluten hasn’t developed enough. Try reducing the water slightly in your next batch, especially if using a new brand of flour. Increase your stretch and fold repetitions during bulk fermentation to build more gluten strength. Using a dough scraper and lightly floured hands can also help manage stickiness.
Key Takeaways
- Active Starter is Paramount: A robust, bubbly starter is the foundation of successful sourdough.
- Patience with Fermentation: Allow sufficient time for both bulk fermentation and cold proofing to develop flavor and structure.
- Master the Stretch and Fold: This technique builds essential gluten strength, improving crumb and rise.
- Shape for Success: Creating strong surface tension during shaping is critical for a well-formed loaf.
- The Power of the Dutch Oven: Baking in a preheated Dutch oven creates the perfect steamy environment for oven spring and a crisp crust.
- Cool Completely: Always let your bread cool fully on a wire rack to achieve the ideal crumb texture and flavor.
Frequently Asked Questions
New sourdough bakers often have similar questions. These answers will help clarify common concerns as you begin your baking journey. Don’t hesitate to experiment and learn from each loaf.
How do I know my starter is ready for baking?
Your starter is ready when it has doubled or tripled in size after feeding, is full of bubbles, and passes the float test. To float test, drop a small spoonful into a glass of water; if it floats, it’s ready. This indicates it’s active and strong enough to leaven your bread.
Can I use different flours for my sourdough?
Absolutely! While strong bread flour is recommended for beginners, you can experiment with whole wheat, rye, or other specialty flours. Keep in mind that different flours absorb water differently, so you may need to adjust your hydration levels. Whole grain flours also tend to ferment faster.
What if I don’t have a Dutch oven?
While a Dutch oven is highly recommended for its ability to trap steam, you can improvise. Preheat a baking stone or heavy baking sheet in your oven. Place a pan of hot water on the bottom rack to create steam. Bake your loaf directly on the hot surface, covering it with a large, oven-safe bowl for the first part of the bake.
How long does sourdough bread last?
Homemade sourdough bread, stored at room temperature, typically stays fresh for 2-3 days. You can store it in a bread bag, a clean linen bag, or wrapped in a kitchen towel. For longer storage, slice the cooled loaf and freeze the slices. They toast beautifully straight from the freezer.
Our Top Recommended Finds
Having the right tools can significantly enhance your sourdough baking experience. These items are indispensable for consistent, high-quality results. Investing in a few key pieces will serve you well.
- Digital Kitchen Scale: Essential for precise measurements of flour, water, and salt, which is crucial for sourdough success.
- Banneton Baskets: These proofing baskets help your dough hold its shape during cold proofing and create beautiful spiral patterns on the crust.
- Cast Iron Dutch Oven: Creates the ideal steamy environment for baking, leading to excellent oven spring and a perfectly crispy crust.
Embrace the Art of Sourdough
You now have a comprehensive roadmap to baking your own delicious sourdough bread. Each loaf you make will teach you something new. Don’t be discouraged by imperfections; they are part of the learning process.
The journey of sourdough baking is incredibly rewarding. It connects you to a timeless tradition and fills your home with incredible aromas and tastes. So, gather your ingredients, activate your starter, and start baking today. Your taste buds will thank you.