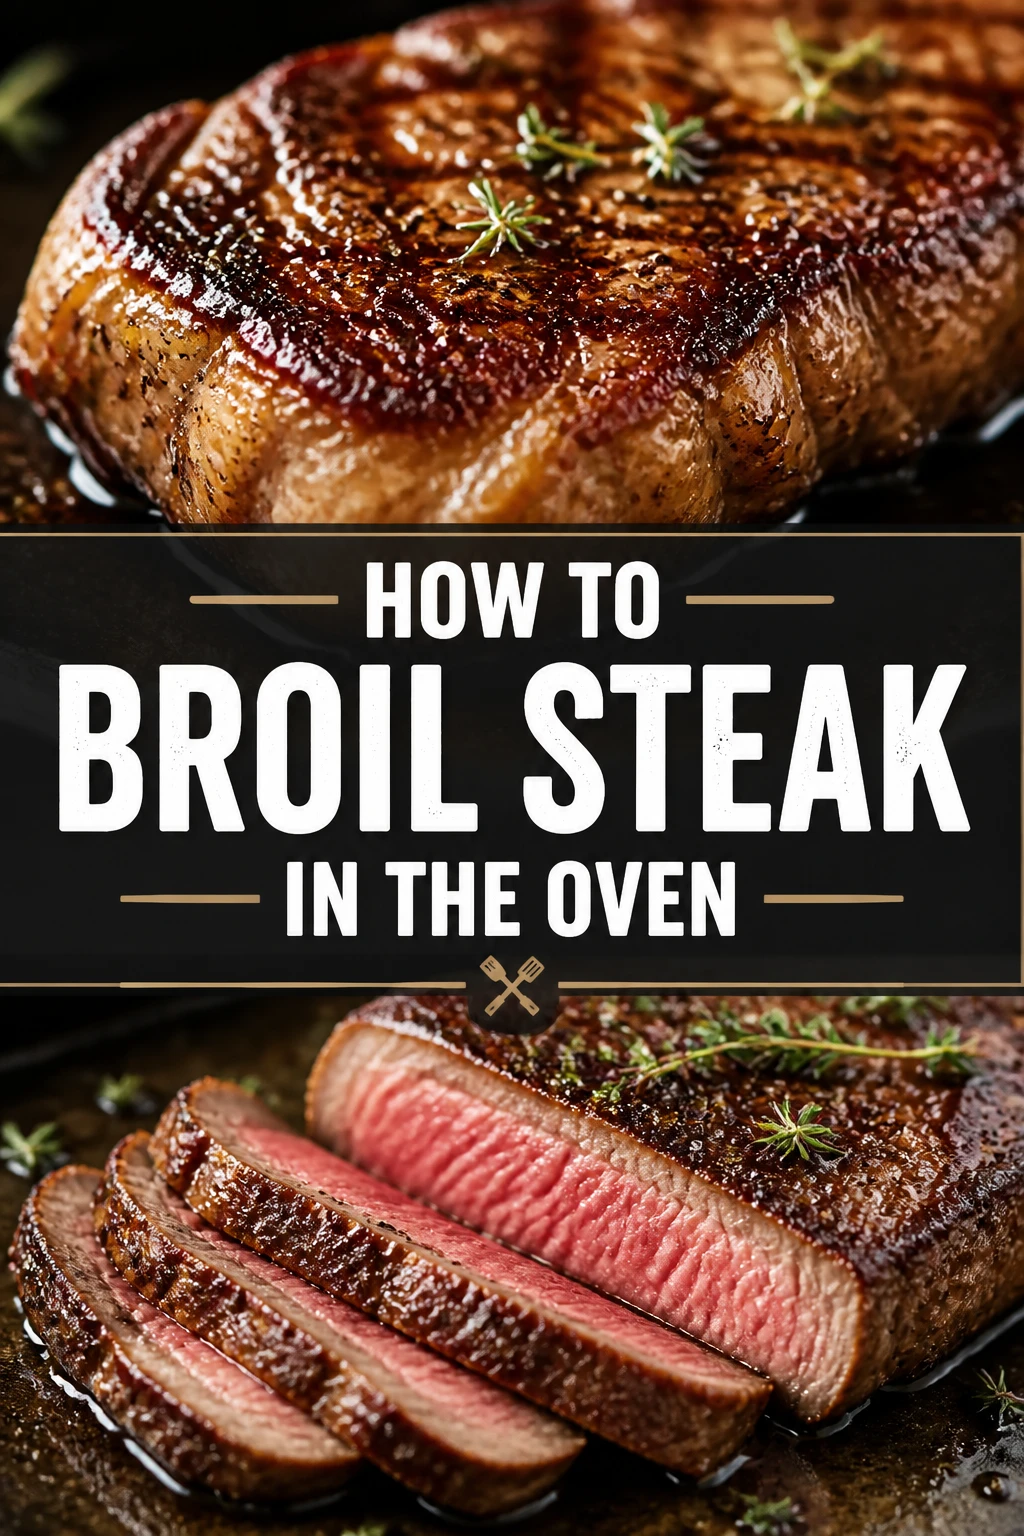
🥩 How To Broil Steak In The Oven
I have spent years refining the art of indoor steak preparation to replicate that classic steakhouse crust without needing an outdoor grill.
Many home cooks fear the broiler because it feels like a chaotic, high-heat environment that is easy to mess up.
By following this guide, you will learn how to harness that intense heat to create a perfect meal using nothing but your standard kitchen oven.
Quick Overview
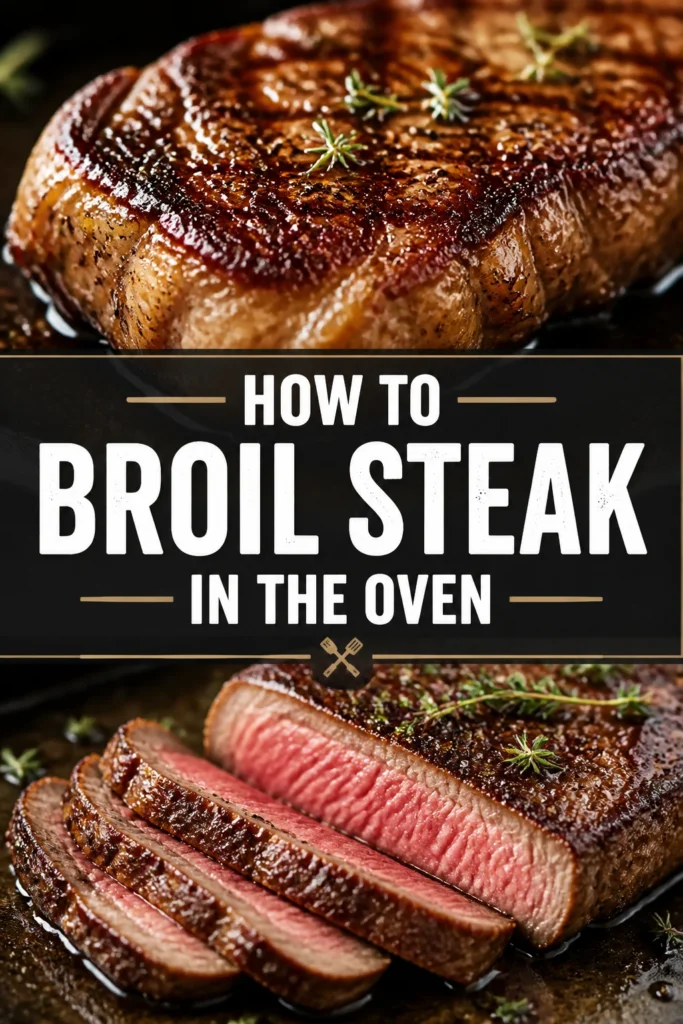
This method uses the direct infrared heat of your oven’s broiler to sear the meat quickly, creating a flavorful crust while keeping the inside tender.
- Time needed: 45-60 minutes (includes tempering, cooking, and resting)
- Difficulty: Intermediate
- What you’ll need: A thick-cut steak, a broiler pan or cast-iron skillet, an instant-read thermometer, and high-smoke-point oil.
Step-by-Step Instructions
Step 1: Temper the meat
Remove your steaks from the refrigerator at least 30 to 45 minutes before you plan to cook.
This process is known as tempering, and it ensures the center of the meat is not ice-cold when it hits the intense heat of the broiler.
If you skip this, the exterior will likely burn or overcook before the interior reaches your desired level of doneness.
A room-temperature steak cooks more evenly, resulting in a consistent color from edge to edge rather than a thick gray band of overcooked meat.
Pro Tip: If your kitchen is particularly warm, 20 minutes might be enough, but never leave raw meat out for more than two hours.
Step 2: Choose the right cut
Select a steak that is at least one inch thick, though 1.5 inches is even better for broiling.
Thin steaks like flank or skirt can work, but they cook so fast under a broiler that it is difficult to get a good crust without overcooking the center.
Ribeye, New York Strip, and T-bone are the best candidates for this method because their fat content helps protect the meat from drying out.
Filet mignon also works well, but because it is very lean, you must be extremely precise with your timing to avoid a dry result.
Step 3: Dry the surface thoroughly
Pat the steak completely dry on all sides using paper towels.
Moisture is the primary enemy of a good sear; if the surface is wet, the heat will spend its energy evaporating water rather than browning the meat.
This evaporation creates steam, which results in a gray, rubbery exterior instead of a dark, crispy crust.
Press down firmly with the paper towels to ensure you have absorbed every bit of surface liquid from the nooks and crannies.
Step 4: Season with precision
Apply a generous amount of kosher salt and freshly cracked black pepper to every surface of the steak.
Do not forget to season the sides and the fat cap, as these areas provide a lot of flavor once the fat begins to render.
Avoid using dried herbs or garlic powder at this stage, as the intense heat of the broiler will likely burn them and create a bitter taste.
If you want to use aromatics, it is better to add them as a finishing butter after the meat has finished cooking.
Pro Tip: Use kosher salt rather than table salt because the larger grains are easier to distribute evenly and provide a better texture.
Step 5: Position the oven rack
Adjust your oven rack to the correct height before you turn on the heating element.
For a standard one-inch steak, the meat should be about 3 to 4 inches away from the broiler element.
If you have a very thick steak, move the rack down to the second level, roughly 5 to 6 inches away, to allow the heat to penetrate the center without burning the top.
Knowing your oven is key here, as some broilers are significantly more powerful than others and may require more distance.
Step 6: Preheat the broiler and the pan
Turn your broiler to the “High” setting and let it run for at least 10 minutes before the steak goes in.
Place your broiler pan or a heavy cast-iron skillet inside the oven while it preheats.
A preheated pan acts like a grill grate, searing the bottom of the steak the moment it touches the surface.
This double-sided heat approach speeds up the cooking process and helps develop a more robust flavor profile.
Step 7: Sear the first side
Slide the preheated pan out carefully and place the steak onto the hot surface using long-handled tongs.
You should hear an immediate, loud sizzle, which indicates the pan is hot enough to begin the Maillard reaction.
Return the pan to the oven and broil for about 4 to 5 minutes for a standard one-inch steak.
Keep a close eye on the meat through the oven window, as the high heat can cause flare-ups if there is significant fat on the cut.
Step 8: Flip and finish
Flip the steak over using tongs once the first side has developed a deep, dark brown crust.
Avoid using a fork to flip the meat, as piercing the surface allows precious juices to escape into the pan.
Broil the second side for another 3 to 4 minutes, depending on how thick the cut is and how you like it cooked.
The second side usually takes less time than the first because the pan and the internal temperature of the meat are already hot.
Pro Tip: If the steak is Browning too quickly, you can finish the cooking process on a lower rack or turn the broiler off and let the residual heat do the work.
Step 9: Verify the internal temperature
Insert an instant-read thermometer into the thickest part of the steak to check for doneness.
For rare, aim for 120°F to 125°F; for medium-rare, look for 130°F to 135°F; and for medium, aim for 140°F to 145°F.
Remember that the temperature will continue to rise by about 5 degrees after you remove the meat from the oven.
Pull the steak out when it is 5 degrees below your final target temperature to account for this carry-over cooking.
Step 10: Rest the meat
Transfer the steak to a warm plate or a wooden cutting board and let it sit undisturbed for at least 5 to 10 minutes.
During the cooking process, the muscle fibers in the meat contract and push the juices toward the center.
Resting allows those fibers to relax and reabsorb the moisture, ensuring the juices stay in the meat rather than spilling onto the board when you slice it.
You can tent the steak loosely with aluminum foil to keep it warm, but do not wrap it tightly or the steam will soften the crust you worked so hard to create.
Common Mistakes to Avoid
Using the wrong oil
Many people reach for extra virgin olive oil or butter to coat their steaks before broiling. These fats have very low smoke points and will burn almost instantly under the 500°F+ heat of a broiler. This creates acrid smoke and a burnt flavor that ruins the meat. Use oils with high smoke points like avocado oil, grapeseed oil, or refined canola oil instead.
Opening the oven door too often
Every time you open the door to check on the steak, you lose a significant amount of concentrated heat. The broiler relies on intense, consistent infrared radiation to sear the meat. Frequently opening the door drops the ambient temperature and can lead to a steak that is gray and overcooked inside without a proper crust. Trust your timer and only open the door when it is time to flip or check the temperature.
Crowding the broiler pan
If you are cooking multiple steaks, it is tempting to squeeze them all onto one pan. This is a mistake because it prevents air and heat from circulating around the edges of the meat. Crowding leads to steaming, as the moisture released from one steak affects the others. Leave at least two inches of space between each cut of meat to ensure the heat can reach all sides effectively.
Troubleshooting
The kitchen is filling with smoke
This usually happens when there is too much fat on the steak or if the broiler pan is dirty. If the fat is dripping and hitting the heating element or the bottom of a dry pan, it will smoke aggressively. To fix this, trim any excessive overhanging fat before cooking. You can also add a small amount of water to the bottom tray of a two-piece broiler pan to catch and cool the drippings before they smoke.
The steak is charred on the outside but raw inside
This is a classic sign that the steak was too close to the heating element or that it was not tempered properly before cooking. If the outside is browning too fast, move the rack down one level. You can also turn off the broiler and leave the steak in the oven for a few minutes; the ambient heat will finish the interior without further charring the surface.
The meat feels tough and chewy
Toughness is often the result of cutting the steak too soon or slicing it in the wrong direction. Ensure you have rested the meat for the full ten minutes to allow the fibers to relax. When you do slice, always cut against the grain. Look for the parallel lines of muscle fiber and cut perpendicular to them to shorten the fibers, making each bite much easier to chew.
Key Takeaways
- Always bring your steak to room temperature for at least 30 minutes to ensure even cooking throughout the cut.
- Pat the meat dry with paper towels to remove surface moisture, which is essential for a crispy crust.
- Use a high-smoke-point oil and avoid butter or low-quality oils that burn at high temperatures.
- Position the oven rack 3 to 4 inches from the heat for thin steaks and 5 to 6 inches for thicker cuts.
- Use an instant-read thermometer to pull the meat 5 degrees before your target temperature to account for carry-over cooking.
- Rest the steak for 10 minutes after cooking to keep the juices locked inside the meat.
Frequently Asked Questions
Should I leave the oven door ajar while broiling?
This depends entirely on your specific oven model. Older electric ovens often require the door to be cracked to prevent the heating element from cycling off when the thermostat reaches a certain temperature. However, most modern ovens are designed to broil with the door closed. Check your owner’s manual to see which method your manufacturer recommends for optimal heat retention.
Can I broil a steak that has been marinated?
You can, but you must be very careful. Most marinades contain sugar or honey, which will burn almost instantly under a broiler. If you use a marinade, wipe off the excess liquid and solids before putting the steak in the oven. This prevents the marinade from burning and creating a bitter, charred mess on the surface of your meat.
Is broiling better than pan-searing?
Broiling is not necessarily better, but it is different. Pan-searing provides more contact with a hot surface, which can create a more uniform crust. Broiling, however, mimics the overhead heat of a commercial infrared broiler used in top-tier steakhouses. It is often cleaner because it contains the grease splatters inside the oven rather than all over your stovetop.
Our Top Recommended Finds
- Instant-Read Digital Thermometer: This is the most important tool for steak success, as it removes all guesswork regarding doneness.
- Cast-Iron Skillet: A heavy 12-inch skillet retains heat better than almost any other material, making it perfect for the broiler.
- Two-Piece Broiler Pan: This specialized pan allows fat to drip away from the meat into a lower tray, significantly reducing smoke and flare-ups.
Mastering Your Indoor Steakhouse
Now that you understand the mechanics of the broiler, you can enjoy a high-quality steak any night of the week.
The key to success is preparation and temperature control rather than complex ingredients.
Once you have mastered the basic broil, try experimenting with different compound butters or dry rubs to find your favorite flavor profile.
Put these steps into practice tonight and see how easy it is to achieve professional results in your own kitchen.